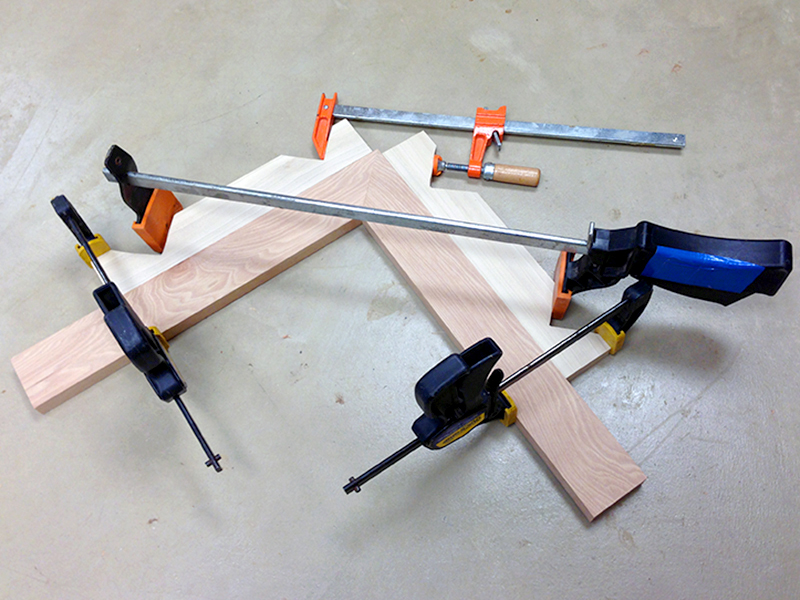
No woodworker has ever complained about having too many clamps. Though more is definitely better, the real trick is having the right ones on hand and knowing how to use them properly. And while some clamps are highly versatile, only some can do it. Depending on variables such as desired clamping pressure, joint angle, and workpiece size, you’ll want to pick a clamp that best accomplishes the job. Here are the most popular types of clamps and the situations where they work best. Later on, we’ll share five handy tips for getting the most from your clamps.
Trigger-activated Bar Clamp
This excellent go-to clamp can be tightened with one hand, freeing up your other hand to hold the workpiece(s) in place. Bar length ranges from 6″ to 50″. No shop should be without at least a few of these in the 12″ length.
Parallel-jaw Clamp
Another must-have clamp that comes in many lengths to work well with large glue-ups. Their jaws remain fixed at 90° to the bar and parallel to each other to help ensure square assemblies. With solid user grip strength, the clamps can provide as much as 1,000 pounds of pressure.
Pipe Clamp
Like the parallel-jaw clamp, this workhorse helps tackle large glue-ups such as doors and tabletops. You buy the jaws and pair them with ¾” bl” ck pipe of any length. (Some jaws work with ½” pi” e; just know that smaller-diameter pipe will bend easier, especially over long lengths.) You can join two pipes with a coupler to make incredibly long clamps.
C-Clamp or Carriage Clamp
These work exceptionally well on narrower workpieces where you must apply lots of pressure at many points, such as when gluing curved laminations around a template or to a project. Boat builders rely on them to attach thin laminations, such as gunwales, to curved hulls on canoes and other vessels.
Corner Clamp
Look to these when clamping together mitered pieces, such as the sides of a picture frame. The jaws, set at 90°, ensure square corners. Versions like the one shown make easy work of clamping drawer corners, shelving joints, and other applications where two parts meet at 90°.
Strap Clamp
Here’s an excellent clamp for mitered pieces, such as the sides of a picture frame. While it provides less pressure than a corner clamp, it can be used on odd-shaped pieces (even round) and projects with 90° joints. For frames with more than four sides, simply use them without the plastic corners shown in the photo.
Wood Screw Clamp
These have been around for centuries and still find use today because of their unique advantages. Namely, you can twist their two threaded screws independently to angle the jaws for less-than-parallel surfaces or to apply extra pressure at the jaw tips. Another plus: The wood jaws won’t make wood surfaces.
Spring Clamp
These clamps are unbeatable for quick and cooperation. They go on as fast as clothespins wherever light pressure suffices.
5 Tips for Getting the Most From Your Clamps
Work On a Flat Surface
An assembly table that is not perfectly flat can throw your clamp-up out of the square despite your best efforts and introduce twisting or racking that will give you major headaches later on. Many woodworkers use the dead-flat, cast-iron top of their table saw for assembly. Just protect rust-causing glue by putting down paper or another barrier.
Pro-Tip: Be aware that most garage and basement floors are not flat–that unevenness can transmit to workshop surfaces through the legs and bases of tables.
Spread Glue Correctly
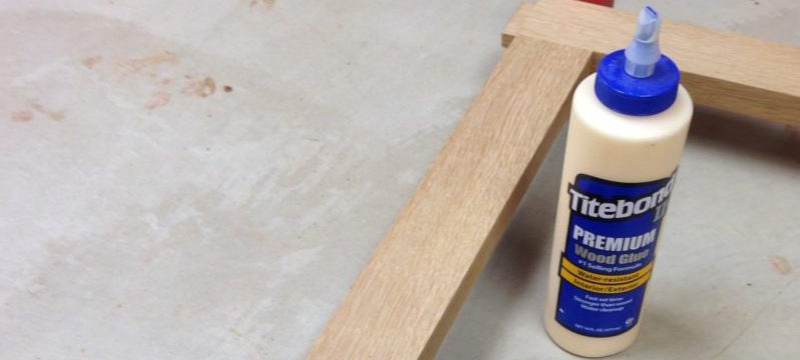
Before clamping, ensure the glue is spread evenly across the joint or lamination surface. A small brush or glue roller helps tremendously. Caution: Use your finger, and you risk getting glue all over the workpieces. That glue can cause a blotchy, stained finish.
(Note: Avoid last-second calamities by dry-clamping your workpieces to check for fit before applying glue. Use glue with extended set time for complex glue-ups with many parts or requiring lots of clamps.)
Prevent Stains and Dents With Low-cost Barriers
When using a clamp without protective plastic pads on the metal jaws, position a piece of waxed paper between your clamp(s) and the workpiece. That keeps glue from sticking to your clamp and prevents nasty wood stains that can occur when the glue’s glue, the wood’s tawood’sand metal jaws come in contact. If denting or marring could occur, place thin softwood scraps between the jaws and wood project surfaces.
Alternate Clamp Placement
When edge-gluing boards for a tabletop or large panel, alternate the clamp bars or pipes over the top and bottom surfaces of the glue-up. That helps counter the tendency of the laminated boards to twist because the uneven pulling force of one clamp counteracts the irregular pulling force of the clamps on either side of it. So start with one clamp on the underside of the glue-up, then place the next clamp on top. Alternate the clamps in this fashion across the width of the glue-up.
Evenly Apply the Correct Pressure
As a general rule of thumb, apply just enough pressure to hold the workpieces firmly in contact along the entire glued joint surface. You want to see some glue squeeze out but don’t wholly squeeze the glue from the joint. More-or-less equal squeeze-out along the standard line tells you the pressure is evenly distributed.


One Comment
EducAngel
January 19, 2021 at 7:05 amI’ll tell my husband about this. He just bought some corner clamps and I blogged about them at (link removed). We’re not yet sure if they’re good.