
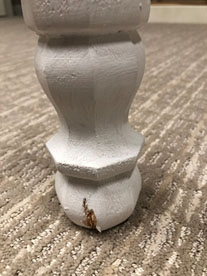
Wood expands over time, and combining that with your typical wear and tear can create cracks or chips in furniture. As a do-it-yourself-er, nothing is more frustrating than spending hours on a project that will later show imperfections, which is why we count on simple DIY hacks to bring those projects back to their original, brand new condition! Follow the simple and quick steps below to restore your splintered wooden projects.
Supplies Needed:
- Sander
- Epoxy putty
- Paint
- Wood glue
- Tongue depressor/popsicle stick
DIY Hack Repair Steps:
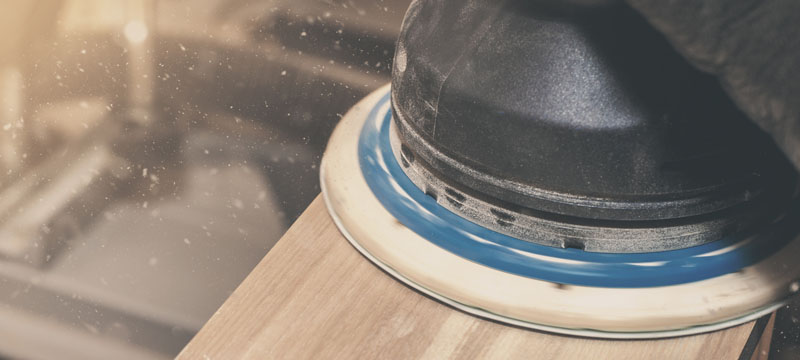
- Lightly sand the damaged area
- Press wood repair epoxy putty into indentations
- Wait at least an hour for the epoxy to cure
- Sand the area
- Paint the area with original color or new paint
Alternative Method:
Our alternative DIY hack requires materials you most likely already have lying around. Another way to clean up splintered wooden legs is to clean out your sander dust bag.
- First, empty the dust bag onto a piece of tinfoil. Start adding wood glue to the sanding dust to create a paste. The amount of glue needed depends on the amount and type of dust you have collected. The mixture should have a consistency similar to toothpaste.
- Once the glue and sanding dust are thoroughly mixed, use a tongue depressor or popsicle stick to move the paste onto your project. Make sure to add a little more than what the repair needs so you can sand it away later, but don’t go crazy, unless you really enjoy sanding.
- After the mixture hardens, use your sander to remove the excess and shape the material to match your wooden leg.
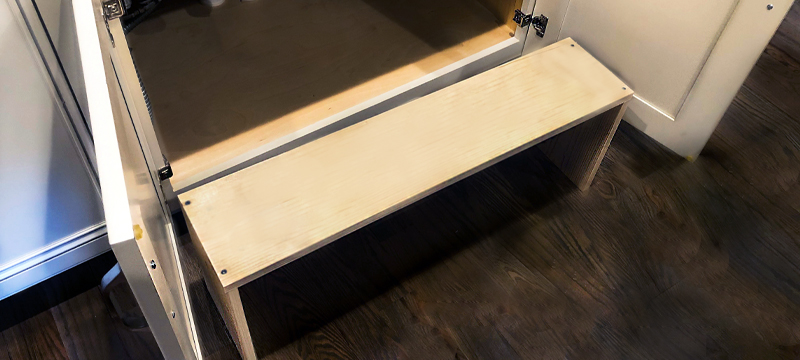
- Once the sanding is complete, prime and paint the leg to match the others, and you’re all set!
Follow our blog for more projects and text ACME to 41928 for early access to deals, hacks, new products, and more!


2 Comments
Gabriel DeLapp
August 24, 2020 at 11:38 pmGuys, I expected better than this. This is about as generic as hints come. You could have gone into detail about the type of epoxy to use. multiple pictures would have been very much appreciated. I am a professional. Only professionals would get this, without pictures. Most of them could figure this out without the tip. This is a waste of most peoples time..Everyone learns different, don’t just make these for certain types of learners.
Acme Tools
August 25, 2020 at 8:04 amHi Gabriel, Thank you for your comment.
Acme Tools