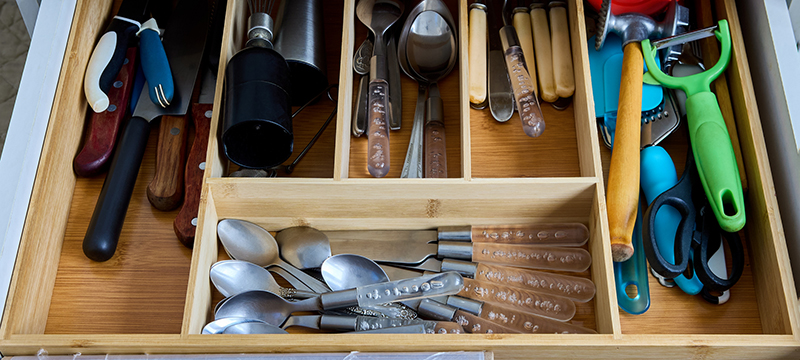
Make organizing drawer contents simple with the right tools and a sound DIY drawer insert plan. Drawer inserts help you maximize space and keep items neatly separated. This is an easy-to-follow guide for a drawer organizer woodworking project.
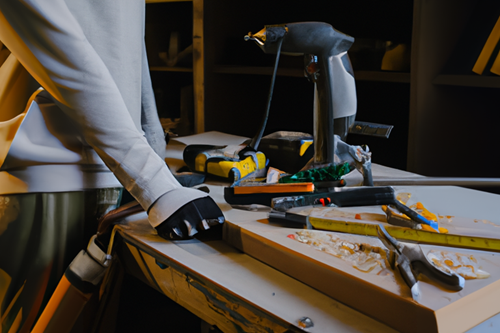
What You’ll Need
You will need essential woodworking tools to add inserts to your drawers. While you can use cardboard for the inserts, you will use thin plywood sheets in this custom drawer divider tutorial. This will help ensure the sections are sturdy enough to secure your items.
Measuring Tools
Have a reliable tape measure, ruler, or a combination square for measuring the dimensions of your drawer. Precise measurements help ensure a snug fit for your inserts and allow you to use space efficiently.
Cutting Tools
Cutting tools like a table or circular saw will make this project easier and faster. If your inserts require intricate cuts, have a jigsaw, or a miter saw on hand.
Clamps
Clamps are handy to keep materials in place while cutting, during assembly, or while the glue dries. Various clamp types include bar, quick-release, or spring clamps. Go over the steps below and choose the clamp type that will be most useful for this project.
Sanding Tools
Sanding the surface of your insert prevents damage to your items and keeps them from snagging. Electric sanders like the random orbital sander or the detail sander effectively smooth edges and surfaces. Use sanding blocks with sandpaper in different grits for extra fine sanding.
Drill and Screws
Using a cordless drill and screws is a sturdy alternative to securing the inserts if you’re not gluing them. If your drawer inserts have a flush finish design, use a countersink bit to recess the screw heads.
Router
Although not essential to this list of drawer insert materials and tools, a router can add grooves or recesses to make the dividers more functional. The router can add decorative details and smooth edges to your drawer inserts.
Safety Gear
As with all other DIY projects, safety should also come first. Use safety gear, such as safety glasses or goggles, earplugs, and gloves. Now, you have gathered all the tools you might need.
- It is time to make the drawer inserts.
Making Drawer Inserts
Make a Plan
Start by measuring the dimensions of your drawer, noting the length, width, and depth. This information will help you determine the layout of the insert, as well as the sizes of the dividers.
Design and Cut the Dividers
Next, sketch the layout, remembering the items you will store in the drawer. This will help you visualize and determine how many compartments you need. Mark and cut the plywood pieces of the inserts.
Assemble the Dividers
Apply wood glue to the joints and assemble the inserts. Use clamps or tape to secure the dividers until the glue dries. If desired, reinforce the joints further with screws or nails.
Finishing Touches
For a clean finish, sand all the surfaces of the dividers, making sure to get rid of any rough spots. Vacuum and wipe away wood dust and apply a finish if desired.
Additional Tips and Hacks
Here are some tips and DIY ideas for drawer organization to maximize your storage space:
- Use drawer liner material to prevent items from sliding around.
- Utilize clear storage containers or small bins to group related items together.
- Take advantage of vertical space with stackable storage solutions.
- Invest in adjustable dividers to accommodate changing needs over time.
- Label compartments for easy identification of contents.
With this guide, you will have a neat, organized drawer with extra compartments. Having the drawer inserts in place will help you locate items more efficiently, better protect them, and enjoy having a clutter-free storage space.