Home improvements can be costly and time-consuming. Check out these simple ways to refresh your home without breaking the bank.
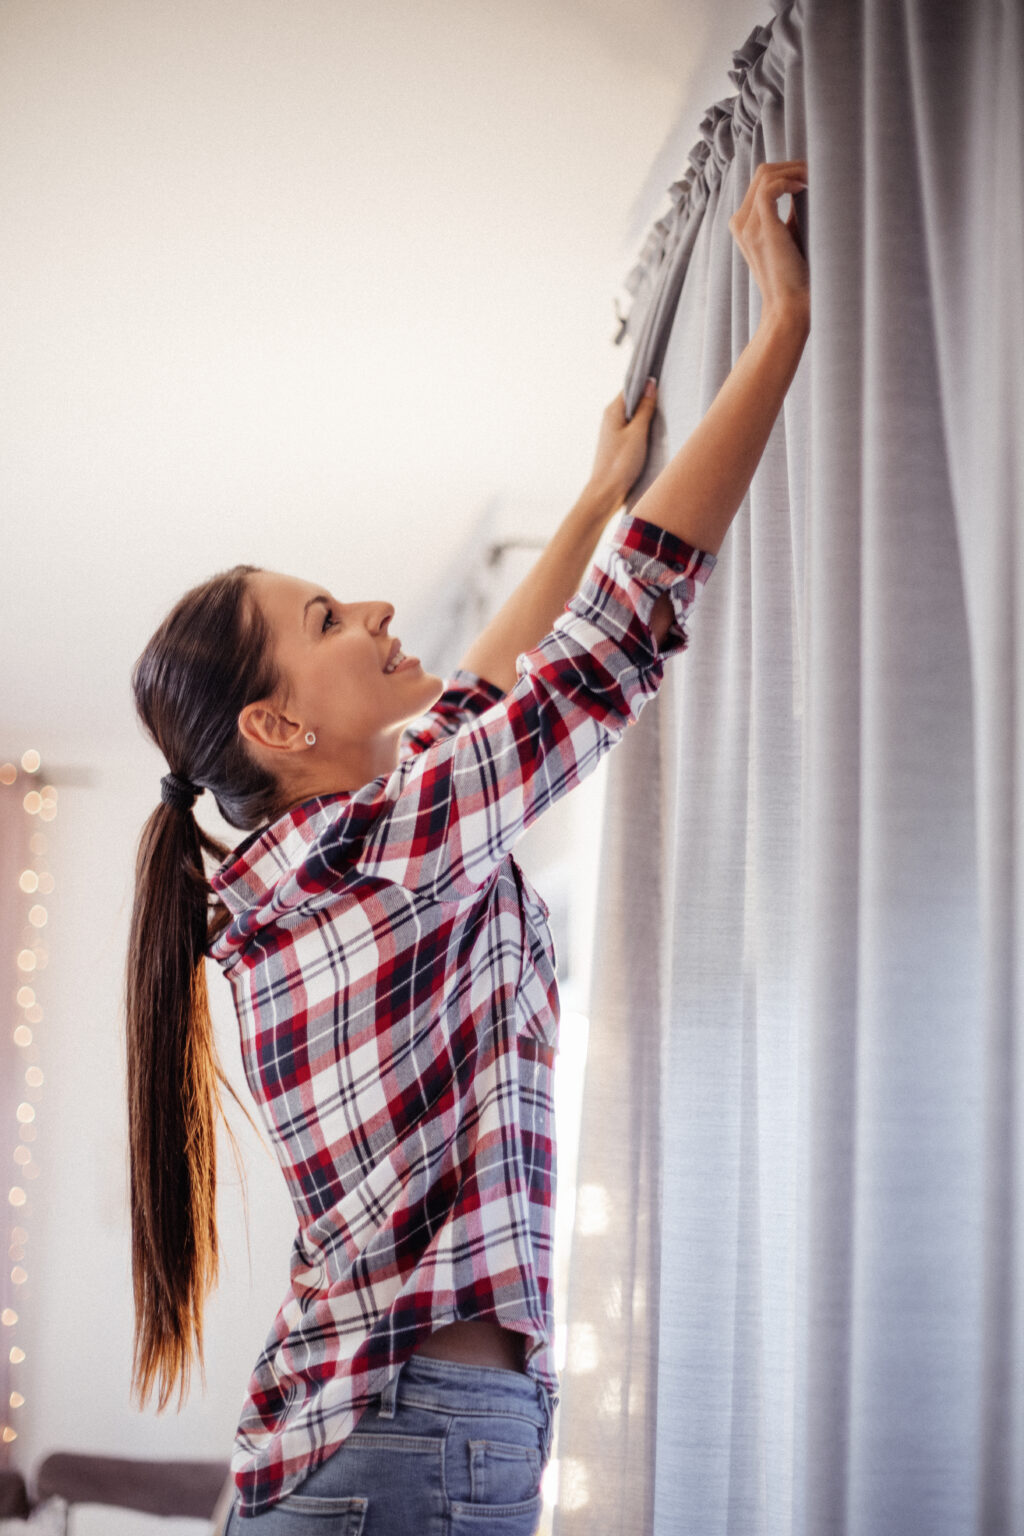
Update or Add Curtains
Hanging curtains can improve your home in many ways; curtains can add texture to a room and are good for light management. Curtains can be expensive, but they don’t have to be. Check the clearance aisles at your favorite stores or be on the lookout for online sales.
Hanging curtains can improve your home in many ways; curtains can add texture to a room and are good for light management. Curtains can be expensive, but they don’t have to be. Check the clearance aisles at your favorite stores or be on the lookout for online sales.
What you’ll need
- Curtains
- Curtain Rod with brackets
- Tape Measure
- Pencil
- Level
- Drill and Drill bits
- Wall Anchors
- Hammer
Hanging your curtains
- Using your tape measure, measure your window’s height and width to ensure you have the correct curtain rod and length.
- Use the pencil to mark the desired location of your curtain brackets, usually about 4 to 6 inches above the window frame.
- After you’ve decided on the placement of the brackets, it’s time to start the installation.
- Take the curtain rod and mark where the screw holes are.
- Using your drill and drill bit, drill the holes into the wall.
- Place your wall anchors in the holes and lightly tap them with the hammer until they’re flush with the wall.
- Change out your drill bit with a screwdriver bit that matches the head of the screw (Usually phillips head).
- Line up the curtain bracket with the wall anchor, and screw it into the wall using your drill. Repeat on the other side.
- Thread the rod through grommets or eye holes.
- Set the rod into the brackets.
Add Wall Sconces (Even if you live in a rental!)
You may be someone who likes to change up their space often, or maybe you’re currently renting and want to spruce up the place without permanence. Check out this easy hack to set up a wall sconce without having to rewire your home.
What you’ll need
- Wall sconce
- Battery-powered puck light with remote control
- Batteries
- Double-sided adhesive tape
- 3/4-inch PVC plug
- Drill and Drill bits
- Screwdriver bit
Hanging your Sconce
- Decide where you’d like your sconce or sconces and mark accordingly.
- Remove the mount plate from the back of the sconce. Most sconces have the mounting hardware included.
- Create holes using your drill where you previously marked.
- Secure the mounting plate to the wall using the included equipment.
- Add the required batteries to your puck light and remote.
- Measure and cut the double-sided tape.
- Place one side of the tape firmly on the back of the puck light and the other on the flat portion 3/4-inch PVC plug.
- Screw the PVC plug, with the puck light, into the light socket of the sconce.
- Tuck the electrical wires into the back of the sconce. This will allow you to hardwire in the future if you choose.
- Attach the sconce to the mounting plate.
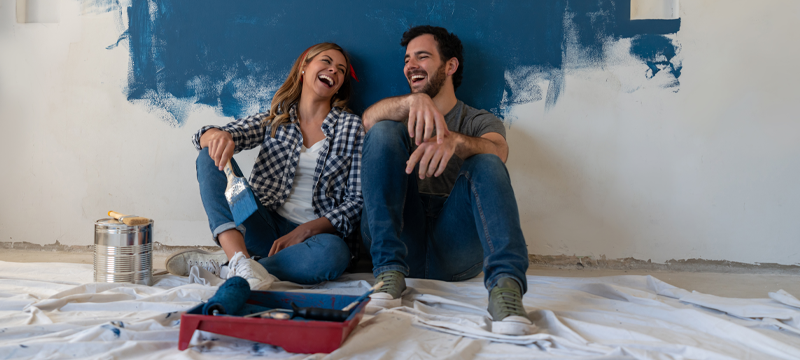
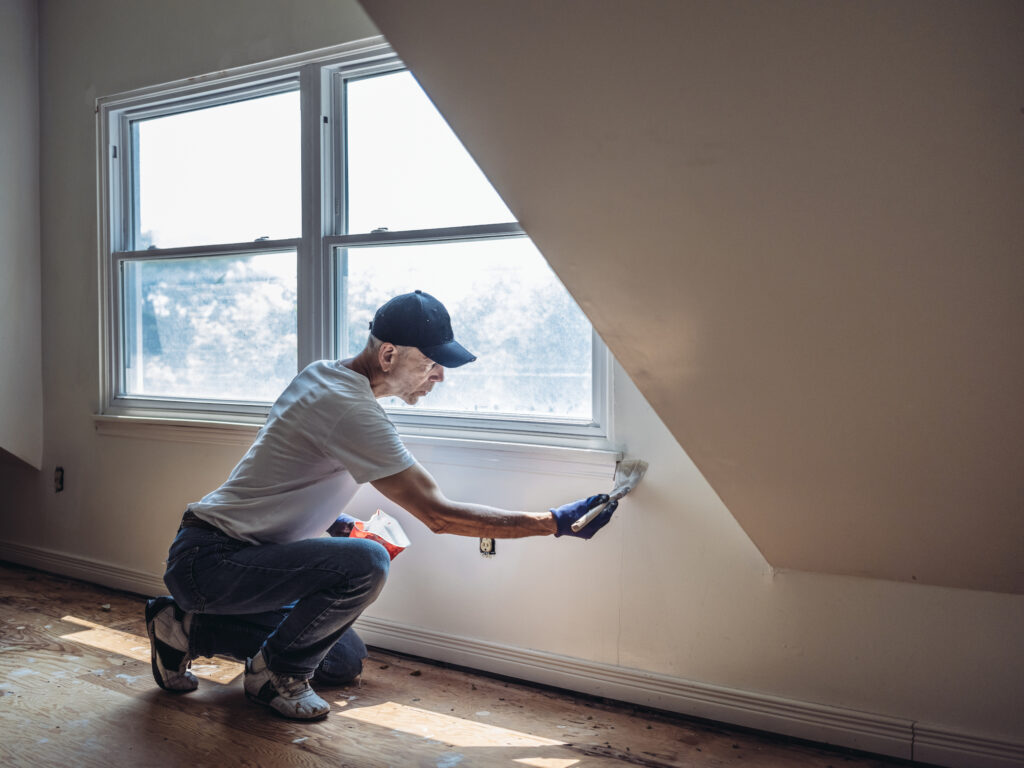
Add a Fresh Coat of Paint
Adding a new coat of paint or an accent wall to your favorite room is a great, inexpensive way to update the favorite room in your home.
What you’ll need
- Spackle (if there are any cracks, holes, or splinters)
- Putty knife
- Painter’s tape
- Paintbrush
- Paint roller
- Paint
- Primer
- Fine-grit sandpaper
Prepping and Painting
- Once you have decided what color you’d like to paint, it’s time to get to work.
- Prep your wall or walls. Prep work takes a bit of time, but it’s necessary for a long-lasting, quality paint job.
- Remove as much as possible from the walls, such as outlet covers, curtain rods, switch plates, and other hardware.
- Use the putty knife to remove flaking or loose paint from the wall and sand the area until smooth.
- Fill any cracks, holes, or splinters with the spackle using the putty knife.
- Allow the spackle to dry before sanding it smooth.
- Wash the wall with a mixture of mild dish soap and water. Allow the wall to dry completely.
- Tape the trim, window, and doorframes with painter’s tape.
- Prime the walls
- Use a paintbrush to paint the hard-to-reach spots along the trim and in the corners.
- Use a paint roller in a three-by-three-foot W pattern, then fill in the remaining space without lifting the roller. This technique helps prevent visible roller marks.
- Touch up the trim last, if necessary.
Add Some Wall Art
Putting up some framed pictures or canvases is an easy, non-permanent way to add dimension to any room in your house.
What you’ll need
- Wall art of your choice
- 3M Command Strips
- Picture hanging tool
Hanging Your Art
- Once you’ve decided what you’d like to hang and where to hang it, you will need to figure out how heavy the art is; this will determine the size of the 3M Command Strips.
- After you’ve purchased your Command Strips and are ready to get started with placement, grab your Black and Decker MarkIT Picture Hanging Tool. This tool helps you visualize the placement and mark precisely.
- Once you’ve marked where you would like it to go, place the Command Strips on the art and the wall according to the directions on the package to hang your art.
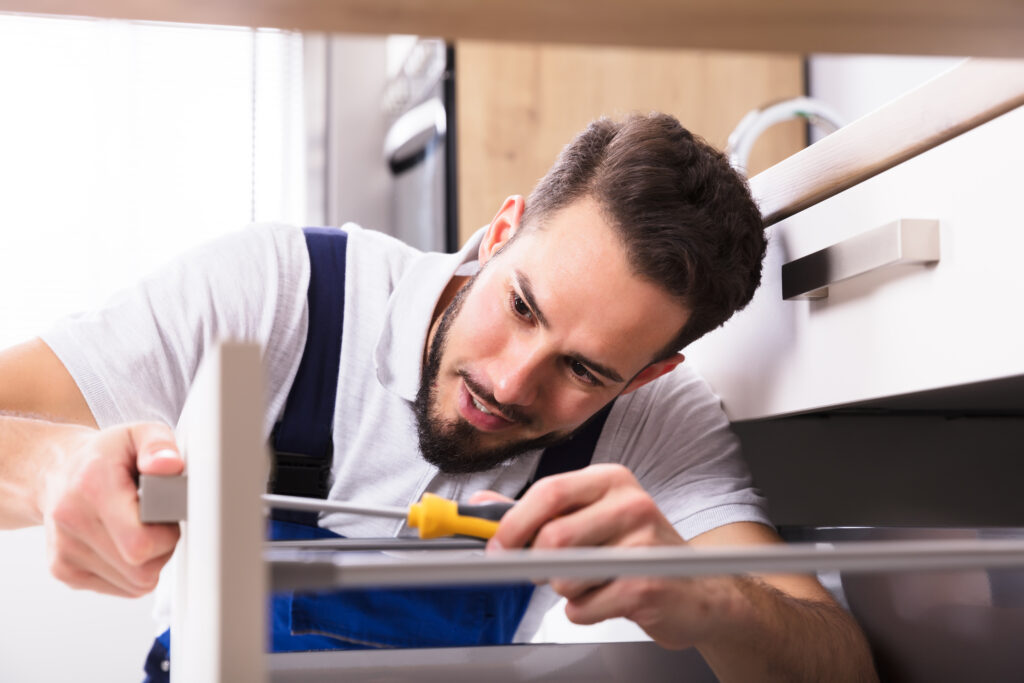
Update Your Drawer and Cabinet Handles
Replacing your drawer and cabinet handles is a simple, low-cost way to make your kitchen look more modern. If you’re in a rental, you can keep your old hardware and switch them back before moving out.
What you’ll need
- Drawer and cabinet handles
- Screwdriver
- Container(if you plan on keeping the old hardware)
Replacing your handles
- The screw spacing is not the same on all hardware, so before you start, measure and purchase accordingly.
- Start by taking all of the old handles off the drawers and/or cabinets and placing them in your container of choice, if you plan on keeping them.
- The new handles should come with all of the necessary hardware. Place the handle over the screw hole that held the previous drawer/cabinet pulls.
- Use your screwdriver to secure the new knobs.
Replace a Shower Head
Upgrading your showerhead not only gives your bathroom a quick update, it can also customize your shower experience. Not all plumbing hardware is the same, so double-check that the showerhead you’re looking at will work with your current plumbing.
What you’ll need
Replacing the Shower Head
- Turn the water off to the shower. Use a cloth to protect the shower arm from scratches while you loosen it with the pliers and wrench. You can do this by using the pliers to grip the shower arm while using the wrench to turn the nut and remove the shower arm and head.
- Then, remove the old head from the shower arm using the same method.
- Using your rag or paper towel, get all the grime off the wall and shower arm.
- Wrap about five layers of plumber’s tape around the end of the shower arm that goes into the wall. The tape should be wrapped in the same direction that the arm will be tightened.
- Once the shower arm is connected back to the wall, repeat the step above on the end that will attach to the new showerhead.
- Screw the new showerhead by hand, then finish tightening it using the wrench.
Change out your Outlets
Keep all your devices charged by changing out your outlets to ones with USB ports, like the Leviton Outlet with a USB Charger.
What you’ll need
- New outlet
- Screwdriver
- Non-contact voltage tester
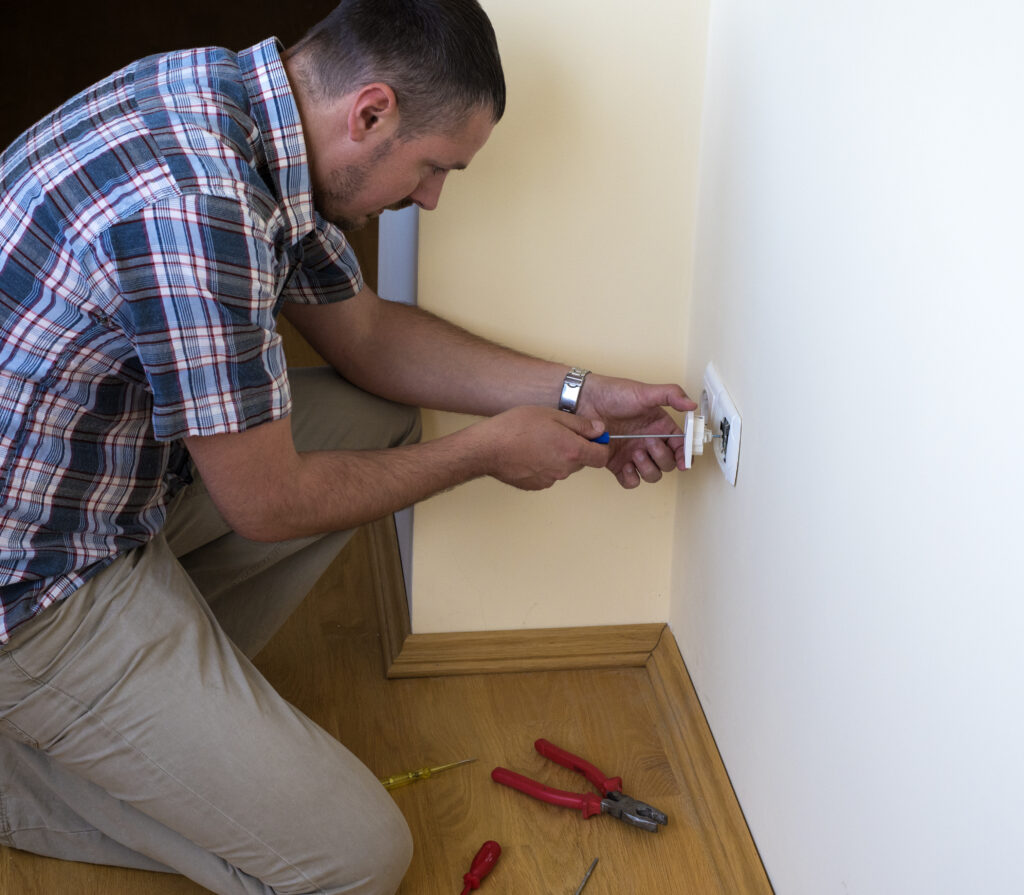
Changing the Outlet
- Turn off the power for the electrical outlets – this is the most essential step. This is done by flipping the correct circuit breaker in your breaker box. You can confirm power is no longer being sent to the outlet using a voltage tester.
- Then unscrew and remove the cover plate to your current outlet.
- Test the circuit with your voltage tester again to ensure there is no current.
- Unscrew the mounting screws holding the receptacle strap on the electrical box. While removing the receptacle, make sure to check the wire before they’re removed.
- Take a picture of the wiring before detaching them, as you’ll want to wire your new outlet the same way.
- Typically, there are three separate wires that will need to be removed.
- The black wires, considered “hot wires”, carry the current to the outlet. These wires are usually connected to bronze-colored screw terminals.
- White wires, considered “neutral wires”, are typically attached directly to the silver screw terminals.
- Green or bare copper wires are considered “grounding wires”, and are attached to green grounding screws.
- Remove the wires from the old receptacle. This will allow you to remove this outlet altogether.
- Use the screwdriver to reattach the wires to the back of your new outlet, making sure all the terminals are tight.
- Gently push the receptacle back into the wall and tighten the mounting screws.
- Screw the cover plate on, and then the power back on. Lastly, check your electrical outlet.
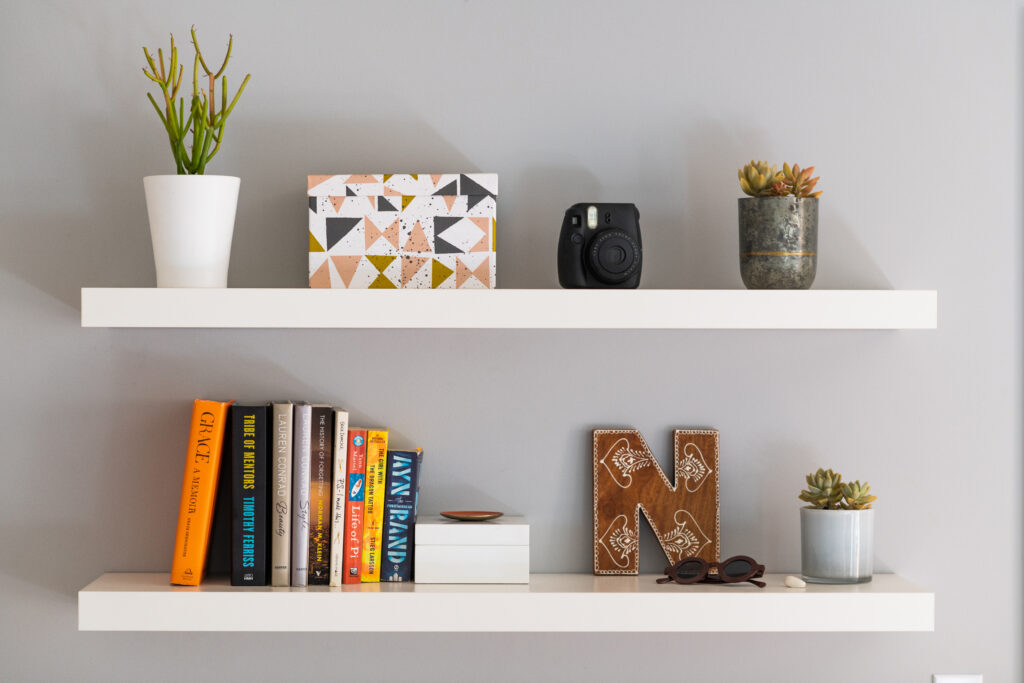
Install Floating Shelves
Show off your favorite plant or give yourself a little extra storage room by adding some floating shelves. These can be used in any room of the home and are an easy way to declutter.
What you’ll need
- Floating shelf with included hardware
- Stud finder
- Marking pencil
- Level
- Tape measure
- Drill
- Wall anchors (if not using the wall studs)
Installing the Shelves
- Use the stud finder to the studs to determine the placement of the shelf. Using your marking pencil, make light but visible marks for where you will install the floating shelf. Be sure that at least one of the screws for the mounting bracket is in a stud. If the studs don’t make sense to hang a shelf or there aren’t any available, you can use anchors to secure the shelf.
- Secure the brackets to the wall using the drill and supplied hardware. If you’re not drilling directly into a stud, you will need to place anchors to support the weight of the shelf and bracket. Once the final placement of the shelf is determined, check to make sure it’s level before adding the final screws.
- If installing multiple shelves, grab your tape measure and measure the distance you want between the two brackets. Before making the marks for the second shelf, determine what you’ll be putting on the shelves to ensure you have enough room.
- Install the other brackets the same way you installed the first.
- Add your shelf casings and secure them by screwing in the set screws underneath each shelf. If you have hung multiple shelves that will be on top of each other, secure the shelf casings from the top down.
- These shelves have weight limits so check the packaging again before you start adding your favorite items.