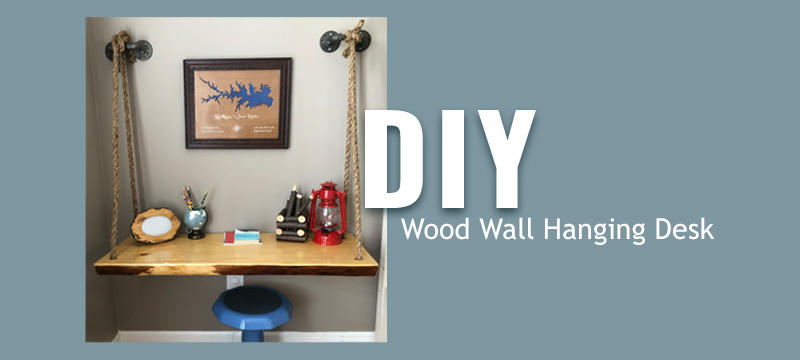
As we move into an unprecedented school year, many of our routines continue to be thrown off. If you or your children are working/learning from home and struggling to find a workspace, we have been there and understand. Our DIY Wood Wall Hanging Desk Project is perfect for an organized work area or a spacious place to finish homework. With just a few tools and materials you might already have, you will create an efficient space in no time.
Materials Needed:
- (1) Drill
- (1) Sander
- (2) Pipe fittings
- Rope
- (1) Pine board
- Semi-gloss polyurethane
- Optional: (2) “L” Brackets
DIY Desk Guide
Step 1:
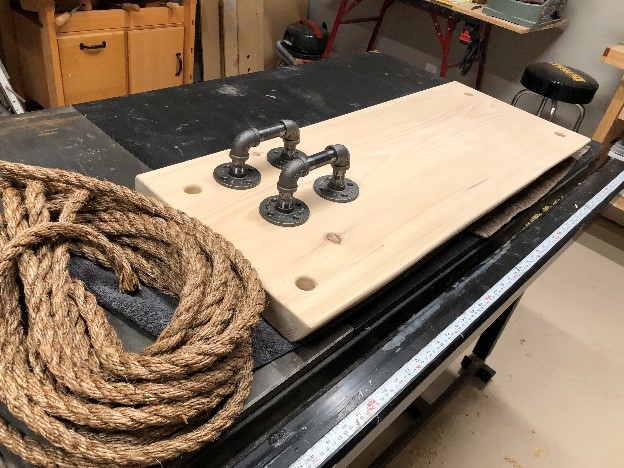
First, find a nice flat board for the desk. We selected a one ½” thick, 16″ x 39″ pine board with a live edge for a more appealing aesthetic.
Step 2:
Drill four 1″ holes near the corners of the board.
Step 3:
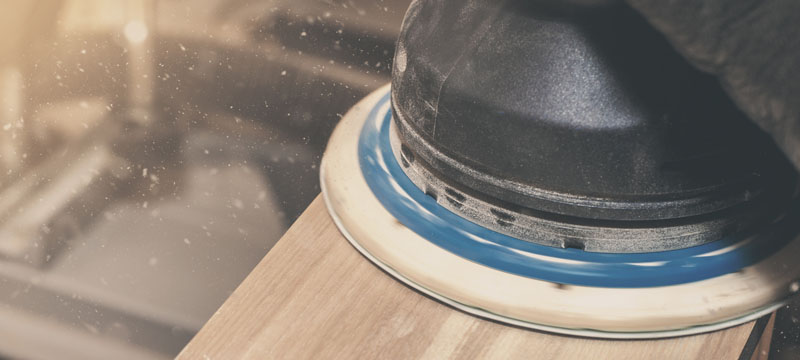
Sand over the holes’ edges and the rest of the board.
Step 4:
After sanding, put several coats of semi-gloss polyurethane on the board.
Step 5:
As shown in the photo, assemble the fittings to make two handles, then securely mount them to the wall. The pipe fittings we used were two ½” x 5″ nipples, four ½” 90-degree elbows, four ½” x 2″ nipples, and four ½” floor flanges.
Step 6:
Loop two sections of 3/4″ thick rope through the holes and tie the ends to the handles. We used 20′ of rope, which was adequate for our two sections.
Step 7:
For additional support, attach two “L” brackets to the wall and the underside of the desk so as not to be seen.
Final Thoughts
If you complete this DIY Project, share your wood hanging desk with us and let us know how you optimized your space! Don’t forget to follow our blog for more projects, and text ACME to 41928 for early access to deals, hacks, new products, and more!