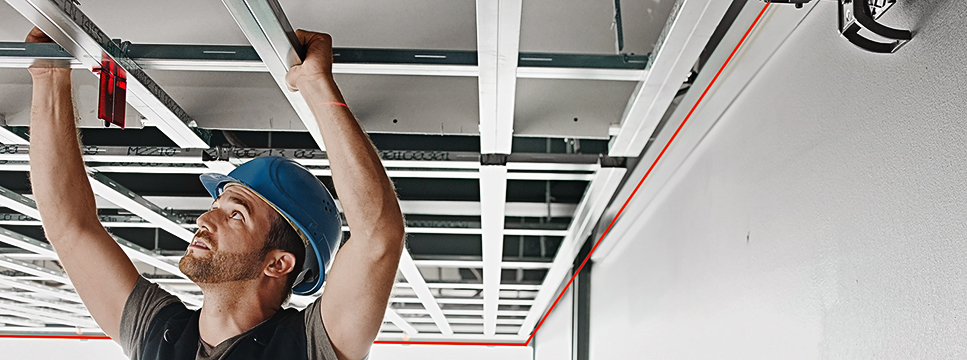
Installing a drop ceiling can make a cavernous room cozy and transform a drab room with new textures and colors. Although this job requires careful planning, virtually any homeowner with a little do-it-yourself spirit can get the job done. If you’ve ever wondered how to install a drop ceiling, here’s what you need to know.
Check the Building Codes
Before you get too excited about drop ceiling styles, please contact your local building code authority to determine whether you need a permit. Details vary widely from state to state. In some jurisdictions, a building permit is required before you start work, and an inspection is required once the job is complete. You may even need to submit your drop ceiling designs.
Could you ask whether there are any requirements concerning minimum ceiling height? If the structural ceiling in your room is already near the regulatory minimum, you may need more room to go forward with your drop ceiling ideas. Most drop ceilings require at least four inches between the structural and drop ceilings.
Choose a Drop Ceiling Product
All standard drop ceiling styles share the same basic form and follow the same basic procedures for installing a drop ceiling. Beyond these basics, you have some choices to make. Ceiling panels are available in two standard sizes. The square-panel option measures two feet on a side, while the rectangular-panel option measures two feet by four feet. Many manufacturers offer drop ceiling designs in both panel sizes.
Identifying the best drop ceiling is challenging due to the many available options. The basic white panels found in commercial offices make a perfect choice. However, to add texture and color to a room, look at the decorative options sold by the best drop ceiling manufacturers. If you need more good drop ceiling ideas, a few minutes of browsing ceiling products can be a big help.
Purchase Your Parts and Gather Your Tools
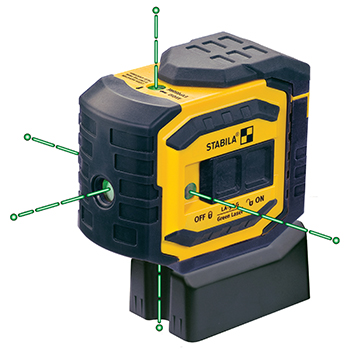
Once you’ve identified the best drop ceiling for your remodeling plans, provide the vendor with precise room dimensions by taking measurements with trustworthy tools like those from Stabila. Take measurements along the wall close to the structural ceiling with tape. The measurements are used to lay the ceiling on a sheet of grid paper to plan installation and determine the number of panels and parts you need to complete the work.
Most types of drop ceilings require the same set of parts. Wall angles are L-shaped rails installed along the perimeter of the room. The primary and cross tees form the gridwork that holds the ceiling panels. All of the hand tools required for this job are widely available. A level and a chalk line are fundamental to accurately installing the wall angles. That said, anyone who knows how to install a drop ceiling will recommend a laser level instead. A laser level is one of the best drop ceiling ideas if you’re looking for simplicity and accuracy.
Tools and Materials Checklist
| |
| Ladder | Ceiling panels |
| Hammer | Wall angles |
| Screwdriver | Main tees |
| Pliers | Cross tees |
| Tin snips | Suspension wire |
| Tape measure | Hooks |
| Stud finder | Nails or screws |
| Level | String |
| Chalk line |
Create a Ceiling Perimeter
Now comes the nitty-gritty of installing a drop ceiling. Go slowly and work carefully, and you’ll be sure to complete the job successfully.
With your local regulations in mind, could you choose a height for your new ceiling? For most drop ceilings, you need at least four inches of space between ceiling levels. Please read through the documents for your drop ceiling design to see if there are any special requirements.
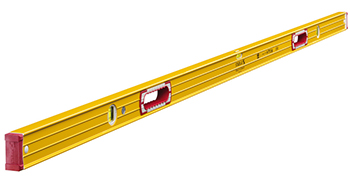
Choose a corner of the room and measure from the structural ceiling to the new height. Use a hand level, like a Stabila level, to place pencil marks around the room at this height. The structural ceiling may not be level, so don’t simply measure down from the ceiling at various points. Use the hand level. Once you’ve circled the room, snap four chalk lines to connect the pencil marks and create the perimeter.
Use the Wall Angles
You can use the perimeter line to position and attach the wall angles accurately. Most drop ceiling designs include wall angles that can be secured with either nails or screws, but be sure to drive them securely into wall studs. Locate the studs with a stud finder. If you’re using screws, make sure you have the right power tools to avoid ruining your wrist with a screwdriver.
Install each new section of wall angle so that it butts up against the end of the prior paragraph. When you near a corner of the room, use a pair of tin snips to cut the final section of the wall angle to the correct length. To create a miter joint in a corner, use the tin snips to make a 45-degree cut where the wall angle sections meet. Some drop ceilings include clip-on corner pieces to hide the corner joints.
Install the Suspension Wires
Installation of the suspension wires is essential to installing a drop ceiling. First, use the installation plan you created when purchasing your drop ceiling to identify the position of the main tees. Mark the wall angles in your room to show where each end of each main tee rests. Stretch pieces of string between corresponding marks to represent the position of each main tee. Could you attach the strings with staples right above the wall angle?
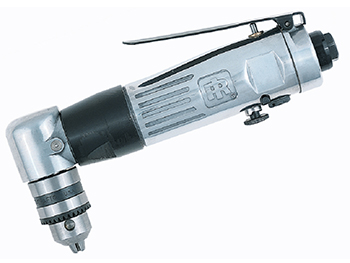
Position a ladder at one end of the first string. Install a hook in the ceiling directly above the string where the first main tee and cross tee intersect. Be sure to secure the hook in a ceiling joist. Use a stud finder to locate a joist. You can move four feet down the string and install another hook. Continue until you reach the opposite wall. Move to the second string and repeat the process until the room is finished. Cordless tools and even air tools help you work more efficiently. You can even purchase a special drill attachment to drive the ceiling hooks.
Finally, cut the length of the suspension wire for each hook. Cut the wire 12 inches longer than the distance between the ceiling levels. Fasten a wire to each hook, stretch the wire taut with a pair of pliers, and bend it to a right angle where the string crosses the wire.
Install Your Tees
Most drop ceiling styles include 12-inch main tees designed to connect together. Position your ladder under the first suspension wire. Connect several main-tee sections and the rest one end at the wall angle next to the string. Thread the suspension wire through the main tee. Before twisting the wire tight, check the main tee with a hand level. Extend the main tee along the string to the following suspension wire. Check it with the hand level, and tighten the wire. Continue on until you have installed all the main tees.
Could you reposition your ladder to the beginning? Using your installation plan for reference, could you connect a cross tee between the first and second main tee? You can continue placing cross tees until you reach the opposing wall. You need more cross tees if you use a drop ceiling design with square ceiling panels instead of rectangular panels. Now, you can connect the second main tee to the third. After clicking all the main tees, place cross tees between the wall and the first main tee. You may need to cut these cross tees to length. Place the final cross tees between the last main tee and the wall. The gridwork is complete.
Install the Panels
Start at the center of the grid and begin putting ceiling panels in place. Starting from the center helps to force the loose gridwork into alignment as you work toward the edges. In standard drop ceiling designs, you don’t need to secure ceiling panels with any hardware. Tilt a panel, slide it through the grid, and lower it into place.
Due to the fixed size of the panels, even the best drop ceiling plans require cutting panels for at least one of the perimeter rows. After installing all the regular-sized panels, you can take careful measurements for the odd-sized row. Most drop ceiling styles can be cut to size with a straight edge and a sharp utility knife. Could you place the ceiling panel on a cutting board with the exposed side up? Cutting through the backside may damage the visible surface. Some types of drop ceilings have special procedures for cutting panels, so check the product documentation for more information.
With that, you now know how to install a drop ceiling in your home from start to finish. So get busy working on your drop ceiling ideas and researching your style options. Soon, you will be enjoying the best drop ceiling installation in the neighborhood.




6 Comments
SLP Interiors Limited
September 18, 2019 at 1:36 amThank you for sharing deep insights. Your tips and links are really helpful in good way.
Rebecca Gardner
May 28, 2020 at 10:53 amI’m glad you mentioned that it’s best to start at the center of the grid when installing drop ceiling panels. My brother is looking to have some drop ceiling tiles installed in his commercial restaurant kitchen that are safe and easy to clean. Asking about the installation process should help him find a knowledgeable professional for the job, so I’ll be sure to pass along that tip!
Drywall Repair
May 22, 2021 at 7:24 pmGlad you posted this article, it’s important to consider all things when installing a ceiling.
Jacob Wells
May 30, 2021 at 5:41 pmI really enjoyed reading this article!
site
July 18, 2021 at 10:57 pmThank you for sharing this, found it very useful!
Gregory House
February 6, 2022 at 4:24 pmThis was very helpful!