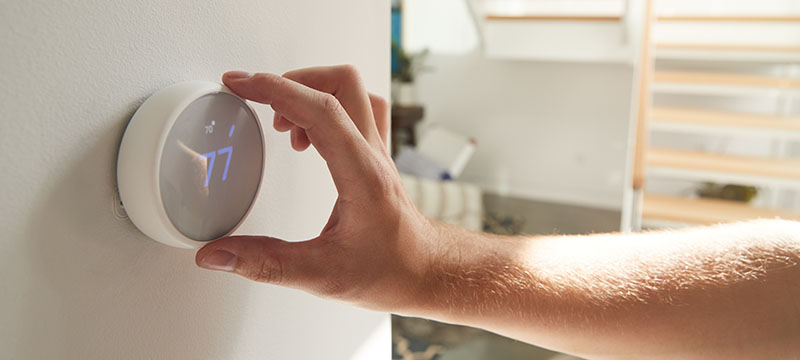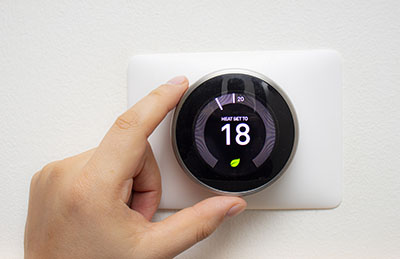
Saving energy means saving money, and everyone wants to save money. Installing a smart thermostat will do just that, along with plenty of other benefits. Intelligent thermometers are easy to use, allowing you to control them from anywhere using your smartphone. Its intelligent algorithm can learn from household habits and save energy when you are not home, taking the stress off your shoulders. Following our steps below, learn how to replace your thermostat quickly and easily with a smart thermostat.
Will a Smart Thermostat Work in Your Home?
Before deciding to change your current thermostat, you should know a few things before upgrading to a new smart thermostat.
First, check the wiring under the faceplate. If you have wires labeled “C” or “common,” you should be able to install a smart thermostat. If you do not have this wire, you may not be able to, or you can ask your electrician about rewiring. If you do not have a C-wire and wire nuts bundle the wires together, you will also be unable to install a smart thermostat (see step 3 on how to identify a C-wire).
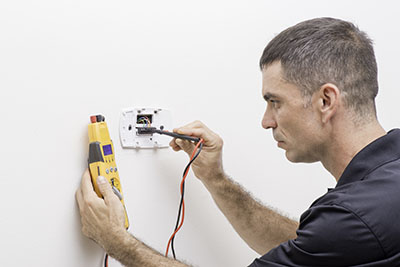
Next, it is essential to check your current thermostat’s voltage. If the thermostat exceeds the manufacturer-specified voltage, you should not install a smart thermostat. If your new thermostat has a higher voltage, its wiring will damage the controls and become an electrical hazard to you and your home. If you do not know how to check the voltage of your thermostat, grab a multimeter to test it.
The last step to see if a smart thermostat can work in your home is to check your internet and Wi-Fi. If your router is over a few years old, it may not be able to power a smart thermostat, so you may be required to upgrade your network.
Benefits of Installing a Smart Thermostat

Installing a smart thermostat has plenty of benefits that will save you money. Smart thermostats are designed to be more accessible and easier to use. With its compatibility with a smartphone app, you can use it anywhere and receive energy reports on your phone. Its programming system also allows you to create schedules, so it does not use much energy when you are not home. They also can learn and create schedules based on the users’ habits.
Tools and Materials Needed
To begin installing a smart thermostat, make sure that you have the proper equipment, so you are ready to go:
- Screwdriver
- Third-party add-a-wire adapter (if needed)
- Pencil
- Small bit
How to Install a Smart Thermostat in 7 Steps
1. Turn Off Power to the HVAC System
The first step for a smart thermostat installation is uninstalling your current one. To replace your thermostat, you must ensure you cut off the power to the HVAC system at the breaker panel. Doing so will ensure you are not accidentally shocked while working with the wires.
2. Remove Existing Thermostat
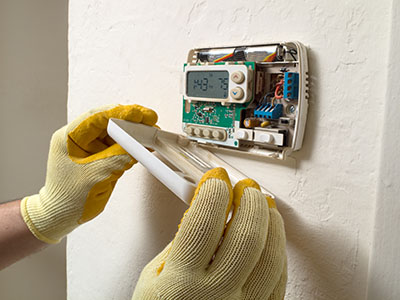
Now that the power to your thermostat is off, it can safely be removed. Grab a screwdriver and begin removing the faceplate. Once the faceplate is off, label or take a picture of the wiring so you know which lines connect to each screw terminal. Next, you will begin removing the wires from the backplate. Then unhook or unscrew the cables; the same goes for the backplate. Install a C-wire (read step 3 if needed) and a new thermostat.
3. Install a C-Wire (If Necessary)
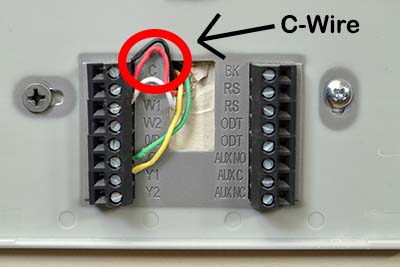
Knowing and identifying if you have a C-wire (standard wire) is essential when changing your thermostat. The C-wire provides constant power to the thermostat, which is necessary.
Check to see if your thermostat already has an adapter installed, allowing you to add a C-wire. Another option is to buy an “add-a-wire” adapter with additional instructions on how to install it. Otherwise, consult with your electrician to see what is best for you.
4. Install the New Thermostat Mount
Once your old thermostat is completely off, it is time to install your new smart thermostat. Put the mount against the wall and mark all the holes with a pencil. Then, use a tiny bit to drill holes at each mark. Then, put the mount against the wall and begin screwing it in.
- Make sure to pull the wires through before screwing in the backplate.
5. Wire the Smart Thermostat
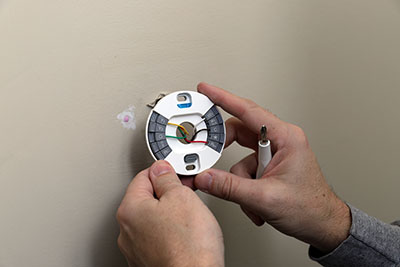
With your backplate mounted, the next step is to reconnect the wires. If you labeled your wires, connect each wire to its corresponding terminal.
If you did not label your wires, use the installation diagram in the manual to connect your wires to the correct terminal.
6. Attach the Faceplate and Restore the Power
Now that all your wires are connected, you can snap on the faceplate. If you find that your faceplate will not snap on, check the wiring to see if they need to be tucked back so they are not in the way.
Once you have attached the faceplate, you can turn on the power on your HVAC system on the breaker panel. Then, give your thermostat a few minutes to start up fully.
7. Connect the Thermostat to WiFi
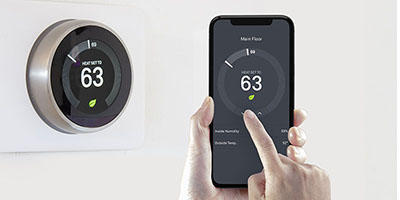
Once your thermostat has power, you are almost done. The last step is connecting your thermostat to the Wi-Fi. The thermostat should take you through some prompts to connect to the Wi-Fi. You may also want to check the manual for additional instructions on setting up the smartphone app.
Conclusion
Overall, you should highly consider installing a smart thermostat. Not only are they easy to use, but their benefits heavily outweigh the price tag over time. You will save lots of money by managing it remotely or having the system develop its schedule as it adapts to your household lifestyle. Their long-lasting impact will be a terrific addition to your home and wallet.

