Successful woodworking depends greatly on understanding how certain woodworking joints work and how to cut them. Each joint is also likely to have a couple of variations depending on the strength required and the preferred appearance. Let’s take a look at some of the tools you will need, a variety of woodworking joints, and how to cut each one.
Required Tools
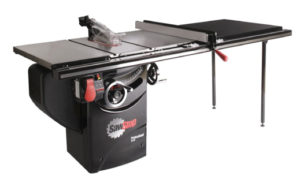
- Table Saw
- Miter Saw
- Jig Saw
- Jointers
- Pocket Hole Machine
- Biscuit Joiner
- Clamps
- Wood Glue
- Screws or Nails
Types of Woodworking Joints
- Butt Joint
- Mitered Butt Joint
- Lap Joint
- Finger or Box Joint
- Dovetail Joint
- Mortise and Tenon Joint
How to Cut a Butt Joint
The butt joint gets its name, honestly; it’s simply two pieces of wood butted up together and joined as a joint. The butt joint has no inherent strength, and you can’t simply glue the edges together. Butt joints do best when there is an interior structural device such as dowel rods, screws, pocket screws, or biscuits.
Cutting a butt joint isn’t difficult because the two flat ends of a couple of boards are being fastened together. A mitered butt joint, on the other hand, does require some specialty cutting. You’ll need to use the miter saw to cut the appropriate angles and a pocket hole machine, drill, or biscuit joiner to properly secure a mitered butt joint.
How to Cut a Lap Joint
The lap joint is another very simple joint that can be strengthened in much the same way as the butt joint. In the most basic terms, a lap joint is just two matching notches coming together to create a joint. A cross-lap joint can be used to add additional stability to a cabinet door that uses butt joints, for example.
Cutting a lap joint is as simple as making two notches and fitting them together. Glue and a clamp are generally the only tools you need besides a jig saw or chisel for cutting the notches. You can add decoration or strength by adding nails or screws.
How to Cut Finger or Box Joints
Put the palms of your hands together and lace your fingers – this is a good example of a finger joint. You will likely see finger joints in dresser drawers or other small boxes.
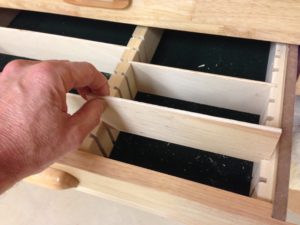
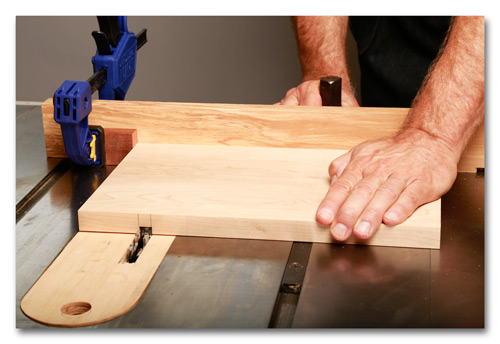
Cutting finger joints is best done using a jig on a table saw. Use a dado set to cut the notches, and notice that the small pin determines the space between the fingers. You can also get a specific jig saw for use on a router table.
How to Cut a Dovetail Joint
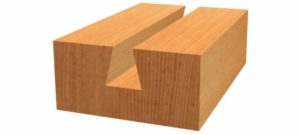
The dovetail joint is similar to the finger cut but much more elegant. It’s stronger than the finger joint because of the way the wood is cut. Instead of straight cuts like the finger cut, dovetail cuts are in the shape of a dove’s tail – hence the name – one side is wider than the other.
Cutting dovetail joints requires the same types of tools as the finger joint. Use a dovetail jig and a router to make short work of this fabulous cut.
How to Cut Mortise and Tenon Joints
The mortise and tenon joint is a solid way to join narrow pieces of wood. The word tenon is an old name for a square piece of wood that sticks out from the end of a board. The mortise is the square hole that the tenon fits into – so this is how the mortise and tenon joint gets its name.
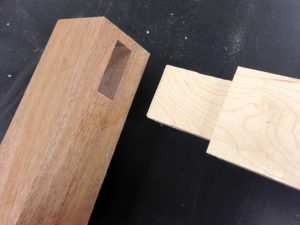
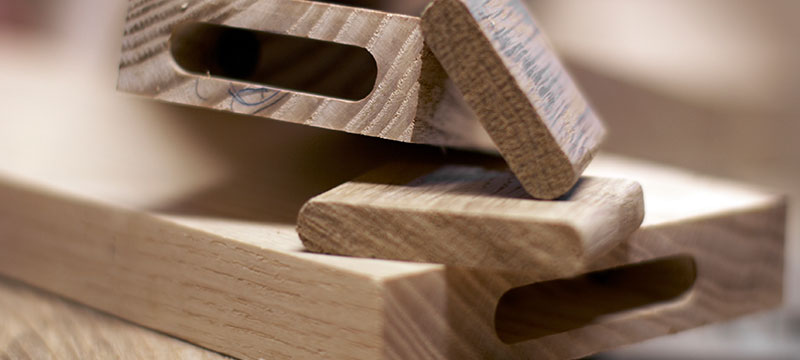
Cutting a mortise and tenon joint can be done with a handsaw and chisel, table saw, or band saw for the tenon. The mortise is a little more difficult, but you can use a router or a hollow-chisel mortiser.
Cutting Woodworking Joints by Hand
Very few people across the United States cut joints by hand, although it absolutely can be done. This usually requires the hand of a very skilled woodworker with a lot of patience for his or her craft. We have a wide selection of handheld woodworking tools if you’re in the market to replace old tools or if you’re a new woodworker looking to build up your toolbox.
Securing the Joint
There are several ways or combinations of ways to secure a joint. You can use nails, screws, glue, or any combination of the three. You can add dowels or biscuits for more stability in the joint. The term pocket joint refers to drilling a pilot hole at an angle between boards and connecting them with a screw. Always keep your woodworking area neat and clean to aid in the prevention of accidents. Dust management products will help with the workshop’s dust and air quality.


