Miter saws are a universal tool that can be used for framing on job sites, all the way to making intricate cuts on a small DIY project. Here are 5 Miter Saw Tips to give you the best results from your cuts.
#1 Use a Good Blade – Tooth Count
Generally, the higher the tooth count on the blade, the finer the cut. Except with the higher tooth count on the blade, you will want to push the saw through slower. A blade with as few as 14 teeth will cut quickly, but the end will be rough. These blades are great for thick stock.
A general framing blade will have 24 teeth; these blades will be best when making a lot of cuts for framing. 40 tooth blades work great for plywood; anything thinner might still have some blowout under the cut. 80 tooth blades create immaculate cuts, most common for finish work. These cuts are needed for projects such as crown molding.

#2 Wait until Blade Stops
It’s essential to keep the blade in the down position and wait until the blade entirely stops spinning. If the blade is still spinning when you pull the knife out of the material, a tooth could catch and pull up some material you just cut.
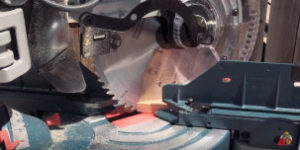
Another reason is if you pull the blade up while it is still spinning, it could shoot the piece you just cut across the room. This could not only break something but injure you or someone else.
#3 Extend Your Support
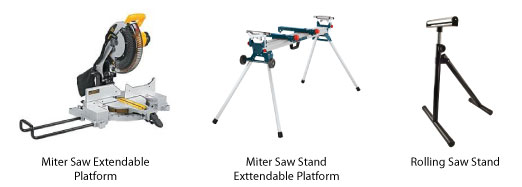
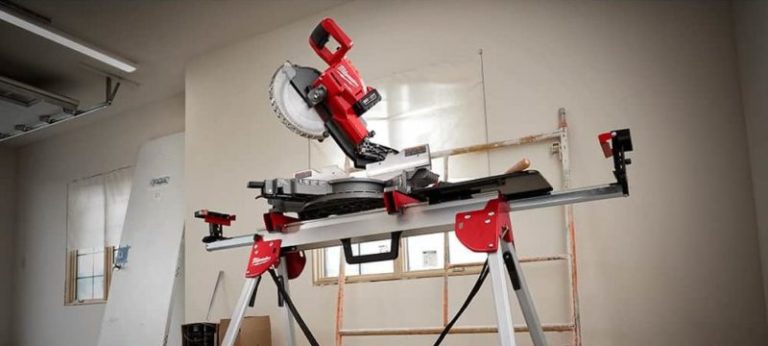
Extending your support will help you make an excellent, accurate cut with a longer piece of wood and keep the blade from binding up on you. These extendable platforms might be part of the saw itself, a part of the saw stand, or a rolling saw stand. Moreover, these are great for supporting and keeping that material; you’re working consistently, which will help create that clean cut.
#4 Increase the cut capacity
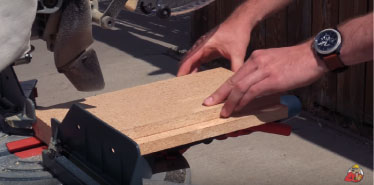
If you’re ever having issues with cutting across a wide board, raise the board you are trying to cut. This will extend your blade’s usage, giving you more length for the cut.
#5 Use Stop Blocks for Repeatable Cuts
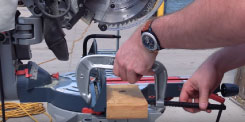
Clamp down a spare piece of wood to the miter saw, leaving the remaining space as the dimension you need the cuts to make every time. Most miter saws come with an on-the-table clamp.
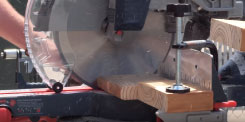
If your saw does not include a clamp, you can still use a generic C clamp to receive the same results.
Bonus Tip
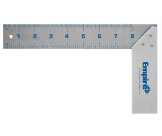
Every so often, you should double-check your miter saw alignment. After many cuts and bevel changes, it’s not uncommon for your miter saw to shift from its original straight alignment. Just simply test this by taking a square and measuring it against your saw blade in the down position.

One Comment
David A. thomas
June 8, 2021 at 2:53 pmAwesome post. I like your miter saw using tips and ideas. You have shared essential miter saw tips and ideas. I agree with a lot your views. This is engaging and well worded.
Thanks Mate for your great submission.