The French cleat is a tried-and-true method of hanging a cabinet securely on a wall. Here’s how to use this technique to build a highly customizable storage system for your garage. Not only is it simple to build, but once up on the wall, this system is flexible enough to be quickly rearranged on the fly to accommodate your ever-changing storage needs.
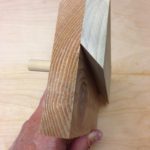
The foundation for this system is a series of wood strips, each with a 45-degree angle cut on the top edge. The strips are mounted to the wall so that storage pieces with mating 45-degree cuts will hang from them.
Step 1: Cut and hang the French Cleat strips.
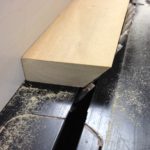
Determine the number and length of your strips. We put up several 3”-wide strips the length of the wall with 16” between them. (You’ll want to make the strips at least long enough to be anchored into two wall studs.) After cutting your strips to length, make a 45-degree cut on one edge. We used a table saw to make the 45-degree cut, but you can also use a circular or jig saw. Position the strips on the wall with the use of a level and then use screws to anchor them to studs. Note: the 45-degree cut is on the top inside edge.
Step 2: Build your storage pieces.
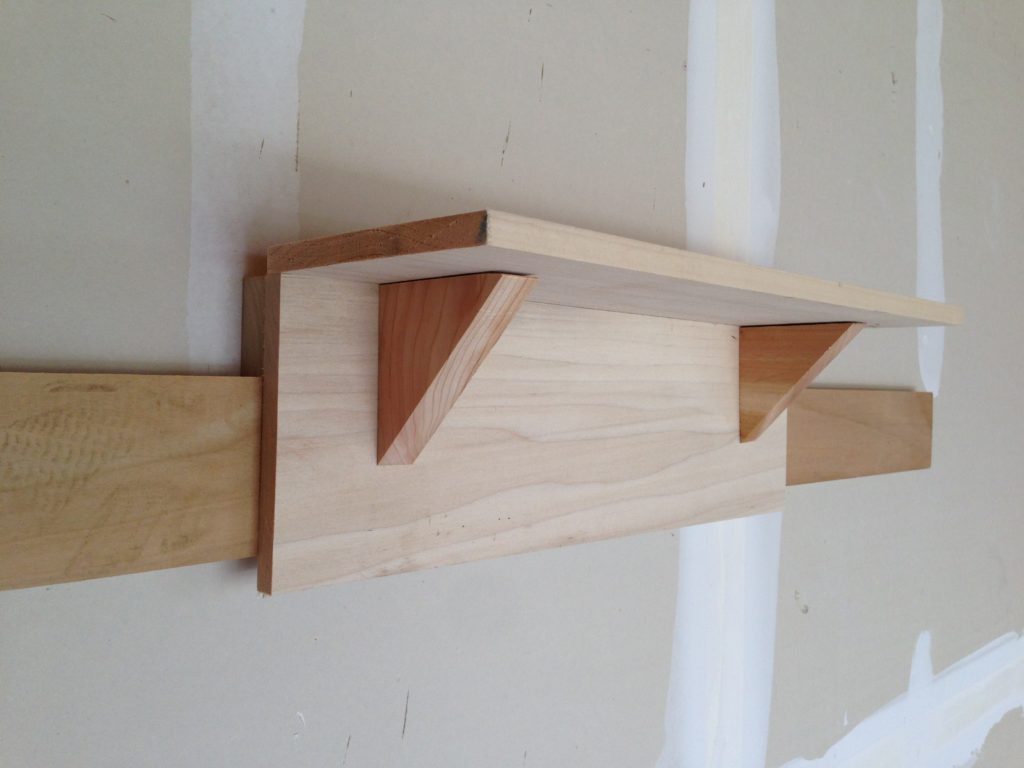
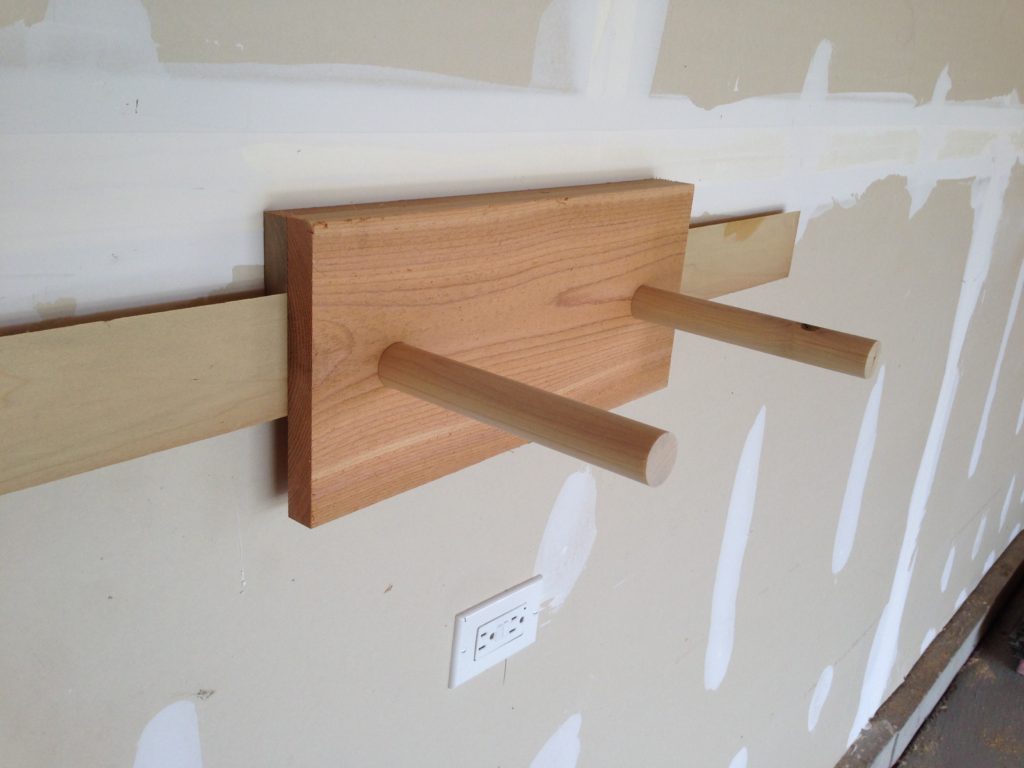
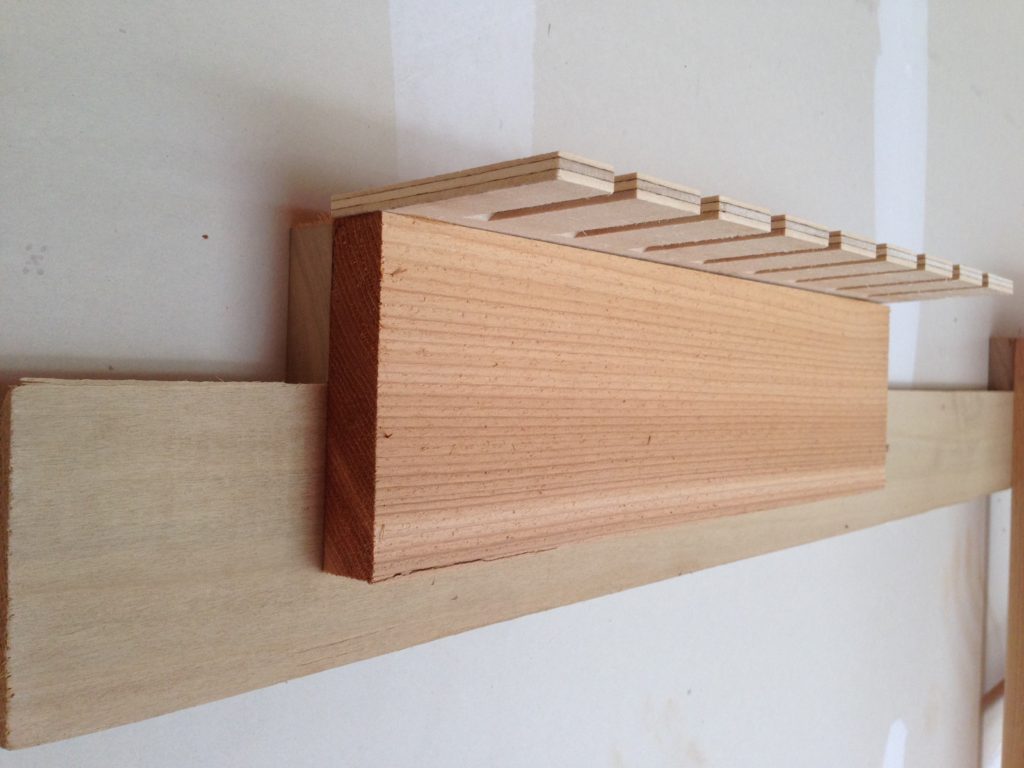
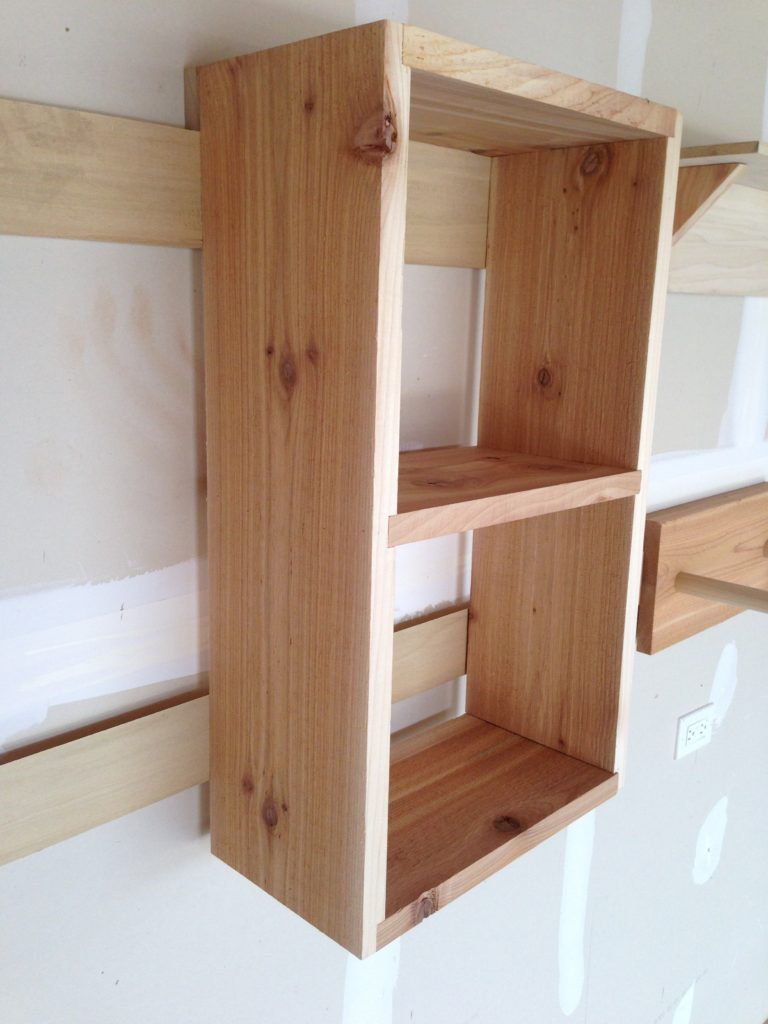
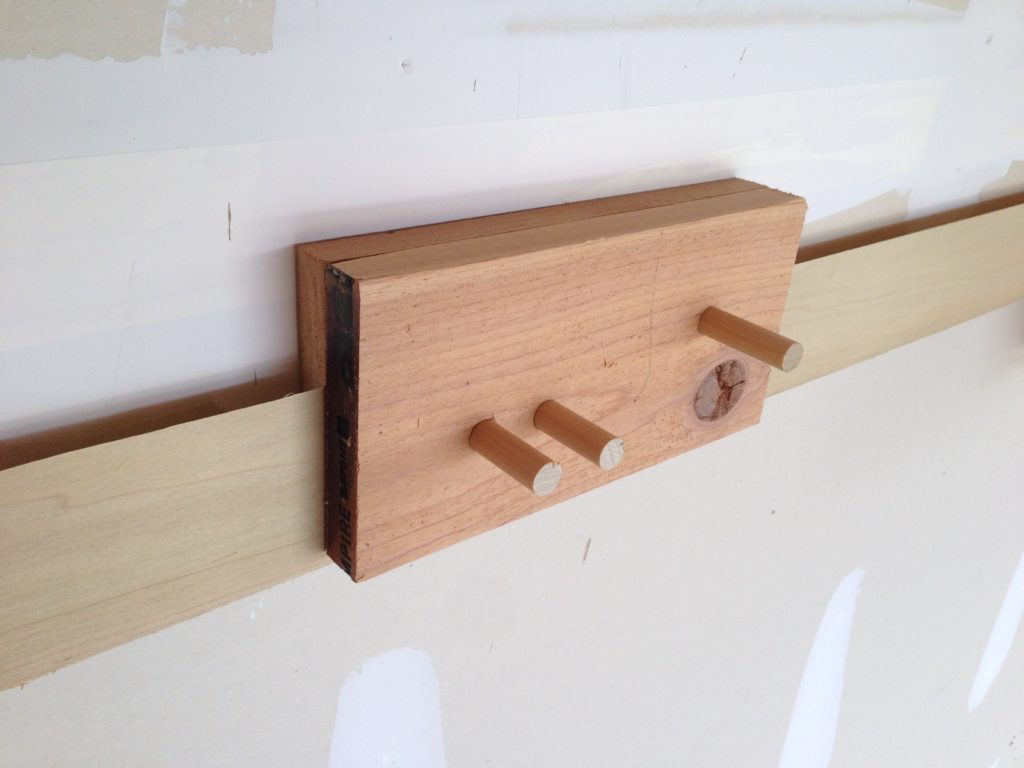
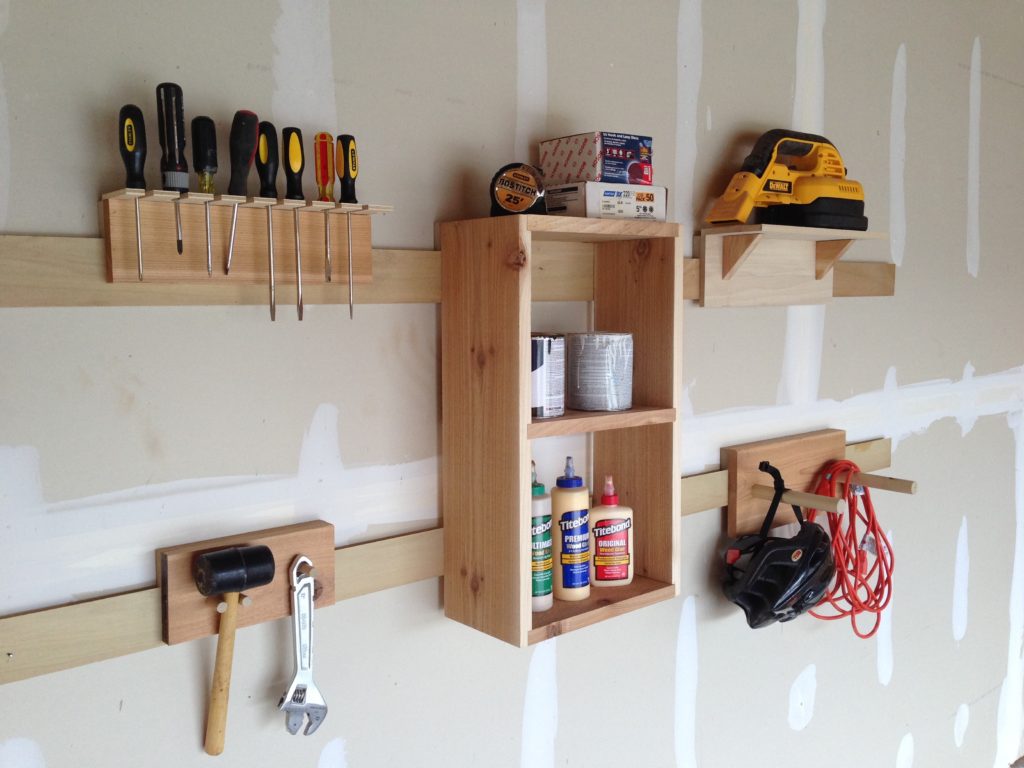
Start by making an inventory of the things you’d like to store. Then use your creativity to make pieces to hold these items. Below are a few ideas. (Also, you can attach cleats to existing or store-bought storage pieces.)
Step 3: Cut the cleats.
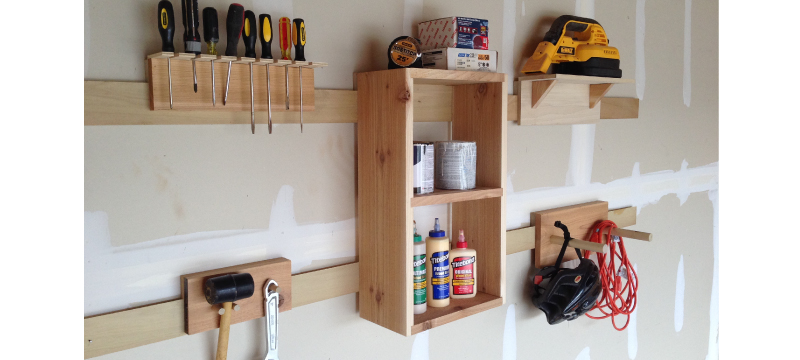
Cleats will be attached to the back of your storage pieces so that they will hang from the strips. (The above photos show the storage pieces with the cleats already in place.) To make the cleats, first cut a 3” wide strip with a 45-degree cut, similar to the way you cut the strips for the walls. Then, cut the strip to the widths of your various storage pieces.
Step 4: Attach the cleats and hang your storage pieces.
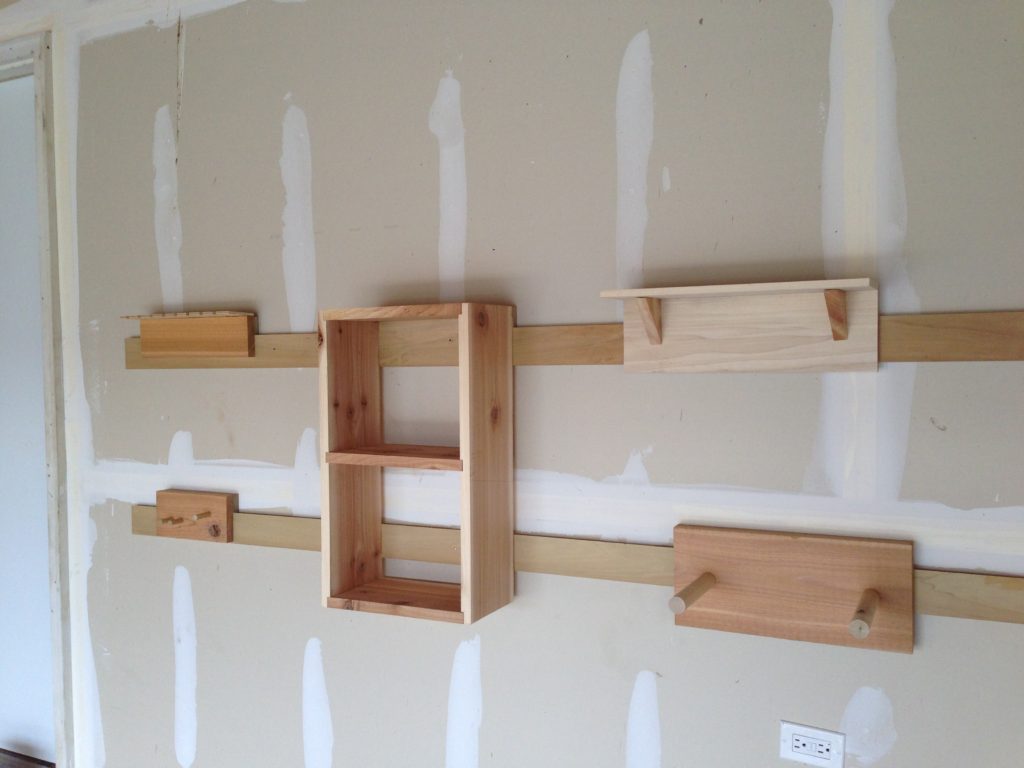
Screw the cleats to the back of your storage pieces so that they will hang from the strips on the wall. Hang your storage pieces for maximum accessibility and space utilization. Don’t worry about being perfect – the pieces can be rearranged quickly and easily, over and over again.


14 Comments
Mike Dickson
June 12, 2017 at 11:28 pmAn obviously great idea. Much adaptability compared to metal strips requiring slotted verticals at shelf support intervals. Hats off!
Acme Tools
June 13, 2017 at 7:48 amHi Mike,
Thank you for your comments. The best thing about using a French Cleat is that you can hang anything from pictures to cabinets using them and if you need to adjust the item left or right it is as easy as picking it up, moving it, and then place it back down on the cleat.
Thank you,
Acme Tools
Cyn Richardson
June 13, 2017 at 8:48 amThis came in the perfect time for me, I’m beginning to create a new workshop and this is the perfect solution for organizing everything! Thanks!
Acme Tools
June 13, 2017 at 8:55 amHello,
Thank you for your comments. We are glad to hear that we were able to help find a storage solution for you. One of the best features about the French Cleat is that you can easily move the fixtures to a different area or create a Cleat Wall and hang your tools where you need them.
Thank you,
Acme Tools
Mike
September 22, 2017 at 7:18 amPerfect! I’ve been waiting for a solution to my storage problem in the garage, and this is it.
Thanks
Acme Tools
September 25, 2017 at 9:10 amHi Mike, Thank you for your comment and we are happy to hear that these will work for you. The French Cleat is a quick and effective hanging solution for all types of projects.
Thank you,
Acme Tools
John
January 13, 2018 at 10:00 pmIt’s the perfect way to hang padded headboards too. No damage to the wall from the headboard hitting the wall and no legs getting in the way when cleaning under the bed.
Kevin
January 29, 2018 at 12:29 amDo you ever have problems with the cleats and attached hanger inadvertently lifting out of the strips when removing a tool (rake, shovel, etc.) from its hanger?
Acme Tools
January 29, 2018 at 9:30 amHello, Thank you for your comment. Typically the friction between the hanger and cleat is enough to keep the hanger in place but you may notice some slight movement of the hanger when the item is first removed or if the hanger is designed to fit the item very tight. If you have a hanger that actually falls off of the cleat make sure the connection was cut at a 45 degree angle and that the item the hanger is holding can be removed by pulling straight away from the wall instead of upwards.
Thank you,
Acme Tools
Shawn
April 22, 2018 at 11:01 pmAn optional fix to prevent a hanger from lifting might be to drill thru the hanger and into the wall cleat, then pop in a small dowel plug. To move the hangar, simply remove the plug.
Another option might be to install a pair of small reverse cleats on the rear edges of the hanger, an inch below the wall cleat & flipped horizontally. Just slide in one inch “locking cleats”, cut to fit between them and the wall cleat.
Good stuff here, Acme. I have already used this approach to hang a small kitchen cupboard. In over thought o put this idea to my closet project. Mike D mentioned using this method instead of the hanging slotted steel pieces (& shelving). That stuff is expensive. Thanks for the idea, Mike, I’ll have to give this one some thought.
Mike
February 17, 2020 at 10:26 amI have always been curious about the weight restrictions on a French Cleat. I want to build a floating shelf low on a feature wall.
Mike
April 21, 2020 at 10:37 pmWe recently renovated our kitchen and since the old cabinets were over 30 yrs old we could not even give them away. But I also needed some storage for my garage work shop and the cabinets were perfect for that.
I used this idea to hang the old cabinets On the walls and they work great!
French cleats are one of my main tools for hanging things on walls That may need to be changed in the future.
Sky
January 22, 2022 at 7:41 amWhat kind of wood is used for the these? 2 x 4’s?
Acme Tools
January 24, 2022 at 9:24 amHello, Thank you for your question. 2×4’s are commonly used because of their relatively low price but you can use almost any material that would support the weight you are adding to the shelf. The main thing to remember is the thicker the material the more depth you have to make a secure joint. We recommend using material that is at least 1/2″ thick.
Thank you,
Acme Tools