If your home is short on space and has no room for a desk, this build helps make one appear when needed and store easily when done. Learn how to make a Murphy Table in a day that will cost you less than 100 dollars!
Murphy items are designed to use space efficiently without being in the way. You can find Murphy beds that take up less room in small spaces, like studio apartments or guest bedrooms that need to be utility rooms. Well, this build shows you how to make a Murphy Table that is easy to assemble, will only take a day’s worth of building, and can cost up to 90 dollars or less, depending on your materials.
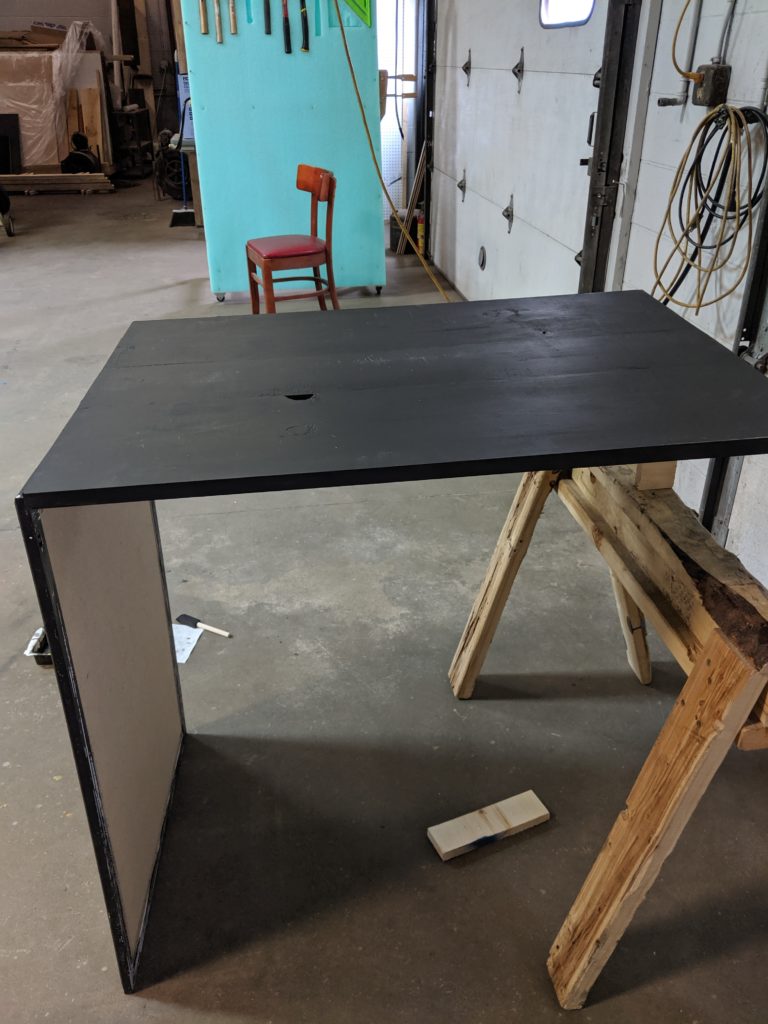
This whole build is centralized around one piece and must be measured and sized correctly. That piece is the frame, which will serve as your only external support for your table. With that said, the height of the frame needs to be comfortable for your use. Whether you are standing or sitting, make sure you find a height that is comfortable and has practical applications.
Afterward, measure your frame and determine your table’s maximum length and width. Anything below those numbers will give your Murphy table a skinny look that might not be aesthetically pleasing for most.
Some recommendations before building this table are whatever frame you choose to use, make sure that it has at least a 1-inch width around. Anything less has a high risk of screws puncturing when securing the hinges.
Tools Needed:
The essential tools are the only ones needed for this build. These are tools that any homeowner or DIYer has or should get.
Saw: Either Circular, Table, or Miter will do fine. A handsaw is an option, but it will increase your work time.
Drill and Drill Bits
Material Used:
1-pack of hinges
1-pack of heavy-duty hinges
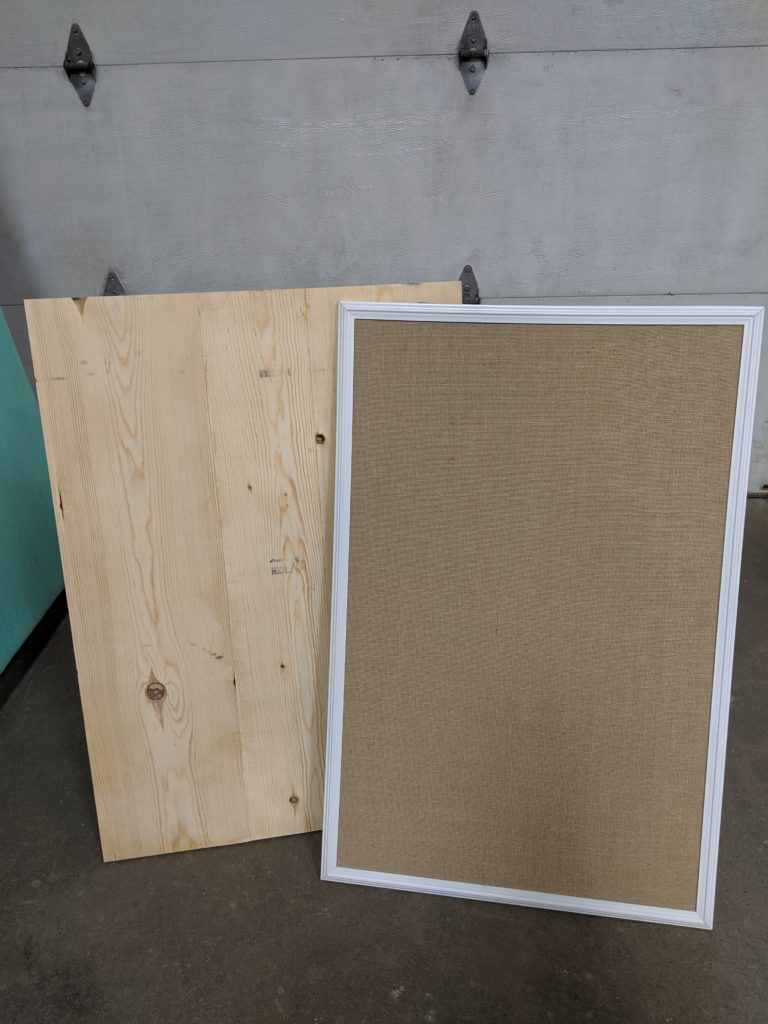
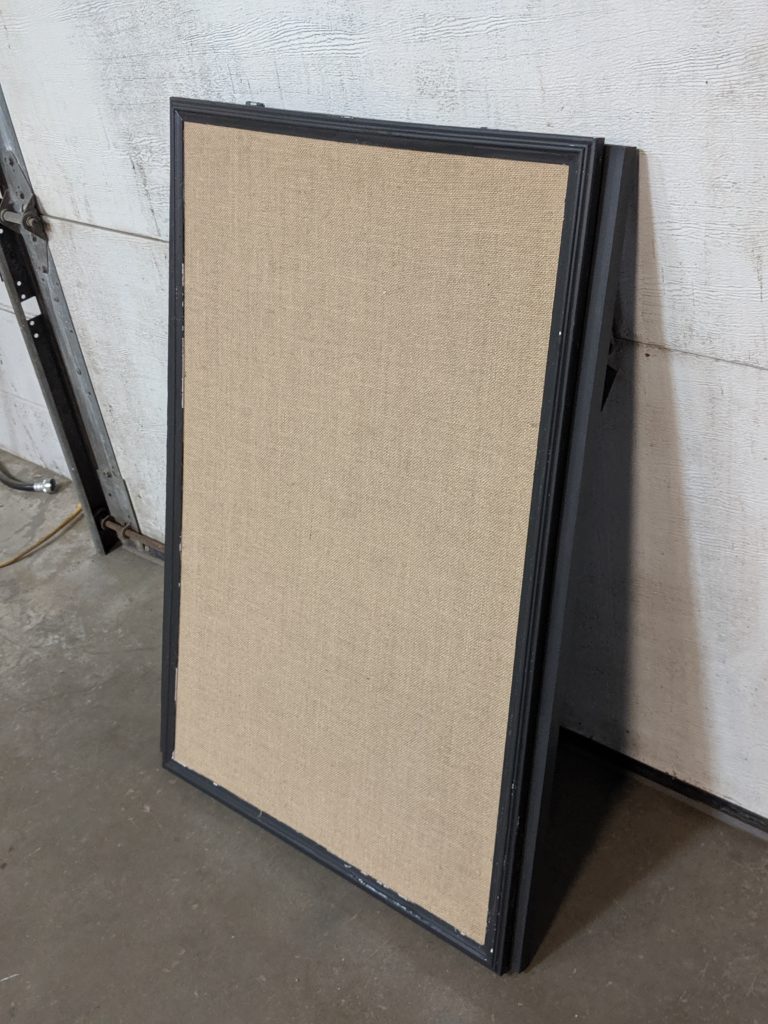
*Burlap Board
**2 x (1×8-6’) board
**Clamps
*You can easily replace the burlap board with a picture frame, a chalkboard, or a framed poster.
** This can be replaced with a single sheet of plywood or any other wood you have. You can forget about the wood glue entirely if it is a single solid piece of wood.
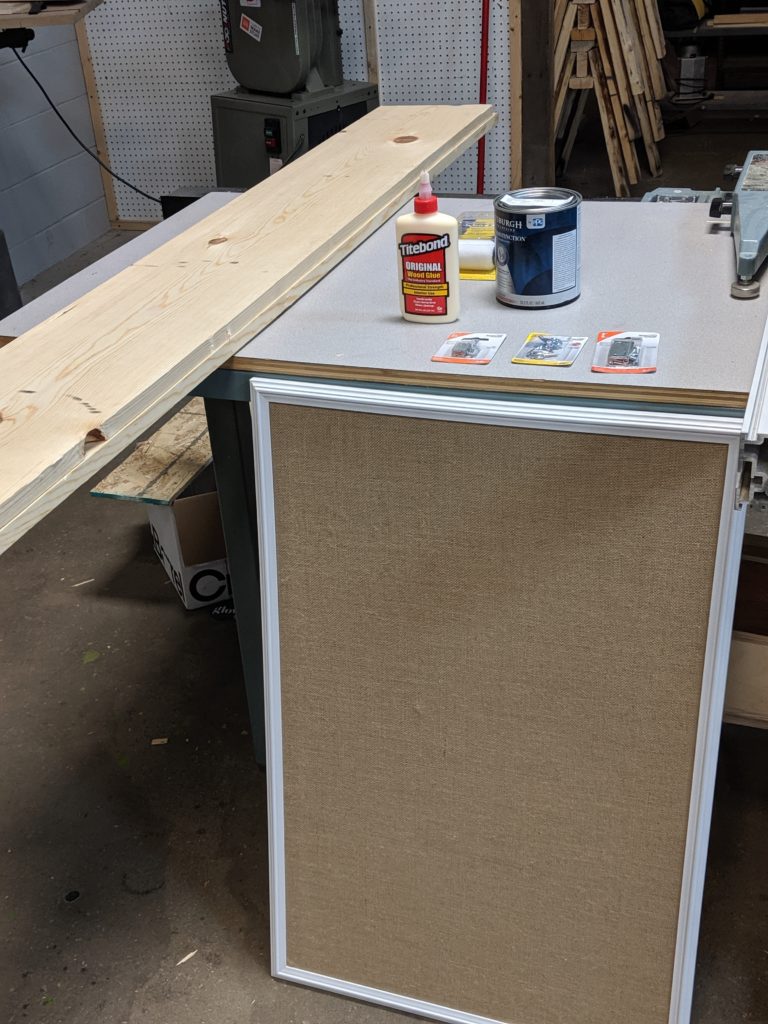
After you have your material and the measurements from your frame, you can get the correct sizes from your wood. From this point on, I will tell you how I did my build step by step.
Making the Cut(s)
To begin with, I measured and re-measured my frame to ensure the correct length and width to transfer onto my boards.
*If you are using a single piece of wood, you can skip many of these steps and continue to sand.
For my particular build, I had a frame that was 23 inches wide and 35 inches long. My two pieces of lumber measured 9 – ¼ inches wide and 72 inches long. I cut the boards to the proper frame length and made four pieces from my two boards.
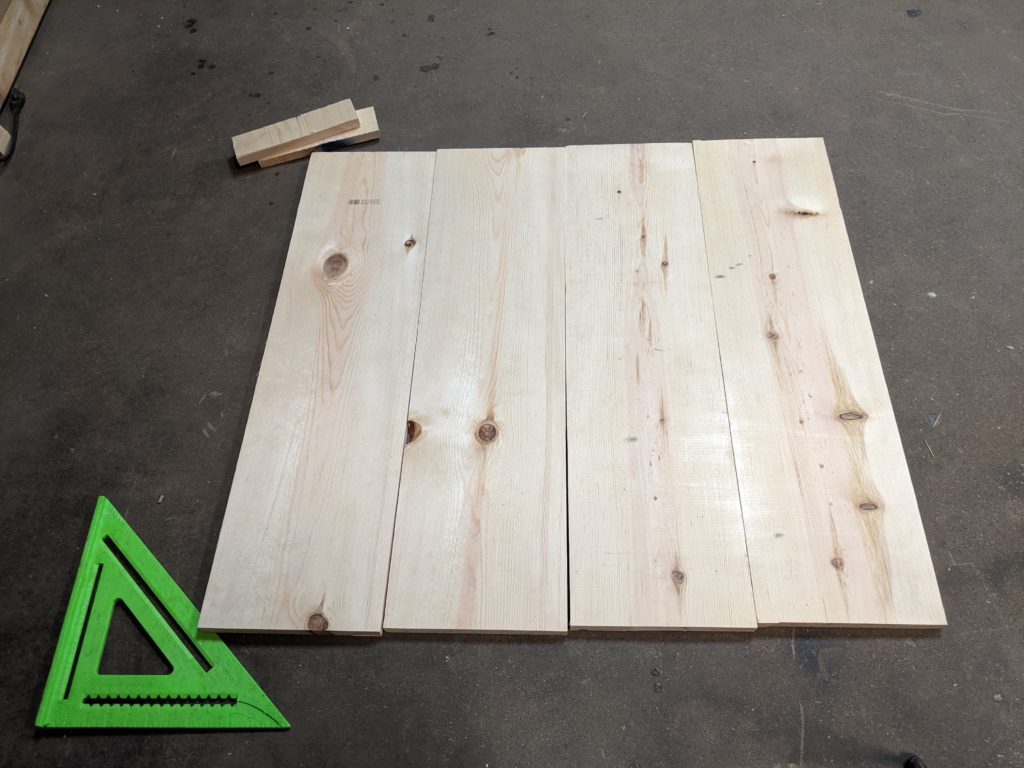
Next came the issue of ensuring I had the correct width for the table. From the four, I chose three that were level, neat, and relative to the same length.
Calculations
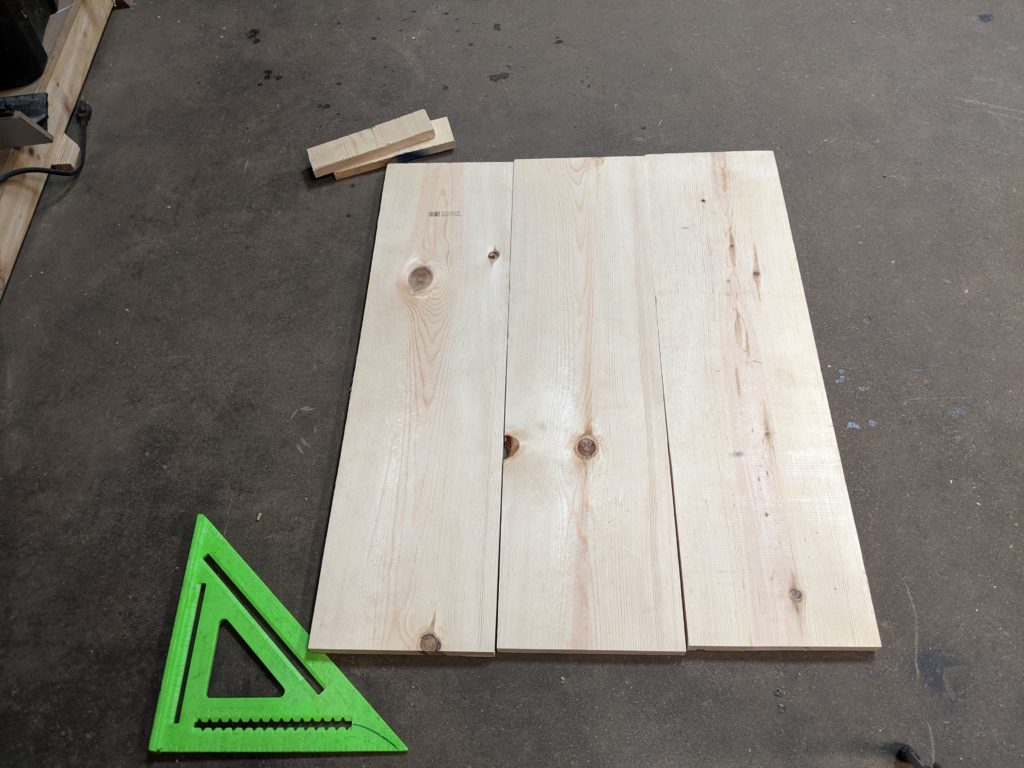
Next, I had to figure out the measurements for the boards to make one singular piece for the table top. I decided to create a centerpiece that was shorter in width in the middle so the wider ends would be equal and make it symmetrical.
That meant I had to do a little bit of math to get the proper measurements for my boards so that they were as proportional to my frame as possible.
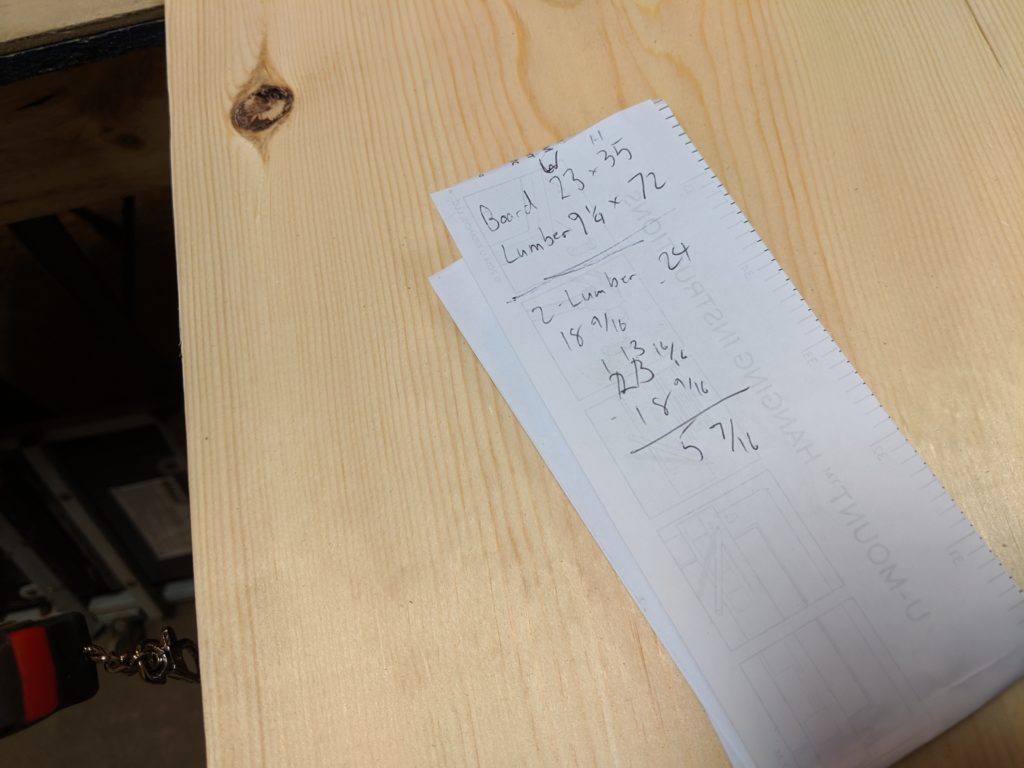
To make the math easy on my brain, I rounded up to 24 inches, giving me an inch of extra working room to account for errors. Subtracting the inches I needed from the ones I had available on the two boards, I came up with the length of my third board.
Once that was figured out, I cut my third board into its final shape and glued my pieces together.
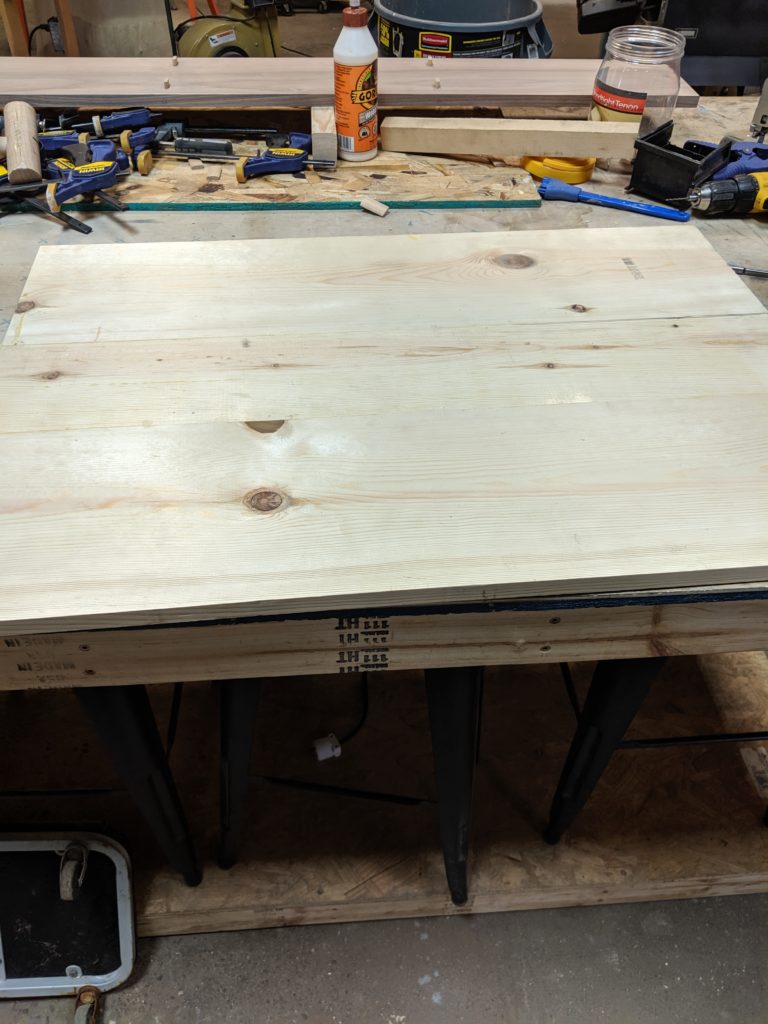
After drying, I cut the board to its final length.
Time to Sand
Then came the sanding process, which, thanks to a random orbital sander, was quick and far less time-consuming.
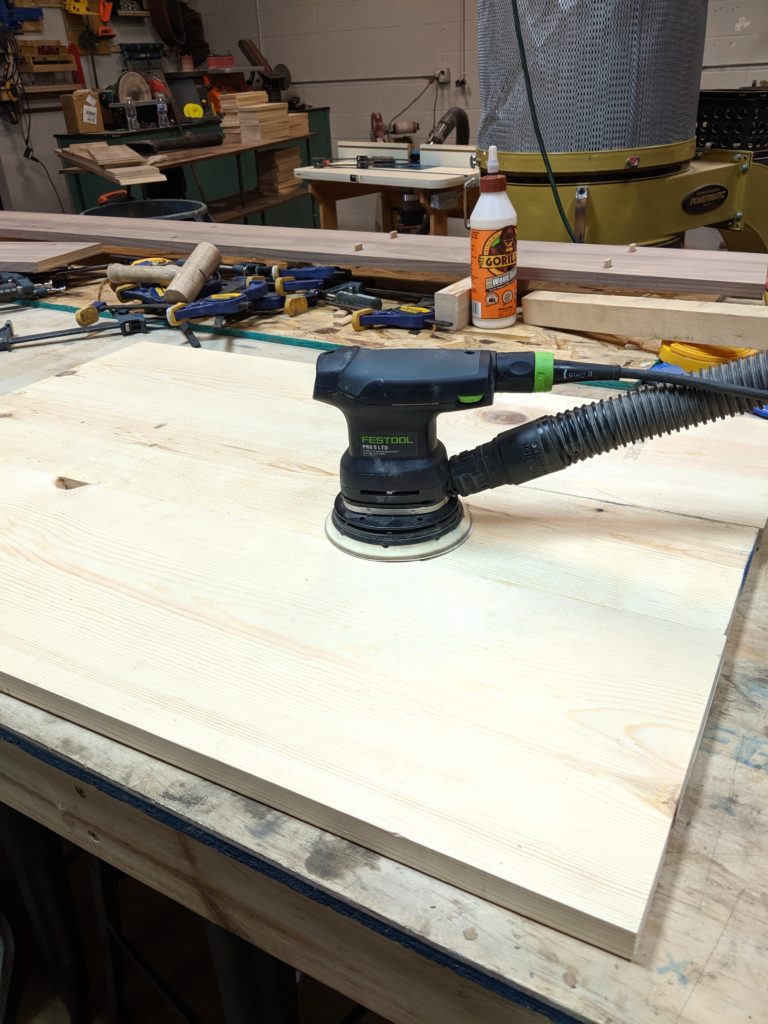
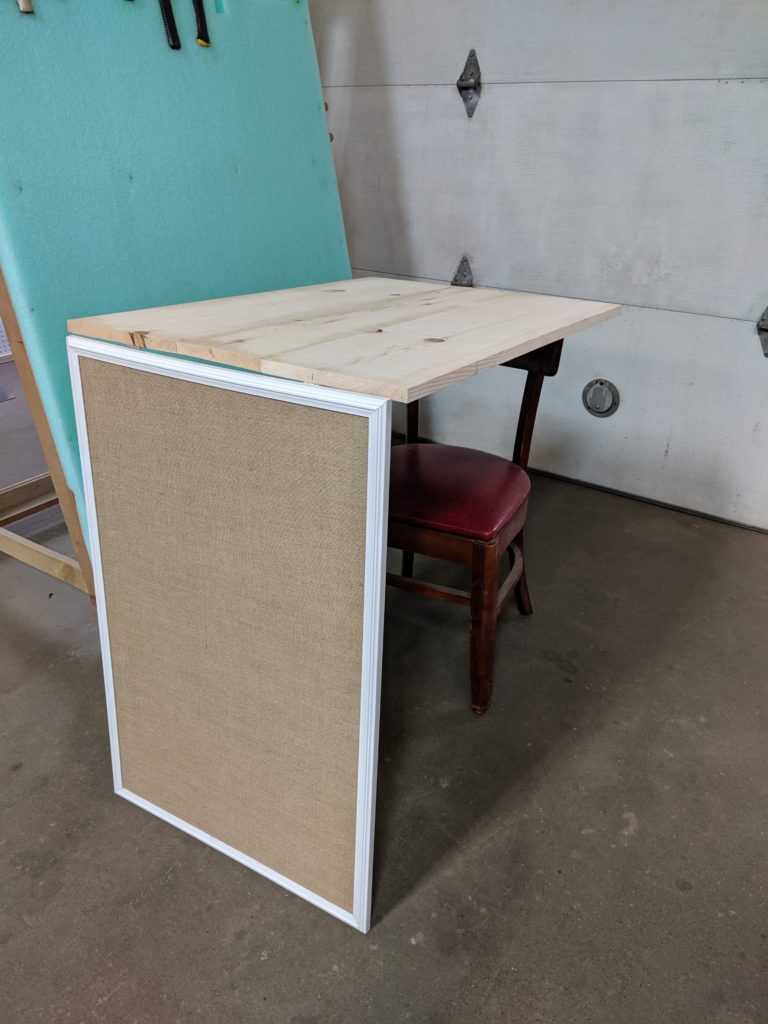
Table Assemble!
Next is the assembly to see how the project looks together. If you like the wood grain and bright color of this piece, you can stop here and call your Murphy Table complete. I, on the other hand, like simplicity and minimalism. Nothing says easier to blend than black to me.
Final Product
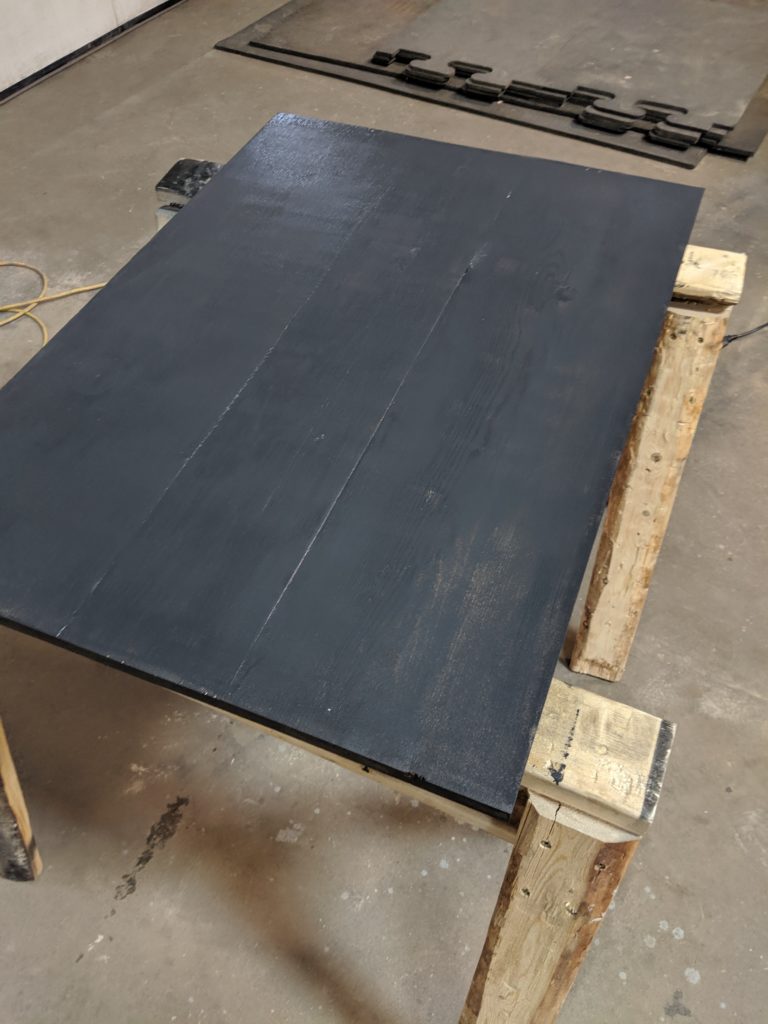
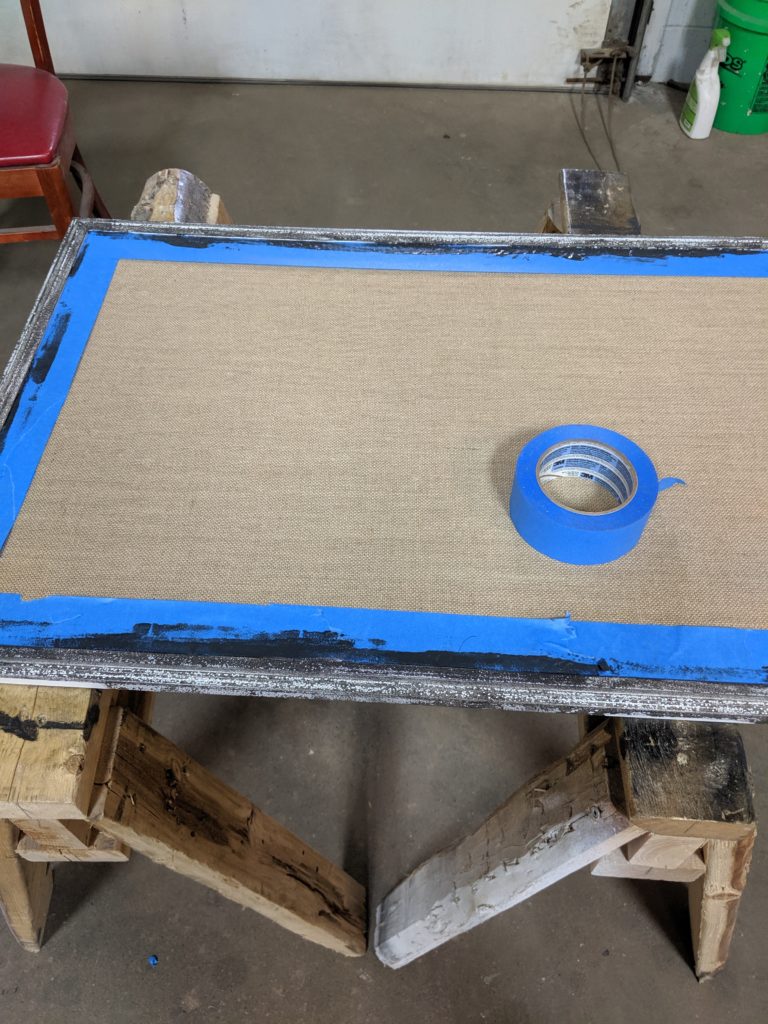
Moving onto the painting, I taped the burlap board to prevent paint from getting on the surface. After applying two coats and touching up a few spots, I reassembled the desk and created this final product.
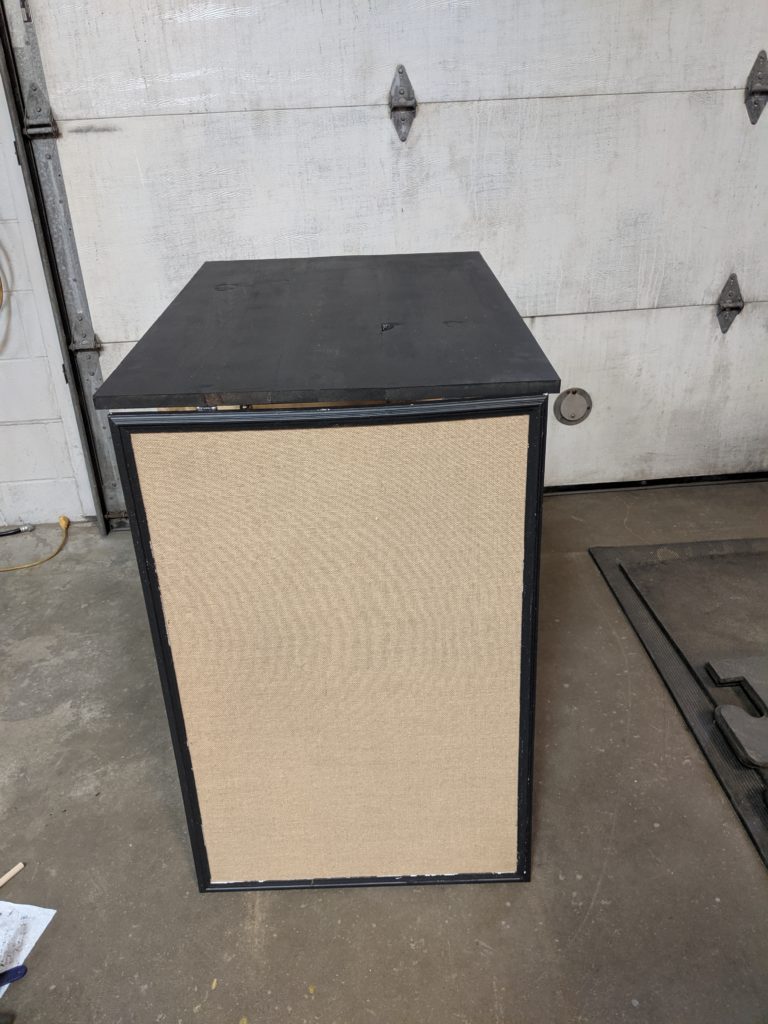
The Muphy Table is a simple build that didn’t take much time or require extensive knowledge about building. All it takes is confidence in handling the little planning and a willingness to work with any mistakes that come your way.
For instance, the table came out an inch shorter than the frame and half an inch wider on each side. Does it ruin the piece at all? No. The mistakes made while making this build made it more memorable and a great learning experience.
Where was this Built?
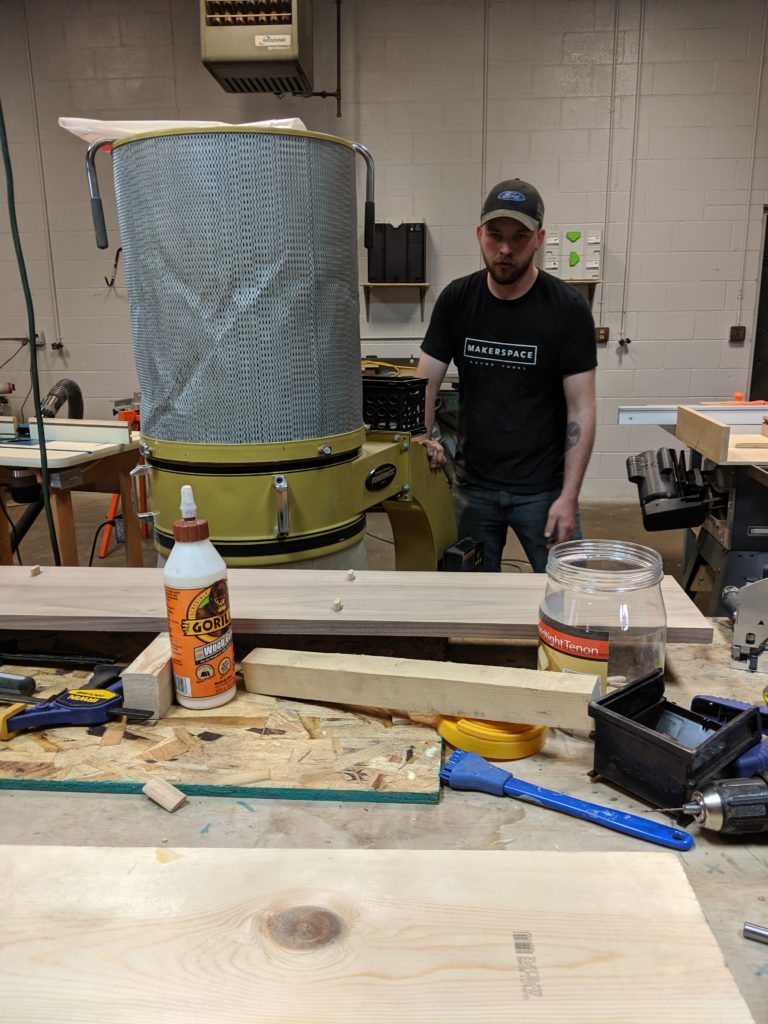
I didn’t own any of the tools used for this build. I used a place in Grand Forks, ND, called Makerspace. Makerspace is a unique place where it doesn’t have memberships and what it offers for you to build or finish projects. Makerspace is exclusive to Grand Forks, but many other businesses are similar to this one.
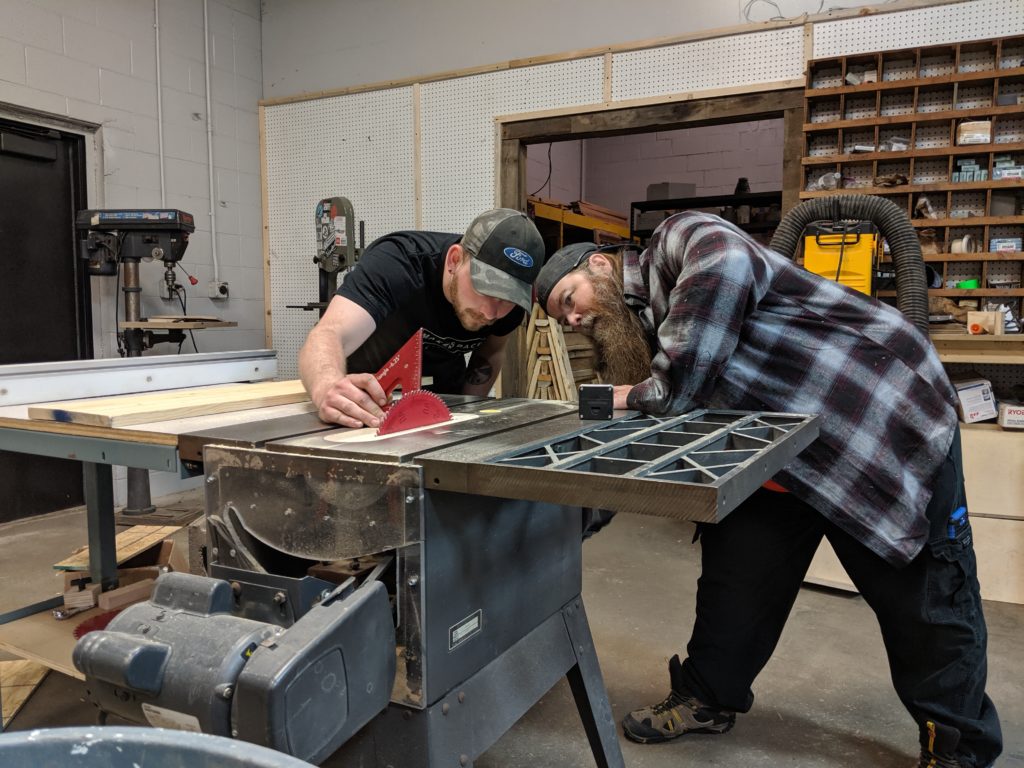
Creative spaces like this exist throughout the U.S. and offer an excellent way for beginners to use tools in a safe space with people who can help with their projects. I had the great pleasure of having a few of the regulars there to help set up and use the tools and lend a hand on the project.
Overall, this Murphy Table was a great DIY project and a simple solution for saving space in your home. The most remarkable thing about it, though, was that it could easily be adapted to fit your personal needs and skill level. If you have some building knowledge, you can make this piece stand out in your home. Add a shelf to your table to hide certain items until needed and require a workspace.
Did you enjoy this original Murphy Table build? Would you like to see more posts like this? Let us know in the comment section below what you think and what you would change about this project. If you want to see more builds or a buying guide to get the best tools, then check out the rest of the Acme Tools Blog.
If you don’t have a creative space like Makerspace available near you, you can order your tools at the Acme Tools Online Store. You can find daily deals to get the best do n’t-name brands. That way, you can work on any project because, at Acme Tools, we always want you to Do Your Best Work.