Add style and sturdiness to your outdoor patio with this build from Johnny Brooke from Crafter Workshop. This build initially used Ipe, a tropical hardwood from Brazil. If you can order that type of wood, go for it, but you could also substitute it for pressure-treated four-by-four.
Here is a step-by-step guide to building your new table:
Tools needed:
- Powermatic 15HH 15-inch planer
- Powermatic PJ-882HH 8-inch jointer
- Parallel Clamps
- Drill Press
- Festool Router
- Random Orbit Sander
- Angle Grinder
- Clean and Strip Disc
- Plasma Cutter
- Welder
Materials needed:
- 11 Ipe 3x3x6’s (Can substitute for pressure treated 4×4’s)
- ½” All-Thread
- ½” Flat Washers
- ½” Lock Washers
- ½” Nuts
- Teak Oil
- 10’ of ½” Thick Steel 3” Square Tubing
- Steel Plastic Plugs/Caps
What’s the cost?
- $189.07 (With the Ipe)
- $154.75 (With the Pressure Treated Wood)
Prerequisite:
If your lumber is not flat, you will have to mill them, so they are square and flat. If you don’t have a jointer or a planer, you could buy them pre-milled.
Phase 1: The building process
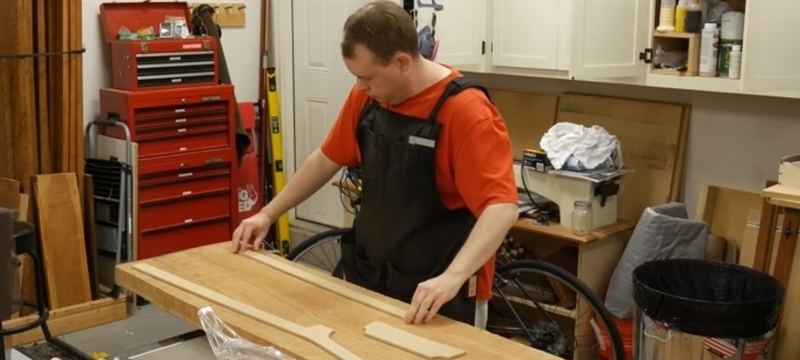
Step 1:
Lay out your boards for assembly and add washers between each board to give an idea of the final look. It is crucial to have gaps for outdoor table tops so water can drain. You would want a gap of 1/8” between each board.
Step 2:
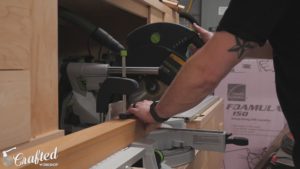
Next, cut the ends of the boards square and cut them to their final length. Cut off one end of each board at the miter saw and cut away any cracked areas in the video; they came out to seventy-six inches long. Tip: After trimming one end, set up a stop block at your saw station using a square and clamps. The setup will ensure that all your boards are the same length.
Step 3:
Once cut to the final length, you can start drilling holes for the all-thread to run through the boards. The threads connect all the boards. The first holes require you to use a countersink drill bit for holes so the nut and washers can sit on the outside edge of the table. While drilling, you use the 1-1/2” Forstner bit, drilling deep enough to recess the nut fully.
- Tip: Set it for quick and easy work after figuring out the depth.
Step 4:
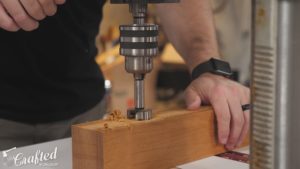
Switch over to the five-eighths” Forstner bit and drill into the board about halfway through. Flip the board and continue drilling the hole from the other side of the board until the two holes meet. Tip: Take your time! You do not want to overheat the bit. Also, wear a dust mask throughout the whole project.
Step 5:
After drilling all the holes, round over the edges for a smooth, clean look.
Step 6:
Sanding. Let’s start with 80-grit sandpaper using a random orbit sander on the flat surfaces and ends of the boards. You might need to hand sand for stubborn and challenging edges.
Phase 2: Making it look nice
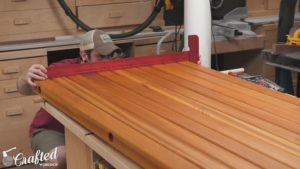
Step 7:
Apply the Teak Oil finish to your project. It is designed to work with dense hardwood and is extremely simple to apply. Break up the beams into two groups and finish one before moving on to the other. Putting on a heavy coat, let the wood soak up for up to 10 minutes, apply another heavy coat, let that soak in for 20 minutes, and wipe off the excess. Wiping off the excess before letting it set too long is vital. If not, the finish will get gummy and extremely difficult to wipe off otherwise.
Step 8:
With the boards at their finished size, you can cut all your threads to their final lengths of thirty-four.” You can use a portal for this part, but a hacksaw would work just as well.
Tip: Use zinc-coated hardware in this project. The material will hold up well outside.
Step 9:
Finally, assemble the top. Run all the thread through the holes, adding two washers between each board and a flat washer, lock washer, and nut at each end. Ensure all the boards are aligned, and then tighten the nuts to secure the boards together. The lock washers will keep the nuts from loosening over time.
Phase 3: Metal Working
Step 10:
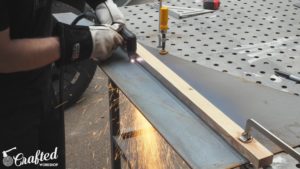
Start with one-eighth” thick plate steel or four” wide steel flat bar and cut the steel pieces to width. Mark out where to cut and clamp a straight edge in place.
To make the cuts, you can use a plasma cutter or angle grinder and cut off the wheel.
Step 11:
Mark out the length of the pieces, thirty-two inches in the video, and cut them to size using a metal saw. Again, an angle grinder with a cut-off wheel will work as well.
Step 12:
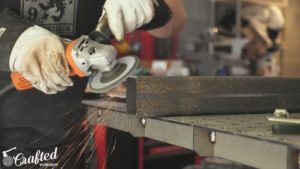
The pieces in their final size clean up the edges with a flap disc. Cleaning the edges would remove any dross left using the plasma cutter. Then, slightly round the corners of the wood, removing the sharp edges.
Step 13:
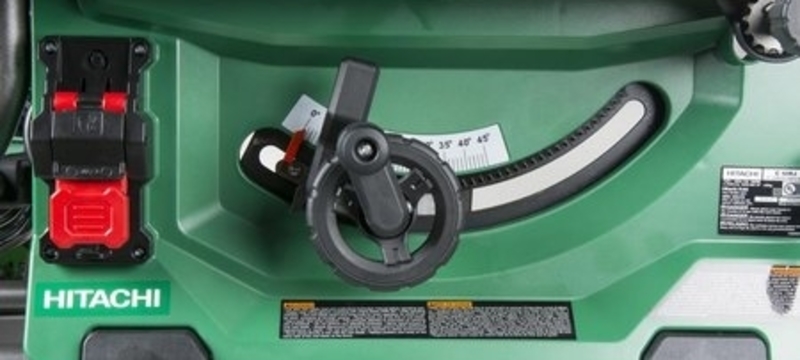
Next, cut the legs to sizes. The legs in the videos are one-eighth” thick 3-inch square tubing. You will need about ten feet of tubing for this build. Each leg needs to be cut to twenty-six ½” with a 10-degree angle on each end. Tip: Set a fence on your saw to degrees before making the first cut.
Step 14:
Cut the legs and bevel four of the edges on one end of the legs using an angle grinder. The bevel gives a better area for the weld to penetrate.
Step 15:
After ensuring the plate is flush with the leg clamp, the leg is placed. Start welding by first tacking the piece into place.
Step 16:
Once tacked, turn the leg assembly on the end and run full-length beads on all four edges.
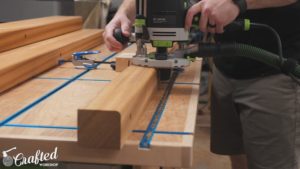
Step 17:
After finishing the leg assembly, mark out the locations for the holes that the screws would run through to attach the base to the top.
Use cutting fluid before drilling the holes. Ensure the holes are slightly oversized; this will account for any wood movement.
Step 18:
After drilling the holes, flip the base over and countersink the holes on the other side. Using the countersink bit removes any burr left from the drilling process and allows the head of the screws to sit flush with the surface of the base.
Prep for paint
Step 19:
The video used a Clean and Strip disc to remove the steel’s mill scale and surface rust.
Afterward, remove the entire base with acetone before adding a few coats of flat black enamel paint.
Step 20:
Add plastic caps to each of the feet to protect your patio and floor from the steel legs and keep the steel from being in contact with water. They give the legs a nice, finished look and are simple to install.
Step 21:
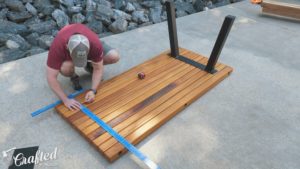
Finally, attach the base to the top using 1-1/4” exterior-rated screws. Make sure to pre-drill the holes. Once the base is attached, flip the table over, and your project is complete.
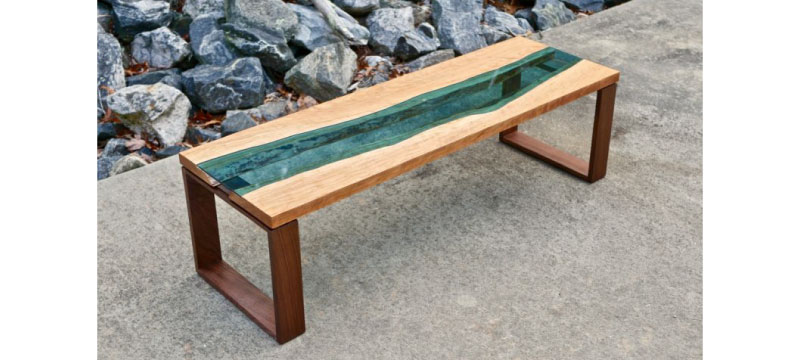
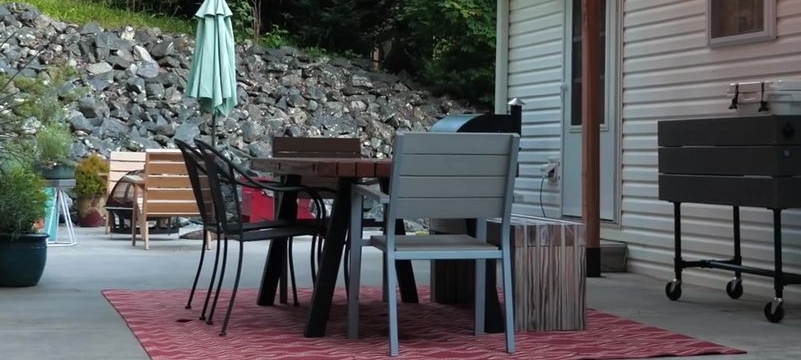
The Finished Product
Now, a fantastic table adds style and ruggedness to any room or patio. Did you find this building fun and engaging? Is this your next project for the upcoming season? Want to know more about the tools used and where to get them? You can find more builds like this on our Blog and the tools on the Acme Tools website. You can find great deals for all the tools used in this building or others that will better fit your needs and budget. Let us know in the comment section if you want to try or have tried this build. What changes would you make? What materials did you use instead?
We look forward to your comments and don’t forget to always Do Your Best Work.