Do you need more space in your workshop? We will show you how to utilize an overlooked area in your shop, the space underneath your table saw. You can transform an unused area into your custom table saw cabinet step-by-step. I have been making an awful lot of storage cabinets and drawers lately.
They are always handy furniture, and the drawer space is a welcome addition for preventing clutter. If you go back over the last year and look at all the videos I have done on the subject, you will notice I have never made one the same way twice.
I enjoy making shop furniture because it allows me to practice an existing skill or learn a new one on something that isn’t critical. I am not making it as a gift or as a piece to sell – it is just for me. So, I like to make them as lovely as possible, but nobody cares if they have flaws, and I can look at those flaws as learning experiences and lessons on how to do a better job the next time.
First Time Using a Dado
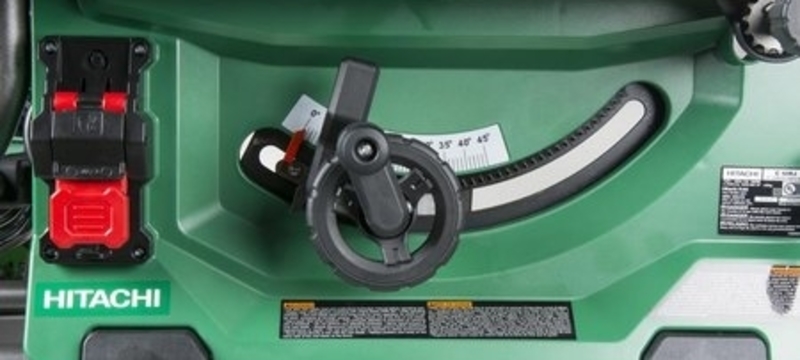
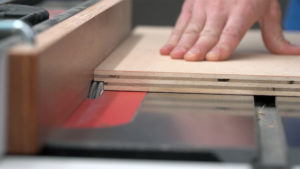
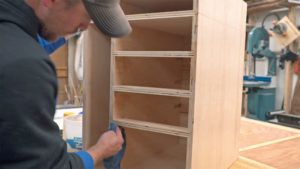
In this case, the significant difference is using a Dado stack in my table saw for the first time to cut the joinery. I was not set up to do this before at the small job site I used to have. When I was shopping for a new table, I saw having the ability to do precise dado and rabbet cuts was a high priority on my checklist.
Since this is my first time using a dado stack, I will not try to guide you on how to use them. I was cautious about setting up the different blades and worked carefully as I made cuts. The result was one of the most stable cabinets I have ever built, and it was straightforward to put together because all the pieces lined up perfectly and held each other in place.
- All I had to do was add glue and a few brad nails to hold it together.
Decoration
The small pieces I put across the front do not serve any functional purpose. I decided to use this plywood box’s front edges as a face frame. So, these three strips, which I call fake rails, are just cosmetic and will show through the gaps between the middle drawers.
Let’s Begin! But First, Measure Again.
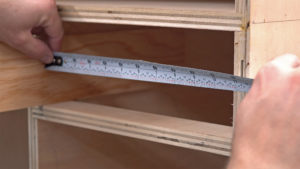
I worked out the sizing of my drawers in my plans, but what works out perfectly in the virtual world does not always match reality. To compensate for plywood that does not necessarily measure up to its claimed value, I measured the actual space the drawers would fit into.
I held one piece of plywood in place to account for the width lost in the drawer sides, then took that measurement and subtracted another inch to account for the pair of drawer slides.
It’s Dado and Rabbet Season
After cutting all the drawer parts to their corrected sizes, I again used the Dado stack to add a rabbet to the ends of the side pieces. Then, I cut a thin dado into the inside face of every drawer piece to create a channel for the drawer bottoms.
Assembly is a Piece of Cake
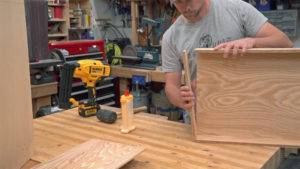
Assembling the drawers was, once again, a piece of cake – thanks to having these pre-cut grooves set up correctly. I just provided a little encouragement with a mallet to get the drawer bottoms in place. Then, I put glue on the rabbits and slid the front and back pieces in place. A few more of Brad’s nails held things together while the glue dried.
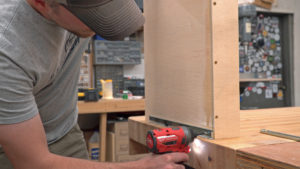
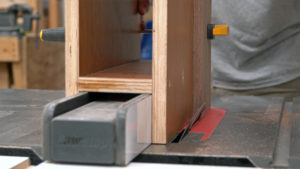
Installing the Slides
When putting the drawer slides on the vertical sliding panel, I just let them sit flat on the workbench as a reference point. Next, I had to install the other pieces of the slides inside the cabinet, and I like to do this with the cabinet lying on its side to avoid fighting gravity. More out of sheer dumb luck than any planning, I pushed the slides nervously against the top and bottom of the space, putting everything in perfect alignment.
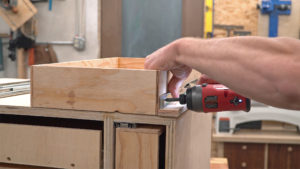
Time For the Drawers
Switching to the drawer bodies, I attached these slides with a half-inch plywood spacer underneath. This makes the full slide line up precisely with the bottom of the drawer.
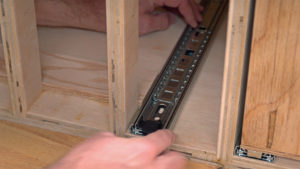
Use Scrap to Get Dummy Proof Installation
I used two scrap pieces cut just a shade higher than the top fake rail to reference off the bottom of the cabinet. I butted the slide up to that and screwed it down, then flipped the cabinet over and did the same thing.
Then, I cut the scrap pieces to the height of the middle rail and repeated the process, and so on, until all the drawers were in. This is an excellent way to get a dummy-proof installation with minimal waste material.
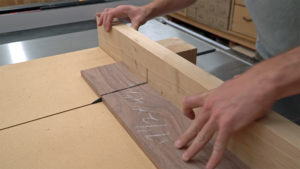
Making Drawer Fronts
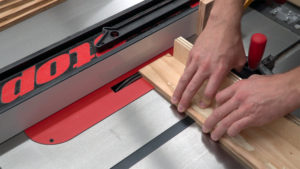
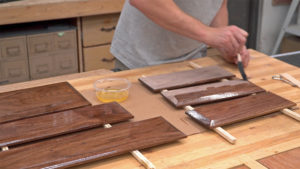
I flattened and squared a rough-sawn black walnut board, then cut it down to size to make drawer fronts.
Getting a Good Angle
I used a bevel-cutting jig to add an exciting profile around the face of each drawer front. You might think you could make these cuts just by running the board along the fence, especially on small pieces, but this jig makes the process much easier and safer by firmly holding the workpiece and letting you keep your hands far out of harm’s way.
Prepping the Draw Faces
I drilled holes for the handles at the drill press. Then, I added some fast-drying satin polyurethane to make that black walnut pop.
Lining Everything Up
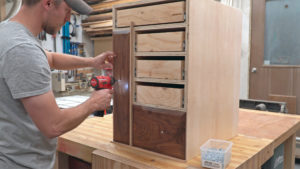
I cut a strip of wood to precisely one-quarter inch to use as a spacer when lining up the faces on the cabinet. Laying the strip on the workbench, I lined up the first face, then fastened it to the drawer behind it by running screws through the handle holes. I used another spacer to line up the vertical face and attached it.
Coming Together
Then I just moved the spacers and worked my way up. I was nervous I would have gotten one of my measurements wrong, which would not align. But when I got to the two corners that would make or break this look, they were precisely in line.
Installing Drawer Pulls
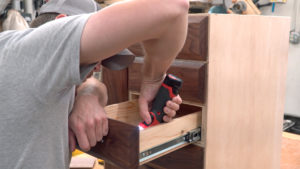
With all the faces lined up, I could pull the drawers out and then run screws in from the back to hold them in place permanently. Then I pulled the front screws back out and installed the drawer pulls in their place.

Marking Out Spaces
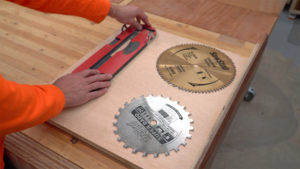
I spaced out the different things I wanted to hang from the sliding panel. Then, I made marks, drilled a few holes, and glued them in dowels.
All Done!
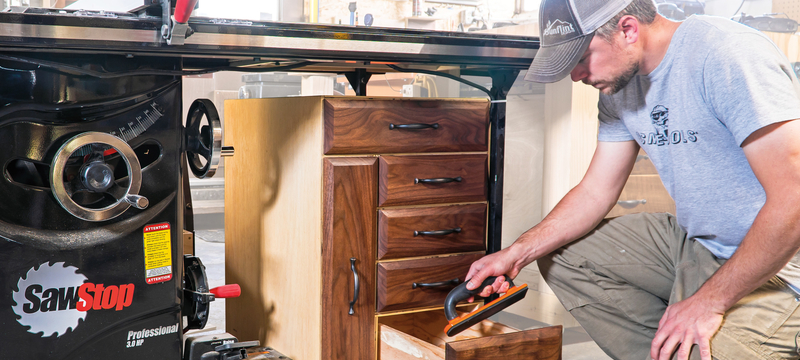
The cabinet was finished at this point, so I cleaned the space under the table saw, put the cabinet in position, and started loading it up. I want to point out that I did not put wheels on this because I do not intend for it to move around. Without wheels, I could get 3 to 4 more inches of usable height built into the cabinet.
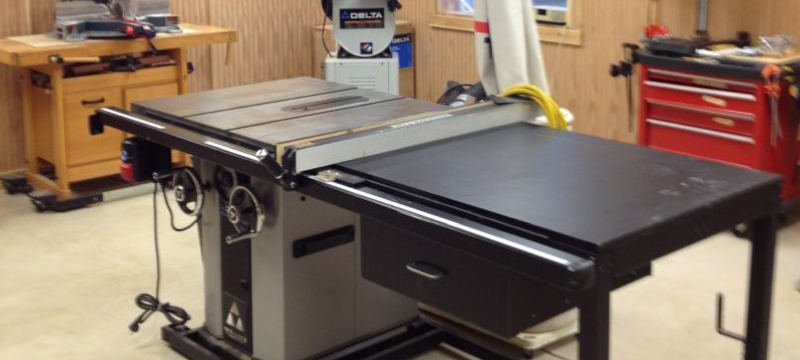
My cabinet is sized to fit under a SawStop PCS with a 36-inch table. It should be straightforward to modify this design to suit whatever table saw you have in your shop.
Mark Chryst of Gunflint Designs created the Video and Blog Post in partnership with Acme Tools. Check out more of Mark’s work on his blog or his Gunflint Designs website.
Did you find this helpful guide? Interested in other DIY builds like this? Follow our blog for the latest tools news, DIY builds, and other fantastic tool information. Are you looking for a new saw as well? Check out our Top Table Saws of 2018 to find the best one for your shop or garage.