Hardwood flooring has timeless beauty and durability, making it a popular choice for homeowners. However, not all hardwood floors are created equal in durability and longevity. Suppose you are looking at installing a durable hardwood floor that will stand the test of time; study this guide. So, you know the professional standards and tools to make the task more doable. This DIY hardwood floor installation guide will provide valuable tips and techniques for a successful and long-lasting installation.
Essential Tools for Hardwood Floor Installation
Putting in durable hardwood flooring yourself is an easy and rewarding DIY project. However, you will need the following essential tools to ensure a successful installation that results in a beautiful hardwood floor lasting for years.
Measuring and Layout Tools
Accurate measurements and precise layout are crucial to a successful hardwood flooring installation. Here are some essential tools to have to get these steps right:
- Tape Measure: A tape measure is essential for taking accurate room measurements, allowing you to determine the amount of flooring needed.
- Chalk Line: A chalk line tool creates straight guidelines on the subfloor, ensuring proper alignment during installation.
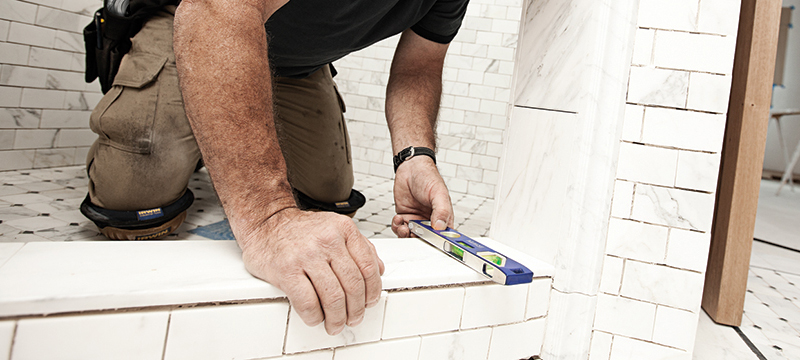
- Carpenters Square: This tool ensures accurate right angles and straight lines, enabling precise cuts and layout.
Cutting and Shaping Tools
The next set of tools is essential for cutting and shaping hardwood flooring to fit specific areas and edges:
- Circular Saw: A circular saw with a fine-toothed blade is ideal for cutting hardwood planks to the required length.
- Jigsaw: A jigsaw can come in handy for making intricate cuts, particularly for fitting the planks around corners, doorways, and other obstacles.
- Table Saw: Although not mandatory, a table saw can help make precise rip cuts and ensure straight edges during installation.
Fastening and Installation Tools
To secure the hardwood planks to the subfloor, you will need the following tools:
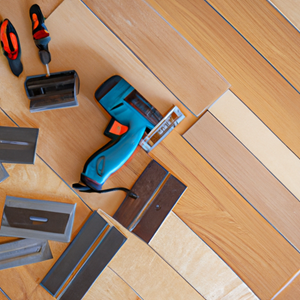
- Flooring Nailer: A pneumatic nailer is designed for hardwood flooring installations. It allows for fast, secure, consistent nailing, ensuring the planks stay firmly in place.
- Pneumatic Stapler: An alternative to a flooring nailer, a pneumatic stapler can secure hardwood flooring with staples instead of nails.
- Hammer and Nail Set: While not as efficient as a flooring nailer or pneumatic stapler, a traditional hammer and nail set can be used for manual nailing in areas where power tools cannot reach.
Finishing and Maintenance Tools:
Completing the installation is just the beginning; there are essential tools needed for floor finishing and maintenance:
- Floor Sander: A floor sander must sand the hardwood flooring to a smooth and uniform finish after installation. This tool helps remove imperfections and prepares the floor for staining or sealing.
- Tacking Cloth: A soft tack cloth is essential for removing dust and debris from the sanded surface before applying any finishes.
- Floor Finish Application Tools: Depending on the type of finish chosen, you may need tools like brushes, rollers, or pads to apply the finishing product evenly and efficiently.
Installing hardwood flooring requires the correct tools to ensure a successful and visually appealing outcome. From measuring and layout tools to cutting and shaping tools and from fastening and installation tools to finishing and maintenance tools, each one plays a vital role in achieving a beautifully installed hardwood floor. By equipping yourself with these essential tools and following proper installation techniques, you will be well on your way to transforming your space with the timeless elegance of hardwood flooring.
Hardwood Flooring Installation Tips
Here is a step-by-step guide to installing hardwood flooring for a long-lasting result:
- Preparation: Measure the room accurately to ensure the subfloor is clean, dry, and level. Acclimate the hardwood planks in the room for several days before installation.
- Underlayment: Install a suitable underlayment, such as a moisture barrier or foam padding, to protect the hardwood from moisture and absorb sound
- Starting Point: Choose the most visible wall in the room as your starting point. Create reference lines with a chalk line, allowing for proper expansion gaps.
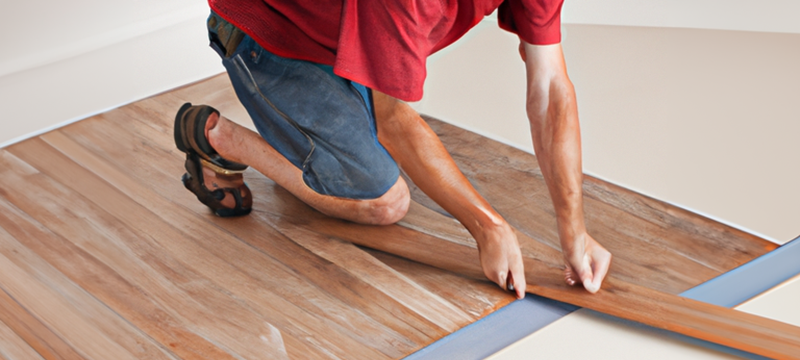
- Installation: Begin installing the hardwood planks perpendicular to the floor joists. Use the pneumatic flooring nailer to attach the planks securely.
- Cutting: Use a circular or miter saw to cut planks for corners, doorways, and edges. Ensure accurate measurements and proper angles.
- Interlocking: Fit the planks tightly together by tapping them gently with a rubber mallet. Avoid using excessive force, which may damage the surface.
- Finishing: Once all the planks are installed, install baseboards to cover expansion gaps and apply suitable finishes, such as polyurethane, for protection against wear and tear
Installing durable hardwood flooring requires careful consideration in selecting the suitable wood, having the essential tools, and following proper installation techniques. By choosing long-lasting hardwood, employing the tools mentioned above, and following the installation and maintenance tips, your hardwood floors will not only enhance the beauty of your home but also stand the test of time. Whether you are a DIY enthusiast or hiring a professional, this comprehensive guide will assist you in achieving a successful and lasting hardwood floor installation.