Changing the appearance of your bathroom can be as simple as altering the tile in your shower. You don’t have to rely on a professional to do this job.
Choosing the Right Tile Tools
Choosing the right tile tools is an essential step in installing shower tile. While some of the tools you’ll use work well with any type or size of tile, whether ceramic, stone, glass, or porcelain, others are designed to accommodate only certain kinds and sizes. Before you select any equipment or supplies for your bathroom project, please read the tool description carefully to see if it suits the job.
Tools and Supplies |
Tool or Supply Purpose |
How to Choose |
| Mixers | Mixes your thinsets or grouts | Slow and steady is best for mixing thin sets and grouts. Mixers with more than 300 RPM speeds can whip air into mixes, making it harder to get a consistent result. |
| Tile Cutters | Simple straight cuts, notched cuts, circular cuts and miter cuts in tile | The type of tile you’re using, and the job size will help determine what tile tools, cutters, and wet saws you need. Larger shower projects and natural stone tiles require a wet saw, while quarry, porcelain, and ceramic tiles can be cut with other tools. |
| Trowels | Helps provide the right amount of mortar coverage | When you install shower tile, you need to consider what you want your trowel to do. Notch trowels, for instance, are best for spreading mortar or thin set. Pointing trowels are ideal for spreading narrow sets in small and difficult spots; you might need a few types of trowels for the job. |
| Grout Floaters | Spreads grout, which fills in the spaces between tiles | Choosing a grout floater depends on the type of grout you use and the type of tile. Cementitious grout can be used with any standard grout floater, while natural stone needs a particular type of grout. |
| Mortar | Adheres tile to your shower wall | Thin-set mortar is the correct setting material for almost any type of tile you choose. However, read the shower tile installation instructions on the bag to ensure it works with your tile. |
| Caulk | Provides a water-tight seal around your shower | There are two traditional types of caulk: silicone and latex. Both have advantages, but silicone is flexible, waterproof, and lasts longer. |
| Grout | Fills the spaces between tiles | Choosing the right grout color is one of the most critical decisions. Select a color closest to the tile color for a unified appearance or a contrasting grout color if you want the tile to stand out. |
Other basic tools you need for this project include:
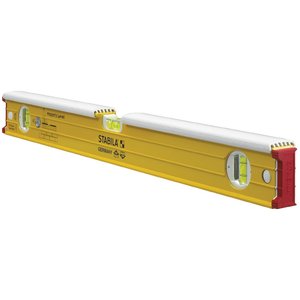
- A general construction level, like one from Stabila
- Buckets
- Chisel
- Tile cutters and accessories
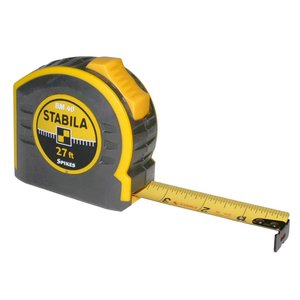
- Stabila tape measure
- Tarps
- Utility knife
- Chisel
- Hammer
- Safety glasses
- Work gloves
Removing Old Tile
While you may be eager to install your new tile and implement your shower tile ideas, you must first remove the old tile. To do this, you need a hammer, tarps, chisel, rubber gloves and safety glasses. Safety glasses are essential, as tile can break, and shards can fly up toward your face.
Begin by turning off the water and power to the bathroom, then remove the shower fixtures and any outlets in the way. Lay down a tarp to protect the floor as you remove the tiles. You can then begin breaking off the old tile. To do this, break the first piece with the hammer. You should then be able to place the chisel under the rest and remove them quickly. Tile tools, scrapers, and shavers remove old adhesive and mortar still stuck to the walls.
Choosing a Waterproofing System
Learning how to install shower tile and learning how to install tile anywhere else in your home are two different concepts because your shower is exposed to moisture and water pressure. Tile and grout are not waterproof themselves, so you need to create a barrier between the tile and your drywall and framing behind the shower to prevent water damage, mold and mildew. To do this, you can use one of two types of waterproofing methods, either topical or traditional for the walls of your shower. Most of these methods can be used as shower floor options for waterproofing as well.
Water-proof Method |
Pros |
Cons |
| Traditional Plastic | The plastic prevents any water that gets behind your substrate from ever coming into to contact with your walls. The water gets swept into your shower drain after each use. | Although the water drains after each use, moisture could still be present behind the tile and mold could develop. |
| Faced Topical Membranes | The plastic comes pre-installed to the backer board so you don’t have to take any extra steps in installation. | The holes and seams need to be sealed properly to prevent water from reaching the wall. |
| Liquid Topical Membranes | Liquid is painted onto the backer boards for a completely waterproof result. | It’s time consuming. You need to wait on the coat of liquid to cure before installing the tile, and it will likely need two coats. |
| Sheet Topical Membranes | These sheets can be installed quickly over your backer board to prevent water from ruining your shower. | They can be difficult to install, and if they are installed incorrectly, the shower won’t be completely waterproof. |
Applying the Tile
After you’ve prepared the wall and floor for the tile installation, you’re ready to add your new tile. As you work on the wall of your shower, please remember to lay down a tarp to protect the floor from damage. Here are some tips for making sure the rest of your installation goes smoothly:
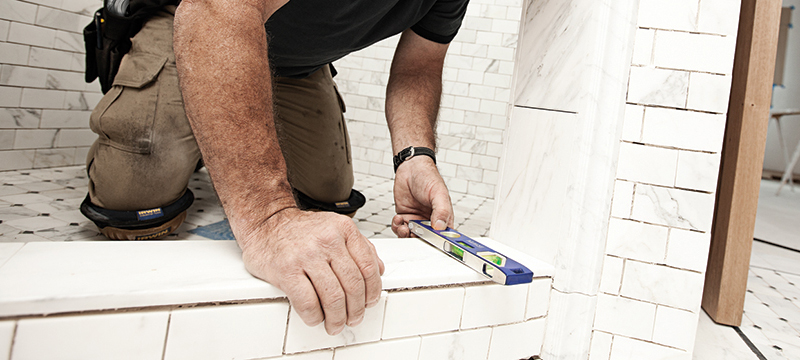
 You can always begin installing the tile on the second row. The shower base may not be level, and if you start here, it could throw the entire project off. Instead, use a level to install a straight board to the wall. Use this board to establish the first row so it is leveled.
- Please don’t use the ‘dot’ method when applying the tile. While this may help you avoid using many things, it may also prevent all your tiles from adhering correctly to your backer board. Spread a layer of thin-set across the backside of the tile instead.
- Cutting the tile to fit an uneven area, corner, or around an electrical outlet or light switch can be done using tile tools, tile cutters, and wet saws. Measure twice so you only have to cut once and apply the rest of the tile before taking care of these particular areas.
- Tile spacers are essential to your project, as they keep your tile straight as the mortar dries. They also make the finished project more professional because they keep each piece of tile the same distance apart from the next.
- Let the thin-set mortar cure for at least 24 hours before applying the grout. This will need to cure for 48 to 72 hours and then be sealed. Wait 24 hours after the sealant has been used before applying caulk.
You can create the shower of your dreams with the proper tools at your side, the correct information, and a few shower tile ideas. Find the shower wall and flooring tools, and turn your bathroom into a sanctuary.