Originally designed to store vehicles, the garage is often a multipurpose room that extends the home. Many people use their garages as storage facilities, especially for bench and stationary machinery and outdoor power equipment. So, garage shelving is a pivotal piece of any garage.
Having an organizational system can help keep your garage clutter-free and organized. Installing shelves and cabinetry gives all of your belongings a place of their own and keeps your garage floor free for storing, dare we say it, your vehicle. If you’re looking for a custom garage shelving solution, your best bet is to design and install it yourself.
Types of Shelving
When it comes to garage shelving ideas, you have plenty of options from which to choose. Metal, wood, and plastic are the most common materials you’ll encounter; each has its own considerations. Wood and metal are more durable and thus able to bear more weight if you build the shelves properly. Plastic shelves, however, offer more versatility as they are often portable and reconfigurable.
| Material | Best Used For | Weight Limits |
|---|---|---|
| Plastic | Lightweight tools, soil, cleaning agents | <100 pounds |
| Wood | Medium-weight tools, paint cans | <1,000 pounds |
| Metal | Heavy tools, equipment, car parts | >1,000 pounds |
Garage Shelving Installation

Before you begin the installation, it’s best to ensure you have the right hand tools for the job. For most garage shelving solutions, you’ll only need a few basic tools including:
- Screwdriver — an electric one is best for better driving power
- Stud Finder — a tool that locates the studs for better support
- Hammer — to drive the shelves into place
- Brackets — to secure the shelves to the wall
- Removable Support — for cabinet systems
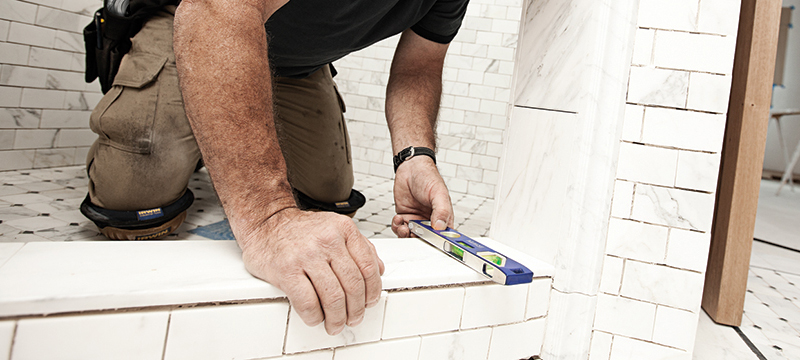
- Level — for correct placement
Additionally, you’ll need the components and materials for the garage shelving systems or cabinets you plan to install. You’re ready to begin once you have all of these parts on hand.
Locate Studs
You can use your stud finder to locate the studs on your wall. As an integral part of the structure of your home, studs are the best place to mount shelving and cabinetry. Here, you place the anchors, butterfly supports, or screws, depending on the type of garage shelving that you’re installing.
Start by inserting the anchors and screws — whichever is ideal for your garage shelving system — and use a cordless drill to drill it into the studs for added stability. Securing them to studs is essential; otherwise, you risk collapsing or damaging your walls. Use a Stabila level to ensure that the screws are parallel to each other. If they’re not even, your shelves will not be level, and you’ll quickly find they’re not as stable as they could be.
Add Standards and Shelves
Once you have the anchors and screws installed and you’ve verified they’re even, it’s time to install the brackets and the standards. You can easily attach the standards to the anchors with screws. The brackets fit into the slots on the standards, and you simply tap them with a hammer to get them to sit in place.
After the brackets are installed, you can add the garage shelving of your choice. Could you check again with a level to see if the balance is on par and if they’re all set to use? If you’re installing a peg wall, you’ll use the same method, but instead of installing standards, you’ll attach the peg wall to the anchors.
Installing Cabinetry
Cabinets are different to install and require a few additional steps. You’ll start by drawing chalk or pencil lines where you want to install the cabinets and measuring to make sure you have enough clearance for other garage shelving ideas you might have in mind. At the bottom, could you nail the support board — usually a 1 or 2 x 4-inch piece of plywood — to rest the cabinets on temporarily until they’re secured to the wall?
Place the cabinet against the wall, matching it with the line you drew previously, and rest it on the support. Before securing it with wood screws, use your level to make sure it’s even. Repeat the same steps for any additional cabinets you want to install. Once installed, remove the support, and your cabinets are ready to use.
Garage Shelving Organization Tips
Once your garage shelving installation is complete, you can organize your belongings. Regardless of the type of shelves you decide on, some considerations must be remembered. Here are some garage organization tips:
- Place lighter items on top shelves to lighten the load and prevent shelving system overload
- Medium weight items do well on lower or middle shelves
- Heavy items are best reserved for the lower shelves
- Place cleaning agents, fluids and poisons in the cabinets or on top shelves, out of the reach of children and pets
- Storage bins give you a way to store even more in a neat and organized manner.
Learning how to install garage shelving is pretty simple once you have the system, design, and plans for your garage. With the right tools and some elbow grease, you’ll be on your way to a cleaner, less-cluttered garage.