There are various reasons to remove the carpet in your home; sometimes, it’s cosmetic, and other times it’s a necessity. Regardless of the reason, the next question is, can you do it yourself. The answer isn’t as cut and dry as it may seem. The main hurdles are time and health. Carpet removal is a heavy-duty project and can lead to injury if you aren’t in the right shape. The project can also be time-consuming, depending on how the carpet and underlayment were initially installed.
There are pros and cons to removing the carpet yourself, as long as you perform this task correctly. Removing carpet on your own is a great way to save money instead of hiring a professional. Depending on your square footage, paying someone to remove your carpet can cost hundreds of dollars. Removing carpet can be a useful skill to know for the future; following our steps below, you can learn how to get it done quickly and efficiently.
Tools and Materials Needed
Most of the tools needed during carpet removal are rather common in most homes, but some may require a purchase.
- Protective Gloves
- Knee Pads
- Dust Mask
- Safety Glasses
- Pliers
- Utility Knife
- Duct Tape
- Sharp-bladed Floor Scraper
- Flat Pry Bar
Removing Carpet Safely
Removing carpet is laborious and can lead to injury if the proper precautions aren’t taken. Personal protective equipment, such as gloves, knee pads, and a dust mask, will help keep your body in good shape while working. Carpet is an abrasive material with many rough edges, plus it’s attached with tack strips covered in tiny nails. Gloves will keep your hands from getting worn down and poked. Much of the work will be done on your knees, so knee pads will help protect them once you remove the carpet. A dust mask will prevent inhalation of any debris, such as glue, that may be under the padding or in the carpet itself.
The carpet is heavy, so you’ll want to ensure your body can handle the strain of hauling the material out of the room once the project is finished. There are ways to mitigate the weight of the carpet and make it easier to handle and dispose of. On top of that, you’ll be doing a lot of bending over and standing up and down.
How to Remove Carpet in 8 Steps
1. Remove Anything on the Carpet
For the first step, you will want to ensure your workspace is clear. Remove all the furniture from the designated room and remove any doors connected to that room. You may also want to vacuum the carpet before removing it to cut down on dust and other debris.
2. Gather Tools and Put On Safety Gear
Before you begin, you may want to consider using some safety equipment. With lots of dust floating around and tacks and staples on the ground, you’ll want safety gloves, knee pads (or a towel to protect your knees), and safety glasses. Lastly, you may also want to consider a dust mask if you’re sensitive to any debris that could be released when pulling the carpet. Now that your workspace is clear and your safety gear is on, you’re ready to start.
3. Disconnect the Carpet From the Tack Strip (Or Glue if Tack Strips Are Not Used)
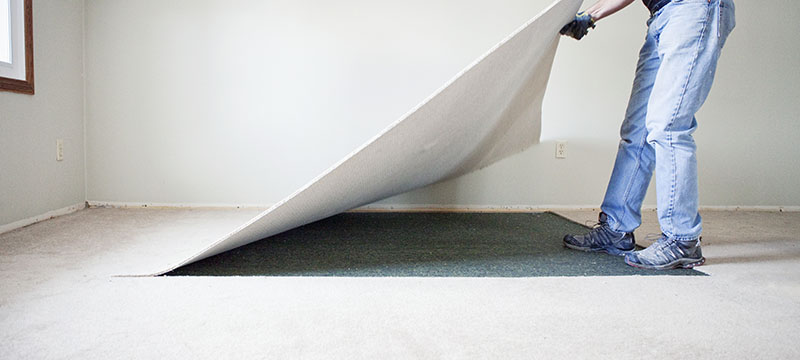
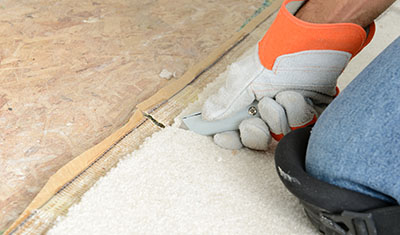
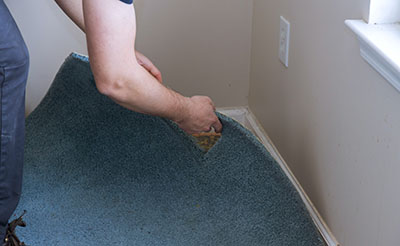
To begin removing the carpet, you will detach it from the tack strips. To do this, pick any corner and pull out the carpet. You can use a plier to pull out the carpet or a utility knife to cut a square and start pulling from there.
4. Cut Carpet Into Strips (Optional)
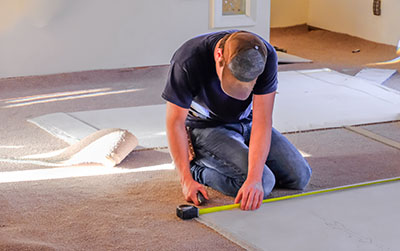
Once you’ve started cutting the carpet, pull it back 3 feet and then cut it along the fold; doing so will make it easier for you to carry when you dispose of it.
5. Roll Up the Carpet for Disposal
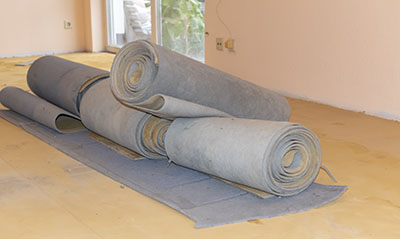
After cutting sections into the carpet, you can secure each section with duct tape. This will make the carpet easier to transport out of the room as you continue your project.
6. Remove the Carpet Pad (If Present)
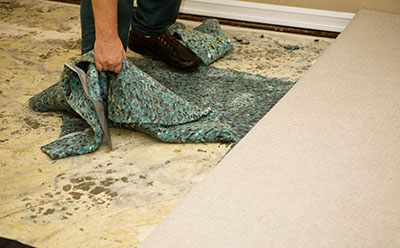
If you have carpet padding, you can use the previous steps to remove them. Using pliers, make sure to remove the staples that should be located near the walls or ends of each piece. Carpet padding is usually easier to remove, so once the staples are out, you can remove them by pulling them back with your hands.
7. Remove the Tack Strips or Adhesive, and Clean the Flooring (Optional)
Now that your carpet and padding have been removed, you’ll lastly want to get rid of the remaining tack strips or adhesive you have left. You can leave them if they are still in good condition for the next carpet installation. To remove them, use a pry bar to get under them and lift them. You may need to use a hammer and hit the pry bar for additional force so it can get under.
Using a sharp-bladed floor scraper to clean the floor, you can easily remove all the leftover staples on the ground. Otherwise, you can use pliers or a pry bar to remove the staples.
8. Safely Dispose of the Old Carpet, Pad, and Tack Strips
After all your hard work, the last thing to do is dispose of all the carpet and other waste. You can put the waste into the regular garbage; however, in some cases, your local trash pickup may not take it all in large quantities, so you may have to bring it to a designated drop-off area.
Removing Carpet Adhesive From Concrete or Hardwood Floors
If you have concrete floors, your carpet or padding will be glued down. This usually leaves big chunks still stuck to the concrete, so you can use a sharp-bladed floor scraper to get under all the chunks.
If you have hardwood floors underneath, you can use pliers or a flat-blade screwdriver to remove the leftover staples so you can preserve your hardwood floor.
Next Steps
Now that all the heavy lifting is over, the big question is what to do next. Consider installing a new, upgraded carpet, or change your flooring with something new like hardwood or laminate.

