Renovating or rebuilding a basement is a dream project a lot of people have who want to add extra space to their home, add additional value, or want a cozy place for people to gather. Well, you could easily contract this project out to someone and have them do it for you but for those up to the task you would want to do it yourself.
But before you get started on tearing down beams, walls, or messing with anything down below, you should have a few things in mind. Acme Tools want you to Do Your Best Work, and with builds like this, you want to do it right once, so you don’t have to do it again. That’s why we have made a list of tools you’ll need to get started and get building your dream basement.
Barrier
You would only want this in the upper Midwest where the weather can dip below zero during winters and even then it is not needed. For most homes this isn’t required and if you find a home that has one it was usually installed for codes or recommended by some older builders. Newer insulation, which we will talk about later, handles a lot of the issue that the moisture barriers solved.
Long story short- you can skip this part.
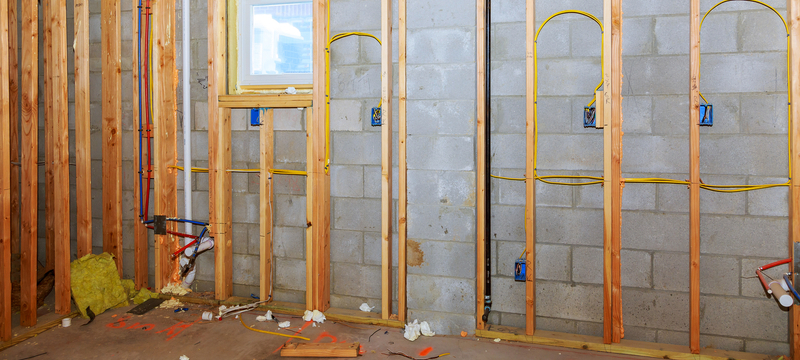
Framing
If your basement doesn’t have a frame, you’ll need to build one first. Having a frame is so you can add insulation into your walls as well as have something to secure your drywall. To create a frame, you’re going to need the following tools.
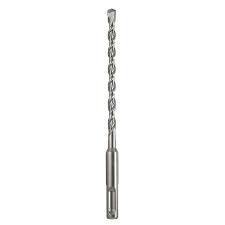
Concrete Drill Bits: Specialty bits needed to penetrate the concrete floor to secure the frame.
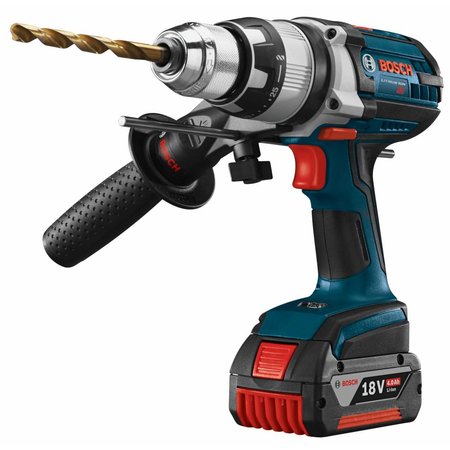
Hammer Drill & Regular Drill: To use the concrete drill bits and to fasten screws into the concrete. Some of these drills come as a two in one, so it saves you space on storing multiple tools.
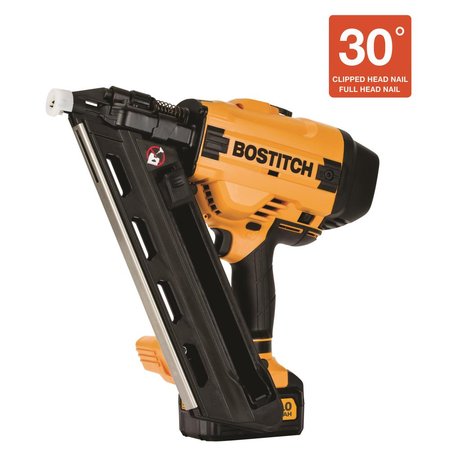
Nail Gun: Used to build your frame. In this particular case you would need a frame nailer. Designed and built to handle this job you can get this either corded or cordless.
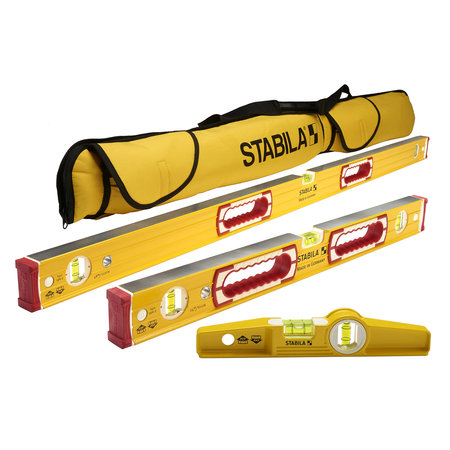
Level: Use this tool to make sure that your frames are straight and accurate. If left unchecked your frame could come falling or leave you with crooked walls.
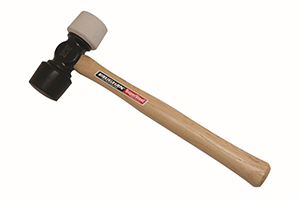
Hammer/ Mallet/ Sledge: Before your frame will fit, it will get snagged on the ceiling on the floor. You will need one of these tools to tap it into place so that it is level with the floor and ceiling.
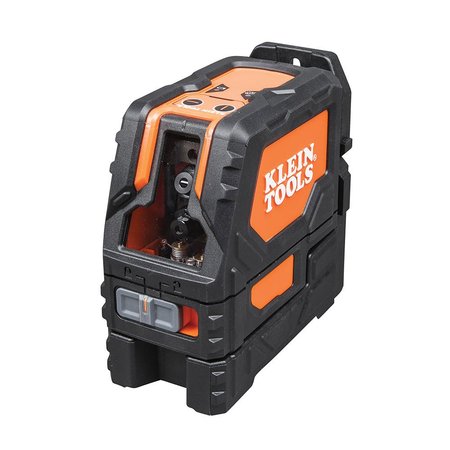
Laser Level: This will save you on time when you are planning on adding any new walls that did not exist in your space before.
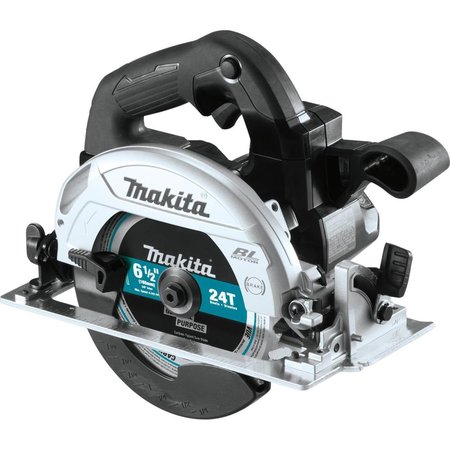
Circular Saw: To cut the lumber into the sizes you need.
Installing Insulation
After building the frames, its time to install the insulation. Most insulation is compression fitting and will hold itself into any opening it is placed on with ease. But in the case of it unable to secure itself, you will need the following tool.
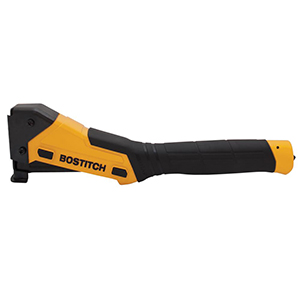
Stapler: In the case of non-compression fitting insulation, you will need this to secure this to the beam.
Adding your Drywall
After installing the insulation is completed, you can move onto adding on your drywall. To do this, you will need the following tools.
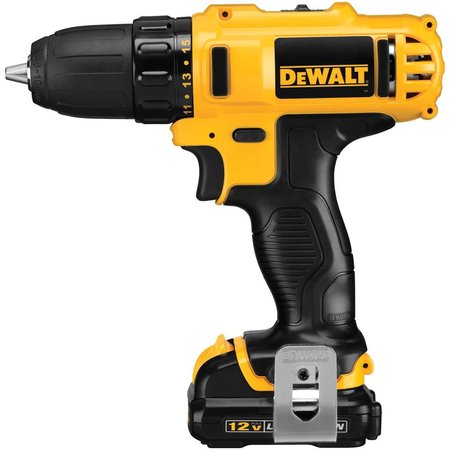
Drill: This is to secure any screws you need to fasten your drywall into the studs.
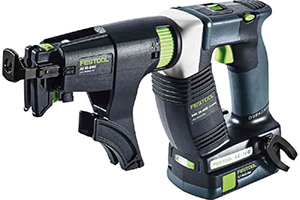
Screw Gun: For those who need a faster installation this is another option.
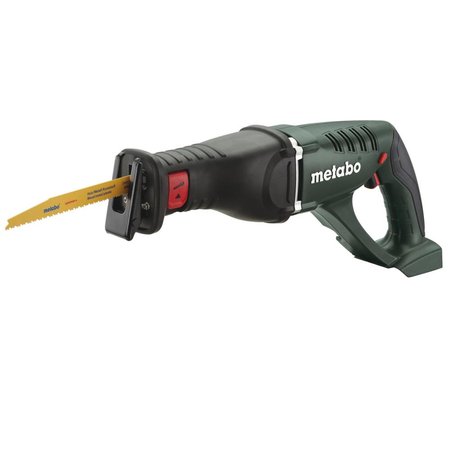
Reciprocating Saw: For cutting out any excess for doorways.
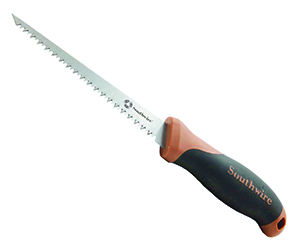
Hand Saw: This is for you to cut out any holes for outlets, windows, or anything else in the way.
Finishing the Wall
Now before you start letting people come down to check out your handy work you need to plug the holes in your wall. To do this you’ll need the following tools.
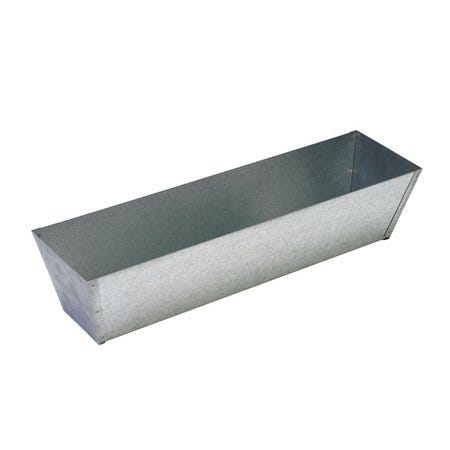
Mud Pan: Use this to hold the mud you’ll need to cover the holes.
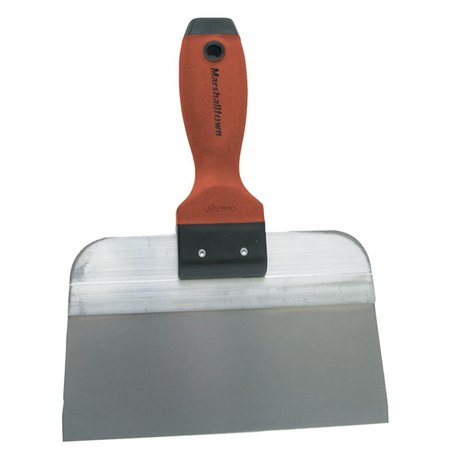
Drywall Knife: Use this to effectively spread the mud around without having excess all over your new wall.
Time to Paint
This next step is where you can start adding your personal touch to your basement and make everything came together. For this part you will need the following tools.
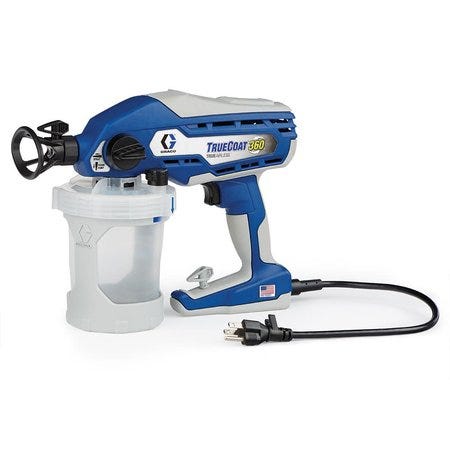
Paint Sprayer: For an even coat with less bubbles this is the best option.
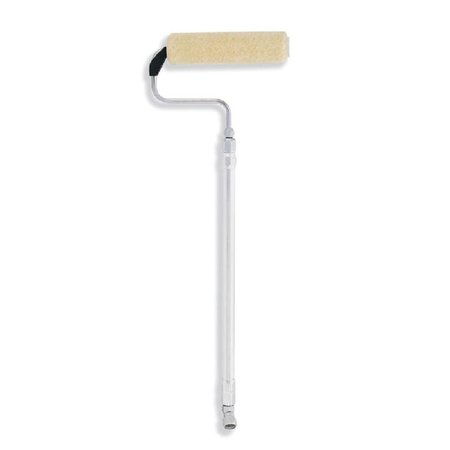
Paint Roller: An option if you don’t want to buy a sprayer or prefer doing things by hand.
Carpet or Floor Installation
Finally, the flooring to your newly developed basement. If you don’t want to stick with the concrete floor and want to add something on top, the tools you’ll need we differ.
For Carpet you’ll need the following tools.
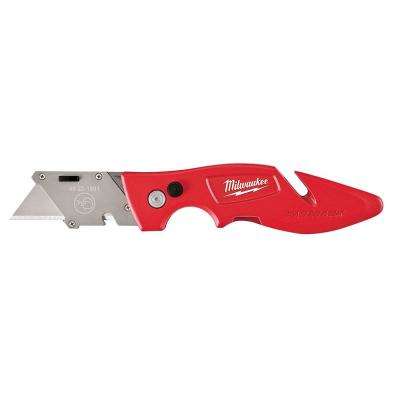
Utility Knife: This is to cut the carpet to fit into spaces and corners.
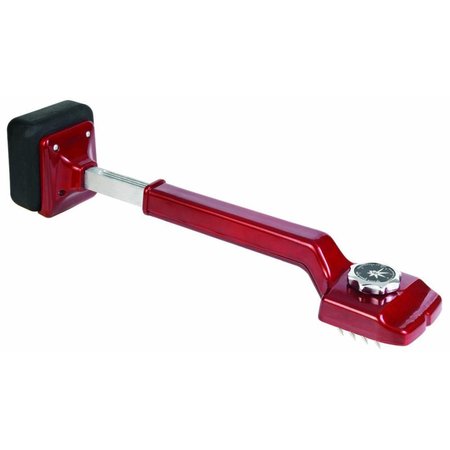
Carpet Stretcher: This tool tucks the carpet into any corner or crevice.
Only the Beginning
With all that set, you have the start of making your dream basement. From here you could find a multitude of directions. Build the ultimate man cave, an extra rec room for the kids to play in, a gym for all your workout needs, or maybe a music room to play to your heart’s content. Though each project will require different items at least while you’re working down there, you can keep the temperature the same as it is throughout the house.