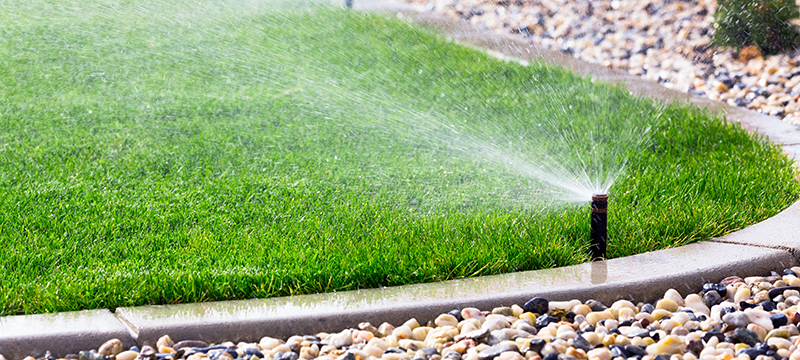
Again, we are at the time of year when we must ensure our home is prepared for winter. Being ready for the season will help you prepare your home for spring once the snow melts away. A considerable part is having a healthy, colorful green lawn. Winterizing your sprinklers will help prevent water from freezing inside the pipes and ruining your sprinkler system. By preparing your sprinkler system for the chilly winter, you will not have to worry about problems or make fixes once winter is over.
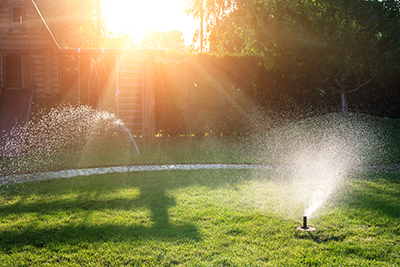
If you winterize your sprinkler system, you will prevent damage to the pipes from water freezing inside them and ruining your sprinklers. As we are near temperatures below freezing, you should start preparing your sprinkler system.
How to Tell When and If You Need to Winterize Your Sprinklers
If you do not know whether you should winterize your sprinklers, an excellent way to determine this is to check the manufacturer’s user manual to see if it is necessary. Checking this will also allow you to see if there are any other measures you may need to take to maintain your sprinkler system properly.
To determine when to winterize a sprinkler system, consider the temperature below freezing (32°F or zero). Once you know this, try to do it one week before that time. Otherwise, a reasonable time to start is October 1st.
Tools Needed
As you prepare, having the proper tools and materials is essential:
Ensuring you have the correct, high-quality tools for the job is crucial to doing the project correctly and safely. Also, the tools you will need will depend on your draining method. You are ready to get started once you have all the right equipment.
Sprinkler Winterization Instructions
1. Consult With User Manual
Going over the user manual is essential before you try to winterize your sprinkler system. The user manual will tell you everything you need to know about your sprinkler system and the correct method to drain your system.
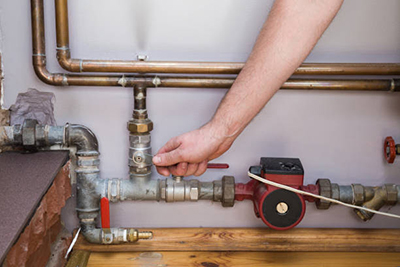
2. Turn Off the Water Supply
Once you have reviewed your user manual, you will begin shutting off the water. Start by finding the main valve and turning it off. Once complete, you should have a second valve to prevent backflow. These valves will also need to be turned off.
3. Turn Off Any Timers
After you have turned off the water supply, check to see if your system has any timers. If your system has a timer, turning these off is essential.
4. Drain the Water
Once you have turned off your water supply, drain all the water inside the system. Depending on your system type or what your user manual recommends, you can use three different methods to drain your system. Knowing which method your system can use to drain all the water and avoid any potential problems during the winter is essential. When performing any of these different methods, wear the proper protective equipment, such as safety glasses, to protect your eyes from pressure or any other debris that may spit out during draining.
Manual Draining
The first method to drain water is manual draining. If your system allows for a manual drain, find the valves at the ends or low points of the piping.
- Step 1: Open all the valves in each zone in the system slowly to let the water out.
- Step 2: Lift all the sprinkler heads to release any possible water left inside.
- Step 3: Close all the valves once finished.
Automatic Draining
The second method is automatic draining. If your system has automatic draining, once you shut off the main valve, the water pressure will begin to decrease, and the system will automatically start to run. Even with the system draining independently, some water is usually left inside.
- Step 1: Find the solenoid valve.
- Step 2: Slowly open the valve so the remaining water will run out.
Blow-Out Draining
The final method is blow-out draining. Of the three different methods, this one is the most dangerous. We highly recommend you take extreme caution if you do this independently and wear the proper safety equipment. If your system allows you to do this method, you must hook up an air compressor to your pipes to propel water out of all the sprinkler heads.
Step 1: Make sure the compressor valve is in the closed position.
Step 2: Hook up the compressor hose.
Step 3: Locate the sprinkler timer furthest away from the compressor and turn it on.
Step 4: Close the backflow valves.
Step 5: Open the valve connected to the backflow valves with the compressor slowly to add air pressure.
Even if you know what you’re doing, it is recommended that you consider hiring professionals to perform the blow-out draining for your safety.
5. Insulate & Protect Above-Ground Sprinkler Parts
The last thing you should do for your sprinkler system is ensure that all above-ground parts are properly secured. The essential parts you should look for are the main valve, backflow preventer, and pipes.
Once you have located these parts, please do your best to cover them in insulation tape, plastic bags, or any other foam-insulating coverings. When applying your insulation covering, it is vital to make sure that you keep air vents and drain outlets on the backflow preventer clear of any blockages to avoid damages.
Winter Preparation Resources
Once you have winterized your sprinkler system, consider preparing other parts of your home for the winter, along with tips to stay safe.
- Prepare Your Home and Equipment for Winter
- 11 Tips To Stay Safe This Winter
- Preparing For Winter Storms