
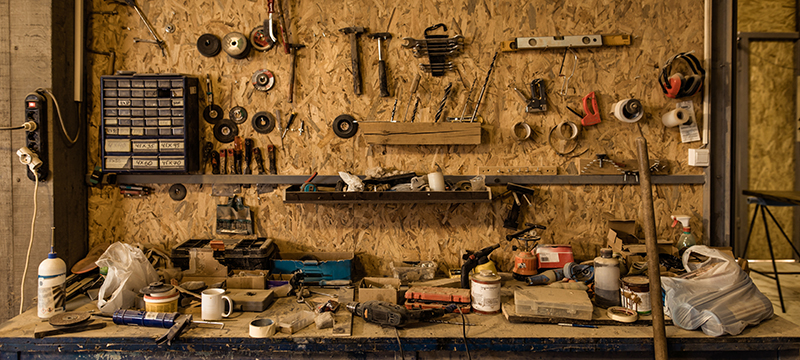
Whether you’re a beginner or an expert, you can always learn something new. These 10 woodworking tips and tricks will help you accelerate and simplify your projects.
With these helpful woodworking tips, you can improve your DIY skills and learn how to do home repairs, using tools past their intended use as well as other household products, and many other shortcuts to make your life easier.
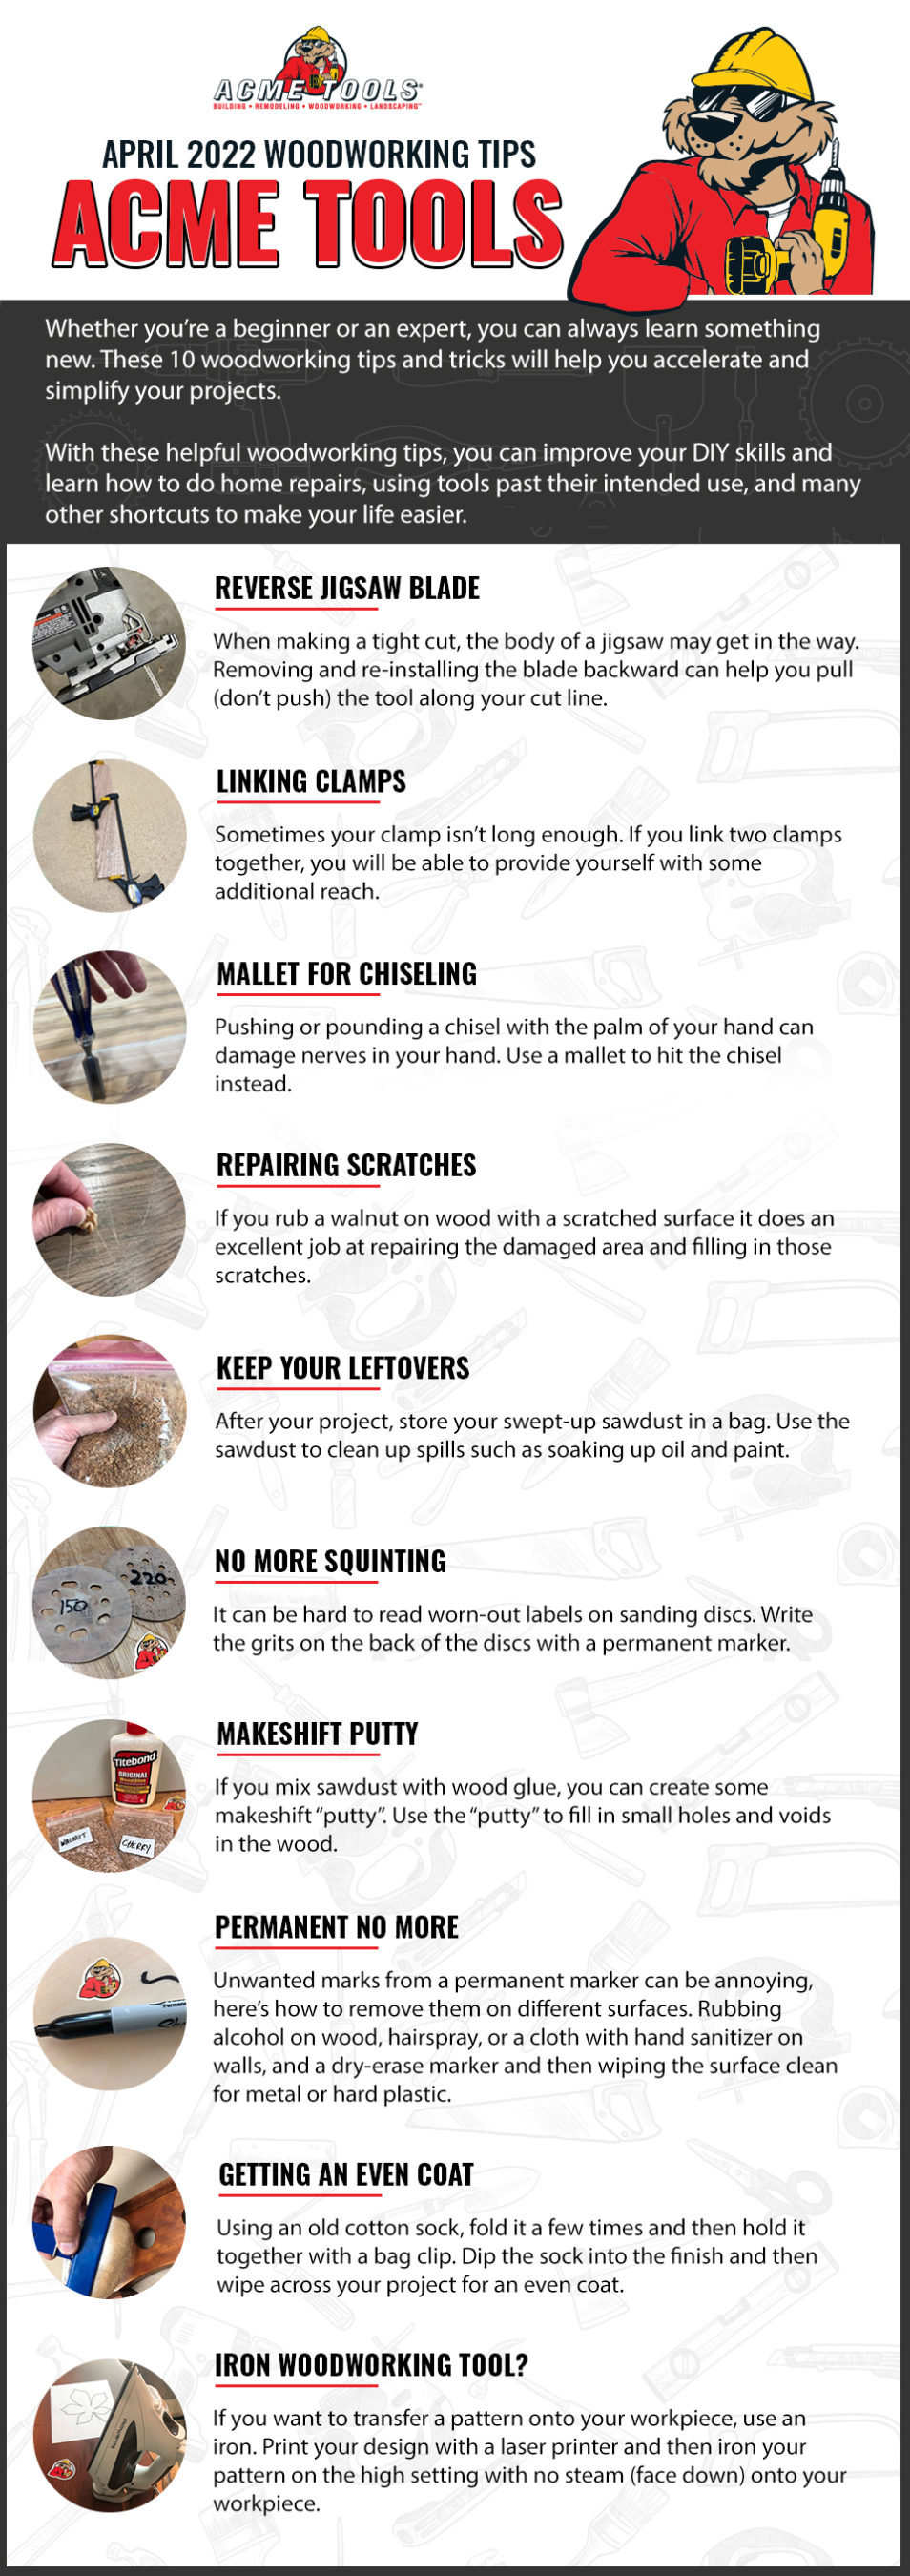
Reverse Jigsaw blade: If the jigsaw gets in the way when you’re making a tight cut, you can remove the blade and re-install it backward. Then when making the cut, pull the jigsaw along the cut line. This will put the body of the tool on the opposite side, giving you some of that needed room.
Linking Clamps: Sometimes, clamps are not quite long enough for your task. Luckily, you can link two clamps together making them longer and adding additional reach.
Repairing Scratches: If you need an easy way to repair scratches, rubbing a raw walnut over a scratched wood surface can help repair and fill the scratched areas. Works with wood floors or wood furniture.
Keep Your Leftovers: Keep your leftover sawdust in a Ziploc bag or some small storage for future use. Sawdust can be useful for soaking up oil or paint if you have an accident.
No More Squinting: Labels on sanding discs can get worn out and hard to read. Write the grits of each sanding disc on the back with a permanent marker and save some time.
Makeshift Putty: Another use for leftover sawdust is repairing wood. With your leftover sawdust, you can mix it with wood glue to create a “putty” and fill in small holes or voids in the wood. It’s also smart to keep various types of sawdust so you can match the type of wood you are working with.
Permanent No More: Having an accidental mark from a permanent marker can be annoying. If you want to remove them, here are several types of ways to do so: Rubbing alcohol on wood, hairspray or a cloth with hand sanitizer on walls, and a dry-erase marker and then wiping the surface clean for metal or hard plastic.
Getting an Even Coat: If you’re using poly and trying to get an even coat, cut and fold a sock and then hold it together with a bag clip. Then dip the sock into the finish and wipe it across your project helping you create that even coat.
Iron Woodworking tool?: If you have a pattern and a laser printer, print out the desired pattern on some paper and use an iron to put the pattern onto your surface. Have your iron on the high setting and no steam.
Check out our other infographic Must Have Woodworking Tools now at Acme Tools.


2 Comments
Jim
January 8, 2024 at 3:02 pmI have a table saw I’m restoring, it’s an Atlas, 1954, 10 inch 3/4 arbor there in lies my problem. I can’t seem to find 10 inch blades with a 3/4 hole. I do work a rather large kind of machine shop, and have several skilled trades people, toolmakers, was wondering if the arbor hole could be made a little bit larger from 5/8s to 3/4 using a taper grinder? Thanks for any suggestions, maybe you can tell me where to look, for said blade.
Acme Tools
January 9, 2024 at 8:28 amHello, Thank you for your question. The option of enlarging the arbor hole should be left up to the machine shop. They would be assuming the liability if anything were to go wrong with the blade. We are not saying that they can’t do the work. It would just be their decision. You can also contact blade manufacturers directly and they will often times customize a blade for you. We suggest Forrest and Tenryu; they are superior quality blades but are small enough companies to be able to handle the one-off request.
Thank you, Acme Tools.