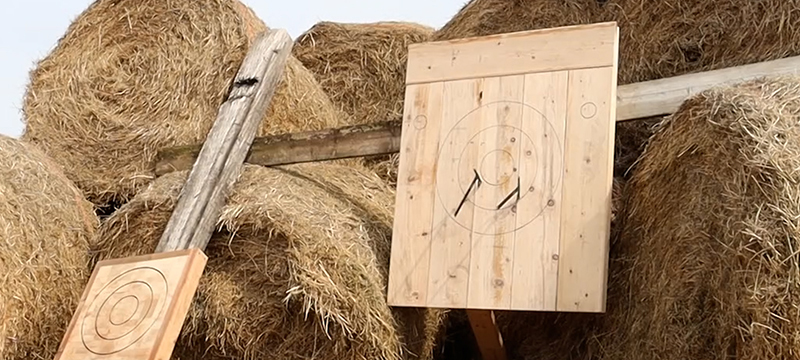
Axe throwing has become a popular hobby and a great game to play while hanging out in your backyard with friends. We recently walked you through how to build a beginner’s axe throwing target, but maybe you are a little more experienced, and you’re looking for something with a more finished look.
We have you covered with an advanced axe throwing target build. This build is for those with high-level woodworking skills, as many of the tools may not be found in most garages. But don’t fret; there are few workarounds that will still give you that high-end look without breaking your wallet. For a more in-depth look at making the advanced target, head to our YouTube channel.
Materials
7-8 foot raw cedar 2x4s
30×30 3/4-inch piece of plywood
Tools
Router Table or Handheld Router
Track Saw (Optional) or Circular Saw
Axe Throwing Target Build Directions
This in-depth walkthrough will guide you on how to build your own advanced axe throwing target, but it can be modified with different woods or in size. For a quick overview of the build, visit our Youtube page.
Squaring and Planing
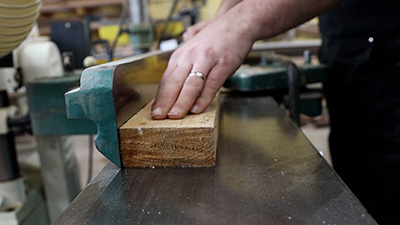
Begin by squaring and planing 5 of the 8-foot boards so they’re all uniform in size. This step is important in ensuring your wood blocks all fit together nicely, and there isn’t any warping in the boards.
- Cut each board in half using a miter saw so they’re easier to handle on the jointer.
- Square two perpendicular faces of each board, so you have a flat surface on each side.
- Run the boards through the planer flat side down, so the thickness of each side is parallel to its opposite side.
- Use a table saw to rip the 2-inch side that didn’t run through the jointer to ensure your boards are square on all sides.
*If you don’t have a jointer or planer, you can skip this step, but look for boards that are as straight as possible without any bows, twists, or cups.
Crosscutting
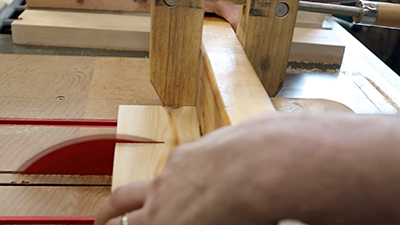
The next step is building the main background where the target will be placed. This step involves using a table saw, but you can use a miter saw if you don’t have access to one.
- Use a table saw and a table sled to cut each of the boards into 3-inch long blocks.
- Arrange the blocks into a 7 by 20 shape and use an extra board to straighten each side.
- Measure the length and width of the combined blocks to determine how large the frame needs to be.
Building the Frame
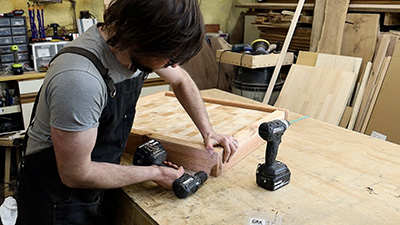
The frame will keep the blocks secure while also providing a more finished look to the finished target. You’ll use the last two raw cedar boards to complete this step.
- Using the miter saw, cut the boards to the dimensions you just measured.
- Pre-assemble the pieces around the blocks to ensure everything is to length and square.
- Drill pilot holes in the vertical boards using a counter-sink bit, and once you have them lined up with the horizontal boards, drill the holes deeper.
- Use 4-inch screws to tie the pieces together.
- Knock the wood blocks out of the frame.
- Use either a router table or handheld router to put a 3/4-inch dado around the inside of the frame.
Cut Backing and Glue
The backing will give the main target face additional support other than being held in place by the frame. Because it isn’t seen, general plywood will suffice for the backing.
- Measure the interior width and length of the space inside the dado.
- Use a table saw or a track saw to cut a piece of plywood to fit in the dado. (Be sure you’re plywood is square on the noncut side before cutting)
- Use a wood chisel and hammer to ensure the dado corners are square and the plywood fits easily and snug.
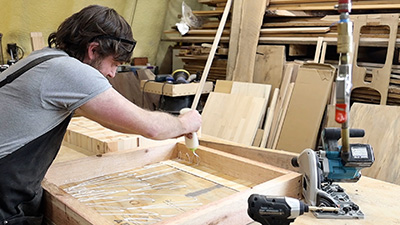
- Apply wood glue along the inside of the dado, lay the plywood in, and use 1-inch screws to secure it.
- Once dry, flip the project over and apply a generous amount of wood glue on the backing and sides of the frame.
- Fill the target with the wood blocks that were cut earlier.
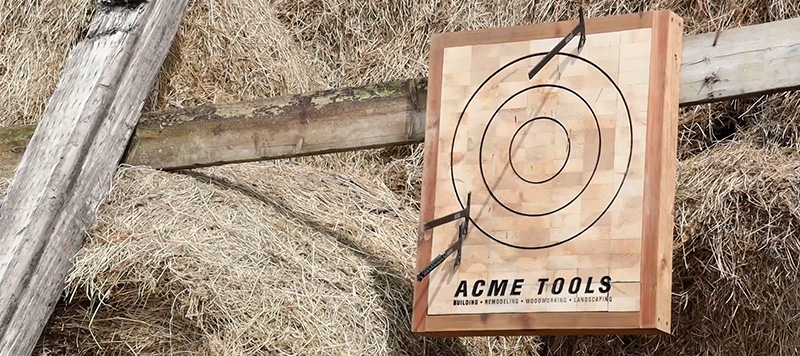
Finishing Touches
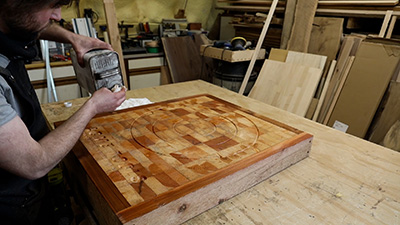
The project is pretty much completed but these last few steps will give your target a more polished looked, making it more of a conversation piece during gatherings.
- Sand the entire front surface with a hand sander to remove any imperfections and excess glue.
- Use an air compressor to get rid of any dust leftover on the project.
- Cut out the target using a circle cutting jig and a router with a v-bit, putting each ring about 3-inches apart, with the center ring at about 6 inches in diameter.
- Blow off the surface again and cover the face in oil to give the color in the grain some pop.
*If you don’t have a circle cutting jig you can use a stencil and some spray paint to draw the rings.
Now your project is complete, and you’re ready to throw some axes. For a more in-depth overview of building this target, head to our YouTube channel.