Axe throwing has quickly become one of the biggest hobbies around. In years past, the sport was commonly found at lumberjack competitions or themed festivals. Recently, leagues have been popping up across the U.S. Although, with targets usually only found at special facilities, practicing throws can be challenging. We are here to make it easy to hone your skills in the comfort of your backyard. Our how-to guide will give you a basic overview of how to build your axe-throwing target. Head to our YouTube channel for a more in-depth look at making a target.
Materials
- 2- 8 foot 2×4-inch boards
- 2-8 foot 2×6-inch boards
- 3-8 foot 2×10-inch boards
- 1×1-inch stick
- 3-inch screws
Axe Throwing Target Build Directions
This axe-throwing target is a simple build for those with enough knowledge of the workshop but may not be experts. When selecting boards, look for boards with minimal knots, which can cause the axe to bounce off the target. Avoid darker or heavier pieces of wood since they are usually dense and will be more challenging to stick the axe to. Any soft wood, such as pine or spruce, will work.
2×10-Inch Boards
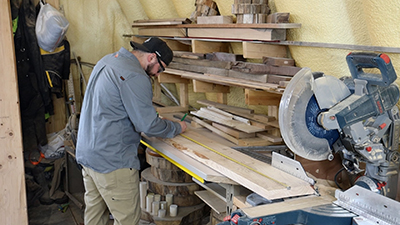
Cut each of the 2×10-inch boards in half so you are left with six 4-foot pieces. If you cannot find completely straight boards, that is okay. They do not need to be perfect.
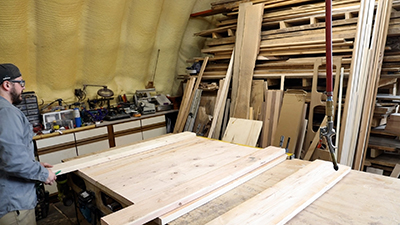
Place five of the 2×10-inch pieces together side-by-side and measure across the sections. Cut your leftover 2×10-inch half down to the width of the five other boards.
Lay the last cut two-by-ten horizontally flush across the top of the five sections.
2×6-Inch Boards
Measure the length of your project so far. The 5-board section is 47.5 inches long; adding the last two-by-ten, you should be around fifty-eight inches.
Cut the 2×6-inch boards to the measured length of the project.
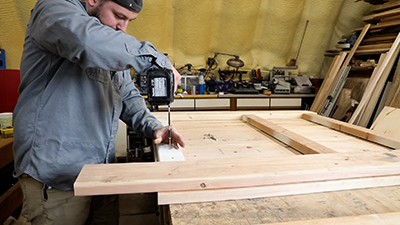
Set the horizontal two-by-ten to the side. Place the cut 2×6-inch boards parallel to the edge of the five sections. Ensure the top of the two-by-six and two-by-ten boards are flush.
Screw the 2x6s to the 2x10s using 3-inch screws and a cordless drill.
2×4-Inch Boards
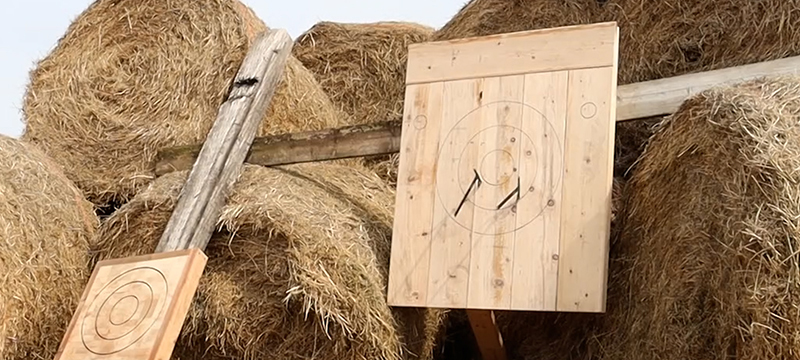
Draw The Targets
Measure the width and length of the entire project to find the center and mark it with a screw.
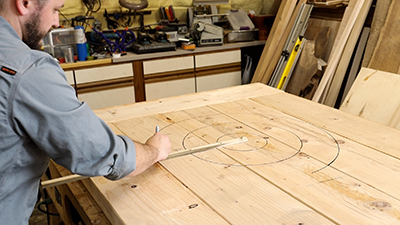
Drill a pilot hole at the end of the 1×1 stick and screw the stick to the project center, ensuring the stick is still loose enough to rotate 360 degrees.
Mark the stick at seven, seventeen, and twenty-seven inches, and drill pilot holes big enough to fit the permanent marker through.
Insert the marker in the 7-inch hole and rotate the stick around the center until you have a perfect circle. Repeat that process in the other holes until you have three progressively bigger circles.
The last two circles measure thirty-nine inches from the base, opposite the horizontal two-by-ten) and 4.5 inches from the edge. Use a paper drinking cup to make a 3-inch circle on each side. (These last two circles do not need to be perfect.)
You are finished, and it is time to start throwing some axes. Be sure to check out our YouTube channel for a more in-depth look at how to build this beginner’s axe-throwing target.