Learning to drill for a faucet installation is not as complicated as you thought. If you have the right tools, such a project will be easy. This post lists the tools you need to drill for a faucet installation and a step-by-step how-to that will help you complete the job with precision and efficiency.
The Tools
This drilling guide for faucet holes requires only a few essential tools that even a novice handyman usually has in his toolbox. While using the tools should be easy, it is best to read and follow the manual carefully or have someone with intermediate skills assist you if you are familiar with them.
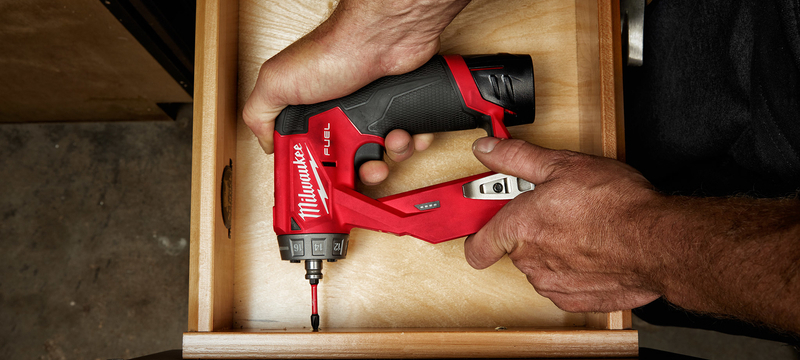
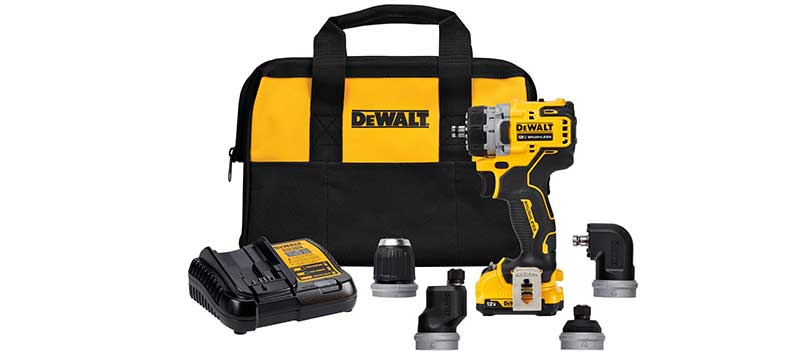
Drill
Choose a drill with enough power to handle the materials you’ll be working with, such as tile, granite, or metal. Ensure it has variable speed settings for different drilling needs and a chuck to accommodate the necessary drill bits.
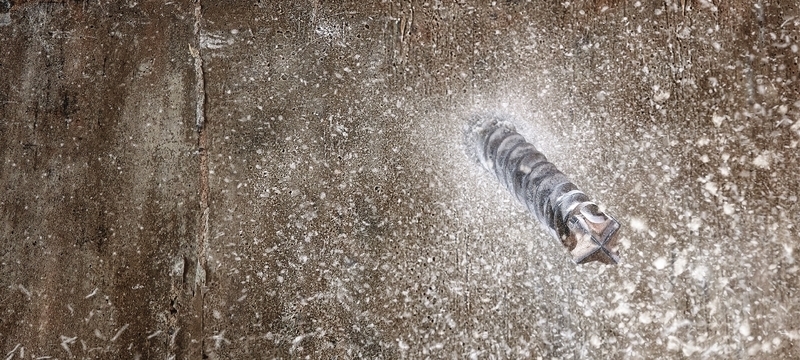
Drill Bits
Invest in a set of drill bits specifically designed for the materials you’ll be drilling into. For example, for drilling into tiles or porcelain, use diamond-tipped drill bits that provide precision, while titanium or cobalt drill bits are recommended for metal surfaces. Choosing the right drill bit for faucets helps ensure a precise fit.
Hole Saw
You may need a more giant hole for larger faucets or pipes. This type of installation requires a hole saw. This accessory attaches to the drill and creates clean, precise holes. Ensure you have a hole saw with the appropriate diameter to match the faucet size and that you can cut through the material you are working with.
Measuring Tape
A measuring tape will help you determine precise areas where to drill and plan for proper hole placements for a faucet in bathrooms or kitchens. This tool will help ensure the correct alignment and spacing required by the manufacturer.
Level
Another critical item in this list of drilling tools for faucet installation is a reliable level, which ensures that you’ll have a stable, straight, and aligned installation. This tool helps prevent leaks or any aesthetic issues.
Pencil or Marker:
Measuring and level tools are almost useless without a pencil or marker to mark the exact locations where the faucet and accompanying fixtures need to be installed. Ensure the markings are visible and accurate to avoid errors during drilling.
Safety Gear:
One common faucet installation mistake is not wearing personal protective and safety gear. Safety should never be overlooked when using power tools. Wear safety goggles, gloves, a face mask, and hearing protection to avoid potential injuries and health hazards for this project.
Faucet Installation Step-by-Step

Step 1: Measure and Mark the Holes
Measure the distance between the holes for your faucet installation. The standard distance between the holes is usually four inches for a center-set faucet and 8 to 16 inches for a wider-spread faucet. Mark the center point for each hole.
Step 2: Secure the Faucet Mounting Plate
Some faucets come with a mounting plate that covers multiple holes. Position the plate over the marked holes and align it properly. Secure it using masking tape to ensure it does not shift as you drill.
Step 3: Prepare Your Work Area
Clearing the work area is vital for sink preparation for faucet installation. This helps ensure no objects obstruct your drilling. Cover the sink with a cloth or towel to prevent debris from falling.
Step 4: Select the Appropriate Drill Bit
Choose a drill bit of the appropriate size for your faucet installation. Most faucets require a one-half-inch drill bit. If your faucet’s installation instructions indicate otherwise, use the recommended size.
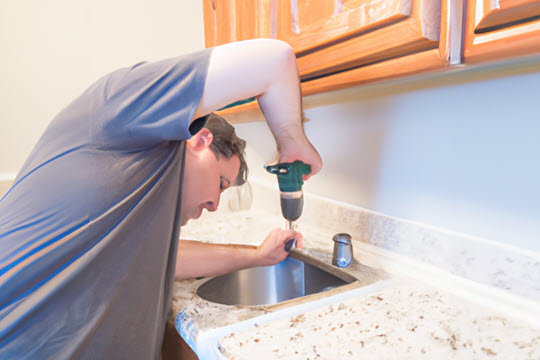
Step 5: Start Drilling
Carefully position the drill bit on the marked spot for the first hole. Hold the drill perpendicular to the surface and apply steady pressure to start drilling. Begin at a slow speed and gradually increase it as you go deeper. Let the drill do the work and avoid excessive force. Repeat for additional holes if your faucet design requires more.
Step 6: Clean Up
Once you have drilled all the holes, remove the masking tape and any debris from the sink area. Inspect the holes to ensure they are clean and free from any obstructions.
Step 7: Install the Faucet
Follow the manufacturer’s instructions to complete the faucet installation. Typically, this involves attaching the supply lines, tightening the mounting nuts with an adjustable wrench or screwdriver, and applying a waterproof sealant around faucet holes.
Step 8: Test the Faucet
Turn on the water supply and test your newly installed faucet to ensure no leaks. Make any necessary adjustments or repairs if you see any leaks.
How you install a faucet may vary slightly depending on the fixture’s design. Remember to always refer to the specific instructions provided by the manufacturer of your faucet to ensure a smooth installation process. With a bit of patience and diligence, you will have a beautifully installed faucet that enhances the functionality and appearance of your space.