Using the garage door opener installation steps in this post, you can install a new one quickly and easily. A garage door opener provides more security and enhances the ease of use of this part of your home. This DIY garage door opener setup guide will walk you through the installation process from start to finish. It covers everything from selecting the suitable opener to wiring and programming while emphasizing safety precautions.
What You’ll Need
You will need several essential tools to upgrade your garage with an automatic opener. It may surprise you that most, if not all, of the entries on the list are already in your toolbox. Have all the tools below ready to help make the installation easier and hassle-free.
- Measuring tape
- Drill and drill bits
- Socket set
- Screwdrivers (Phillips and flathead)
- Adjustable wrench
- Wire stripper
- Hammer
- Pliers
- Level
- Step ladder
- Safety gloves
- Safety glasses
- Circuit tester
Selecting the Right Garage Door Opener
Selecting a suitable garage door opener is the most crucial step in the project. Consider factors such as the weight and size of your garage door, whether it is a single or double door, and the level of noise from the opener that is acceptable to you. Look up various models and brands to choose the best one that matches your garage door and personal preference.
Installing Your Automatic Garage Door Opener
Now that you have your tools and garage door opener ready, let us jump into the installation steps:
Step 1: Reading the Manual and Prep Work
Read the installation instructions thoroughly and comprehensively understand the entire process. Check for any specific requirements or recommendations by the manufacturer. Measure the height of the door to ensure proper installation and clearance for the opener.
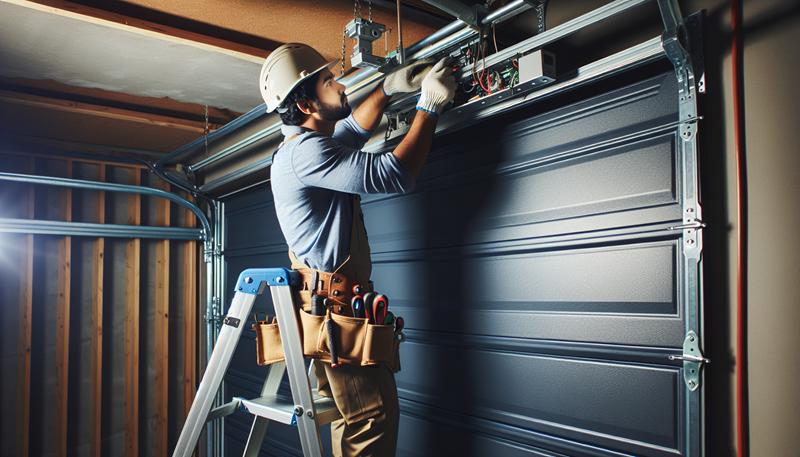
Step 2: Mounting the Opener
Use a ladder to position the opener on the ceiling. Ensure the device is aligned and centered precisely with the garage door’s middle section. Mark the spots where you will mount and secure the opener.
Step 3: Secure the Mounting Bracket
Attach the mounting bracket using the screws that came with it using a power drill. Ensure the bracket is level and secure with a level.
Step 4: Install the Trolley and Rail Assembly
Attach the trolley to the opener. Hang the rail assembly on the mounting bracket. Make sure the rail is level and adjust if necessary.
Step 5: Wiring Your Garage Door Opener
When wiring your garage door opener, refer to the instruction manual to identify the necessary wires and connections. This usually involves connecting the power supply, safety sensors, and wall-mounted control panel. Use wire strippers to remove wire insulation and connect the appropriate wires. Use a circuit tester to ensure proper connections and electrical safety.
Step 6: Testing and Adjusting the Opener
Before testing the opener, ensure the garage door is balanced and lubricated. Follow the manufacturer’s instructions to test the opener’s functionality, adjusting the open and close limits if needed—Fine-tune other settings, such as the force and speed of the door’s movement.

Programming a Garage Door Opener Remote
The next major step after installation is programming the garage door opener remote. Most brands usually follow the steps below.
- Locate the “learn” or “programming” button on the opener. Press and release the button.
- Return to your remote and press the desired button once.
- The opener should make a clicking sound, indicating that programming is successful.
Safety Precautions for Garage Opener Installation
During the installation process, it is vital to prioritize safety. Here are some precautions to consider:
- Disconnect the power: Always unplug the power supply or switch off the circuit breaker before working on your garage door opener.
- Wear safety gear: Safety gloves and glasses will protect your hands and eyes from potential accidents.
- Follow the instructions: Carefully read and follow the manufacturer’s instructions throughout the installation process.
- Work with a partner: Having someone assist you can make the process safer and easier.
- Be mindful of moving parts: Be cautious when moving cables, springs, and other parts of the garage door mechanism.
- Test after installation: Perform a thorough check of the opener’s functionality before regularly using it.
Installing a garage door opener can be a rewarding and cost-effective DIY project with the correct set of tools, a little patience, and this guide. Remember to prioritize safety and follow the instructions provided by the manufacturer. By selecting the suitable opener, carefully wiring and programming it, and prioritizing safety, you will enjoy the convenience and security of a functioning garage door opener.