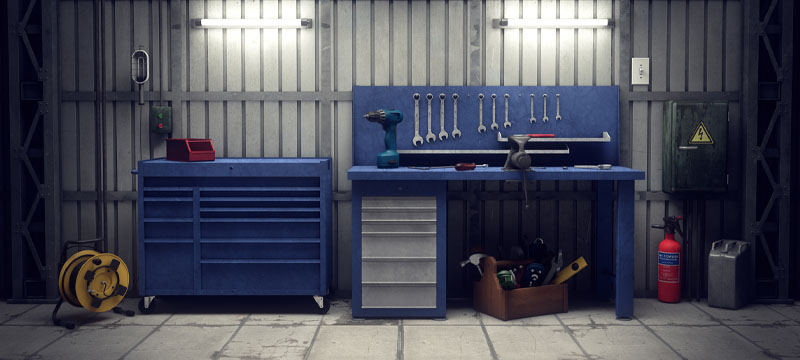
There are many ways to improve the look and function of your garage floor, but adding epoxy coating is considered the most effective strategy. Whether you want to seal your concrete surface or refurbish worn-out flooring, epoxy floor coating can completely change the appeal of your garage while fortifying the flooring. Moreover, epoxy is well known for preserving concrete surfaces and protecting them against severe impacts.
Is it Worth it to Epoxy Your Garage Floor?
Epoxy floor coating can benefit your garage in multiple ways. Besides offering a glossy finish, it brings outstanding beauty, resilience, and safety and seals your floor. It also tops off a pro refinement look and prevents stains and deterioration, giving your garage a new-car-showroom appearance.
With so many benefits, it is evident that epoxy on your garage floor is worth every effort and resource you spend. Read on to learn how to finish your garage floor with epoxy, from planning to topcoat application.
What Do You Need?
As you prepare, you need to gather the tools and materials necessary for the job, including:
- Painter’s tape, plastic spackle knife, squeegee, and floor scraper
- Degreaser and concrete floor patch
- Paint roller and extension
- Nylon paintbrush
- Clay cat litter
- High-quality epoxy kit
- Firm-bristled push broom
- Carbon-filter paint odor mask
- Safety glasses or goggles
This process’s most critical aspect is ensuring you have top-quality commercial-grade epoxy and do appropriate prep work to the concrete surface. With that in mind, let us jump straight to our step-by-step guide on epoxy on your garage floor.
Step 1: Prepare the Floor
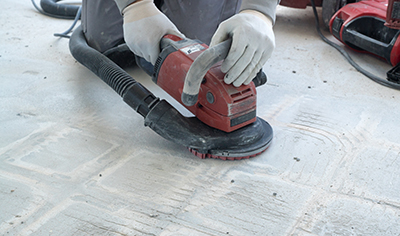
The first step is to prepare the space for the job. First, use painter’s tape to stick plastic sheeting across the walls and along the ends of the foundation. Next, scrape the garage floor to remove dirt, caulk, dried paint, or other elements that might be stuck on the concrete surface. Using a scraper or putty knife, start scraping from the back of the garage and work across and backward until you remove all the materials stuck on the floor.
For a painted floor, use light sanding paper to remove the paint before sweeping away the dust. Using a bristle broom, scrape the surface with an appropriate cleaner, rinse the floor, and allow it to dry for about four hours.
Step 2: Etch the Surface
Etching is an essential step in preparing the concrete surface for any coating. Typically, etching solutions contain a particular acid that helps open concrete pores, allowing the layer to bond strongly with the surface. Add the etching solution to water according to the manufacturer’s instructions to begin the etching process.
Wear protective gear such as rubber gloves, safety glasses, and rubber boots to prevent potential chemical hazards. Next, wet the floor and pour the solution on the surface. Scrub the area in small sections with a bristle broom and continue until you cover the entire garage.
When you finish etching, rinse the garage floor with a garden hose and stop only when the water turns clear. Let the floor dry for some hours. You can also leave it overnight to ensure the concrete is arid before you apply the epoxy.
Step 3: Tape Up the Walls and Fill Joints
Once the floor dries up, place the painter’s tape along the base of the walls to protect them from the epoxy. Additionally, fill the joints that may be present on your garage floor. You can use a self-leveling filler for the job. Identify all the joints and slowly work your way down each joint until they are all filled. Let the floor dry for some hours before moving to the next step.
Step 4: Mix the Epoxy
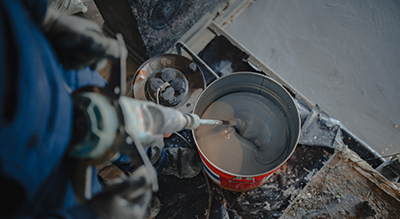
Before mixing the epoxy, wear your protective gear (safety gloves, respirator, and glasses). Also, please read the directions to ensure you are doing it correctly. Next, pour the two chemicals into a large container and mix thoroughly for a few minutes.
Start with the epoxy paint, then slowly add the hardener while stirring. Once thoroughly blended, let the mixture rest for about 30 minutes for the two components to react adequately.
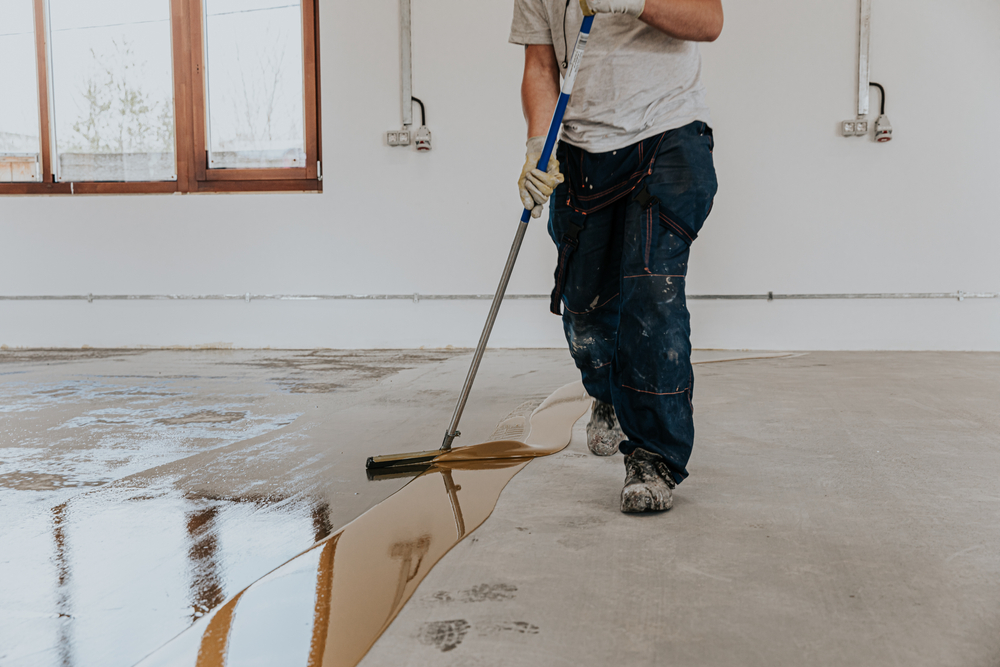
Step 5: Apply the Epoxy
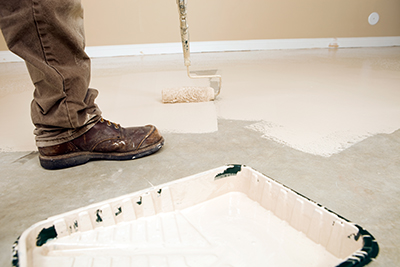
Once you mix the epoxy, you can start applying it to the garage floor. Use painter’s tape to mask off the baseboard and walls for safety reasons. However, before you begin the application process, ensure to demarcate the edges of the floor to make it seamless. Remember that the epoxy formula will be used within two hours, so move quickly.
Also, ensure your garage is well-ventilated while you work. Apply the epoxy using a roller tray fitted with a rag and paint the entire floor, including seams and corners. Rolling on the epoxy paint will make the job easier and more enjoyable.
The epoxy paint should feel stickier and thicker during application than typical house paint. Pour the epoxy again and perpendicularly cover the floor sections to streamline any uneven lines. If you intend to apply two epoxy coats, please do the following:
- Finish the first coat.
- Let it rest for several hours.
- Recoat using the same procedure.
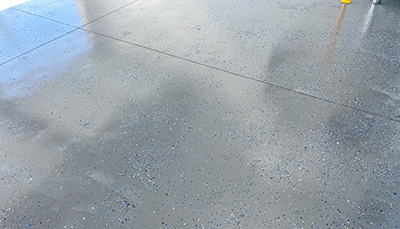
Step 6: Add Color Flakes
Color flakes are added during the application of the topcoat paint. When applying the epoxy, stop at some intervals to add color flakes before the area dries up. Sprinkle the chips lightly and distribute them evenly across the room until you achieve the desired overlay.
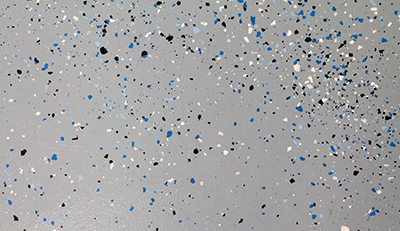
We recommend you start at the back of the garage and work to the front of your space while rolling on the epoxy. Once you finish, allow the floor to dry for about 12-24 hours, depending on the weather.
Step 7: Apply a Clear Coat
The last step is to apply a fresh, clear coat to the garage floor. To prepare the clear coat, add the hardener into a can with a clear topcoat and occasionally stir for 3 minutes to ensure they blend correctly. Let it rest for 30 minutes, then stir the mixture again and add anti-skid chips if necessary. Apply the coat within the first two hours of preparation.
You can use a clean, stiff-bristled brush to cut edges, seams, and corners. Then, use a roller to apply the paint to the rest of the space. Remember to start from the farthest sections and approach the door. Once you cover the whole floor, the coating will appear milky or white, but it will turn clear upon drying. Wait for the floor to dry for about 3 to 7 days before you start parking your vehicles.
Bottom Line
Epoxy coating can completely transform the look and function of your garage. Follow the steps outlined above to apply your epoxy floor coating to keep your garage floor shining and shield it from unnecessary damage.