As temperatures drop in fall, it may seem like extraordinarily little is happening in your yard. However, much goes on beneath the soil until it freezes. Freshly planted trees strive to grow roots and anchor themselves to the ground while microbes and earthworms process organic matter into nutrients for your plants. Trees losing leaves in fall is nature’s way of telling you it is time to prepare your garden for winter. The dying leaves on the ground offer ample nutrition that plants need in spring. Although nature has its way of coping with the harsh weather in the winter months, proper planning ensures your plants are ready for the cold. Putting your garden to bed for winter makes it easy to start the planting season in spring. Here are a few tips to help you winterize your garden beds.
Tidy Up the Garden Beds
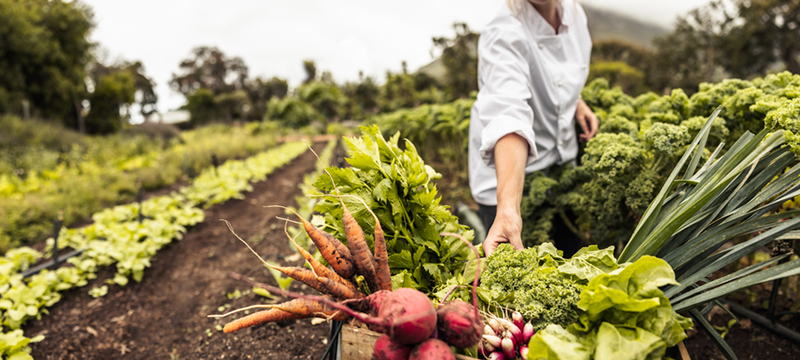
Most gardening enthusiasts slack off on gardening activities as summer ends. Like most home gardeners, you spend less time watering and weeding and more time harvesting. But as the garden’s production slows in late fall, it is time to clean up your vegetable garden beds.
Garden debris provides nutrition and habitat for some pests. If they have ample shelter and food, insects can thrive in winter. Some pathogens, such as late blight, can overwinter in plant residues, making it necessary to remove, chop, and bury debris from your garden.
- Add healthy vegetation to your compost pile.
Pull out supportive structures like stakes, cages, or strings. Also, remember to cultivate all the weeds and keep pollinators in mind when tidying up. If you have flower strips, leave some stems behind for nesting bees.

Clear and Clean Tools and Equipment
When preparing the garden for winter, it is essential to pick up and store away everything that can be stored. This includes garden tools that won’t decompose, such as gloves, shovels, rakes, and pruning shears. Prepare your garden with the right tools today at AcmeTools.com.
Since they may carry disease-causing pathogens, clean all equipment and seedling trays before storage. A power washer will make quick work of all your gardening equipment and supplies. Regular tool maintenance also prolongs their lifespan.
Test the Garden Soil
After cleaning up your garden, get a soil test done to determine the following:
- Soil pH levels
- Nutrient levels
- Organic matter levels
- Lead content
A good soil test lets you know the overall health of your soil, recommending how many amendments to add. Lime regulates soil pH, while organic or chemical fertilizers add nutrition.
To conduct a soil test:
- Dig down approximately 6 inches below the surface in five or six different spots.
- Collect a small shovel load of soil from each site.
- Combine all the amounts, then spread them to dry in the air and pick out any rocks.
- Send your sample for evaluation to a local extension office.
Using at-home soil testing kits, you can also determine soil health. However, these tests are usually less detailed and accurate than lab tests.
Feed the Garden Soil
Once you get the soil analysis results, you can dedicate the winter to restoring its health and fertility in preparation for the growing season. Since it takes soil supplements some time to break down, spring is the optimal time to amend your garden soil.
Depending on the findings of your soil test, you may choose from a wide range of soil additives for your garden. Organic amendments include compost manure, hay mulch, and grass clippings.
Harvest and Regenerate Your Compost Pile
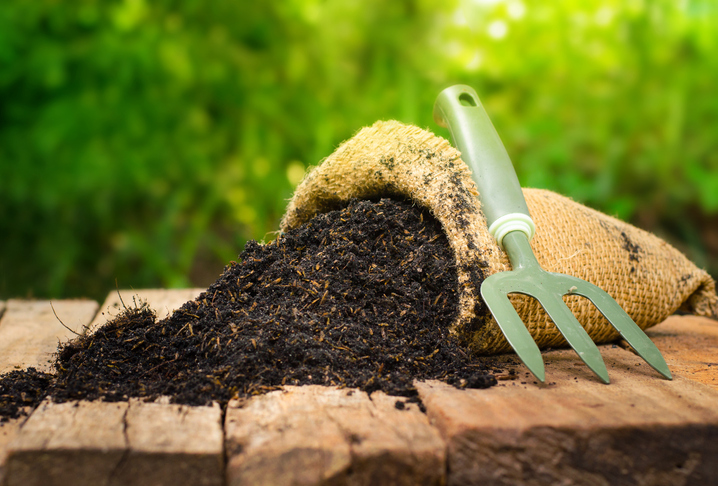
Add the last of the season’s compost to your freshly tidied soil after adding amendments. Besides recharging your garden beds with compost, you should make room in your compost bins and heaps for the organic waste you generate throughout the clean-up process. You can start new piles if your old compost is not ready yet.
Composting is not as challenging as you may think. Making the perfect compost pile involves the carbon/nitrogen ratio, moisture, and turning frequency. The easiest way to compost is by placing your organic matter in a heap and letting nature take its course.
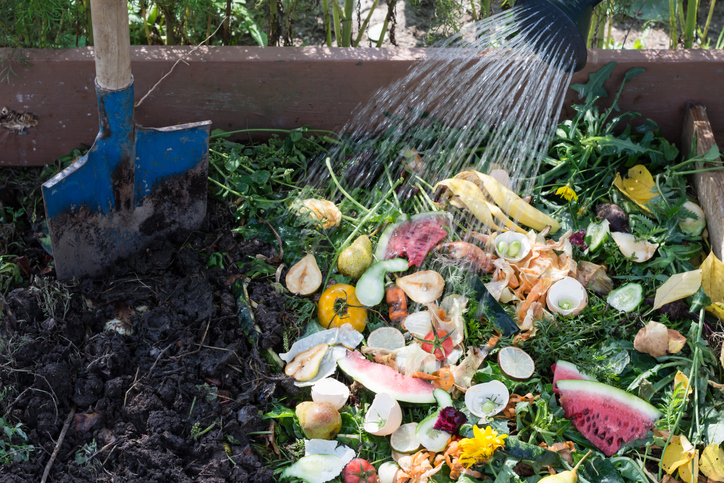
Types of Compostable Matter
There are two broad categories of compostables: greens and browns. Aiming for a compost ratio of four parts brown matter to one part green is best. If your compost pile is not working well, turn it over periodically and evaluate the balance of greens and browns.
Greens include any organic matter that is alive or wet, including:
- Animal manure
- Green leaves
- Freshly cut grass
- Over-ripe fruits and vegetables
- Kitchen scraps
Greens decompose more quickly and provide more nutrients, especially nitrogen, the most common fertilizer used to fertilize gardens. Consider using a compost bucket if you are searching for an odor-free solution to store your kitchen scraps.
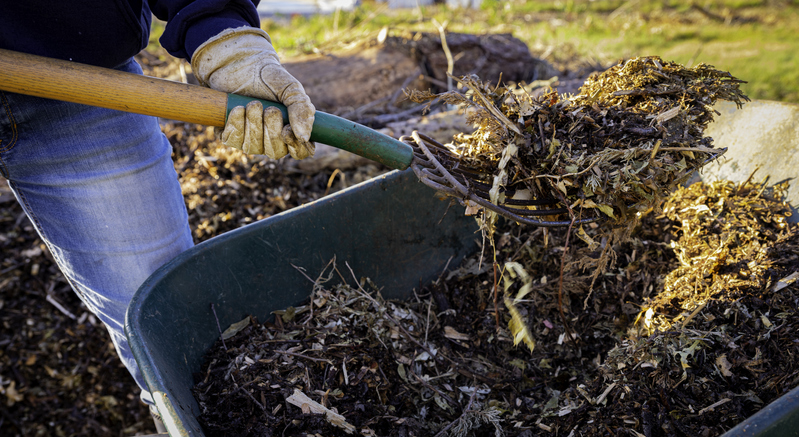
Browns comprise dry, dead debris, such as fallen leaves or dried grass clippings. Although they include nutrients, browns are less nutritious than greens. They are, however, rich in carbon, which has a high nutrient-holding capacity. Browns are light, airy, and crumbly, allowing roots to flourish.
Ensure that whatever goes into your compost heap has no pesticides.
Cover the Garden Soil
Protecting and covering your soil should be the top of your fall gardening priorities. You can use a cover crop or a thick layer of mulch to protect against the elements.
Plant a Cover Crop
A cover crop acts like green compost, replenishing the soil with nutrients. Because of their high nitrogen content, consider planting legumes like clovers, veggies, or peas. However, grasses like winter barley are also good cover crops.
- Use a variety of plants in your cover crop to replenish different microbes in the soil.
Planting cover crops is easy through scattering. Cover crop seeds are available by the pound in many local feed mills. A seasoned gardening professional can advise on the best cover crop based on your soil requirements.
Get the most growth out of your cover crop before winter snow falls by choosing a plant that can withstand freezing conditions. The cover crop’s gradual winter composting under the snow will benefit your garden.
Cover Your Garden With Mulch
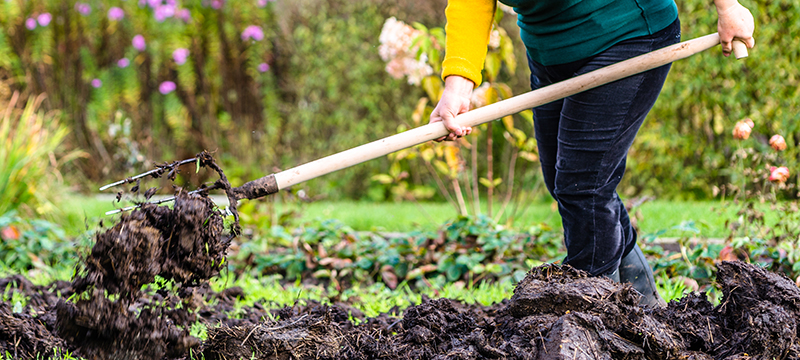
Mulching offers numerous benefits, such as minimizing soil water loss, weed growth, and erosion. Repeated freezing and thawing of the earth in winter negatively affects plant roots. Spread a thick layer of mulch over the soil in preparation for winter. A wheelbarrow and fork are one of the easiest ways to complete the spreading of mulch.
Mulching helps maintain the soil’s ideal temperature and moisture levels. Protect root vegetables that stay in the garden over the winter from severe frost by covering them with around two inches of mulch. Mulch also decomposes and adds new organic matter to your soil. This further helps you prepare your garden for the future, rain or shine.
Repair and Improve the Garden
With everything settling down for the season, fall is the time to get those annoying maintenance and repair jobs off your list. It is also an excellent time to finally make those improvements you have planned all summer.
Now that you do not have to worry about tending to a flourishing garden, you have more time to consider expanding your planting space next season. Removing the weeds that have taken root in that area is necessary to make room for new garden beds.
- Repair broken gardening beds, sheds, or equipment before winter sets in.
Set Goals for Next Year’s Garden
With winter fast approaching, enjoy the calm and sunny fall days as you prep your garden for winter. Following the tips for preparing the garden for winter gives you an early start on spring. Spare some time to note all the achievements and failures of this year’s growing season. These notes enable you to decide which seeds to plant and any new technique.
You will have plenty of time to plan your next year’s garden over winter.