Are you looking for a new project that won’t break the bank, not involve a whole workshop full of tools, and that you can enjoy all year long? How about a simple rocking chair made from 1 piece of plywood. Mr. Fix It, Aaron Massey, lends his talents to this unique build.
Step #1: Materials And Tools Used:
This project really only consists of a single sheet of 4’x8’ ¾” plywood. There are many options out there for plywood and you can spend as much or as little as you like on the plywood. I chose a simple exterior rated sheet of plywood but you could also use marine plywood or something cleaner for finishing like Baltic Birch or finish grade plywood. It’s up to you!
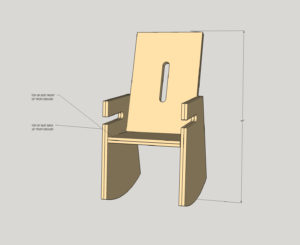
- Tablesaw (optional)
- Circular saw & Jigsaw
- A compass or something to mark radius cuts
- Tape measure
- 4 ft level
- Pencil
- Clamps
- Wood glue
- Drill driver and bits
- Wood screws (2” or 2.5” inch)
- Disc or belt sander
- Router and round-over bit (optional)
- Wood filler (Optional)
- Paint, stain, or weather sealant
Step #2: Making The Cuts For The Legs
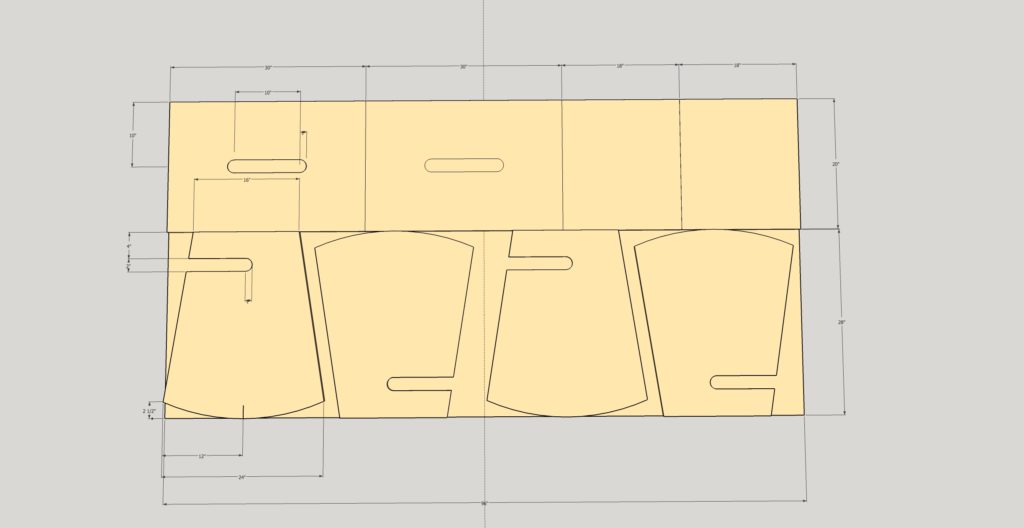
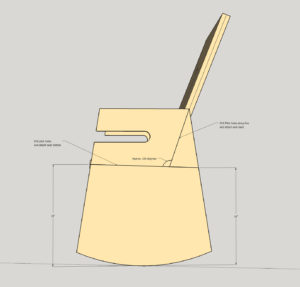
To get started you’ll need to rip the plywood into the necessary pieces to make the cuts more manageable. You could use a table saw, circular saw, or track saw for this if you have one. Rip the sheet slightly off-center lengthwise so you have 1 piece that is 28” x 96” and the other 20” x 96 inches. (See the image above for exact measurements)
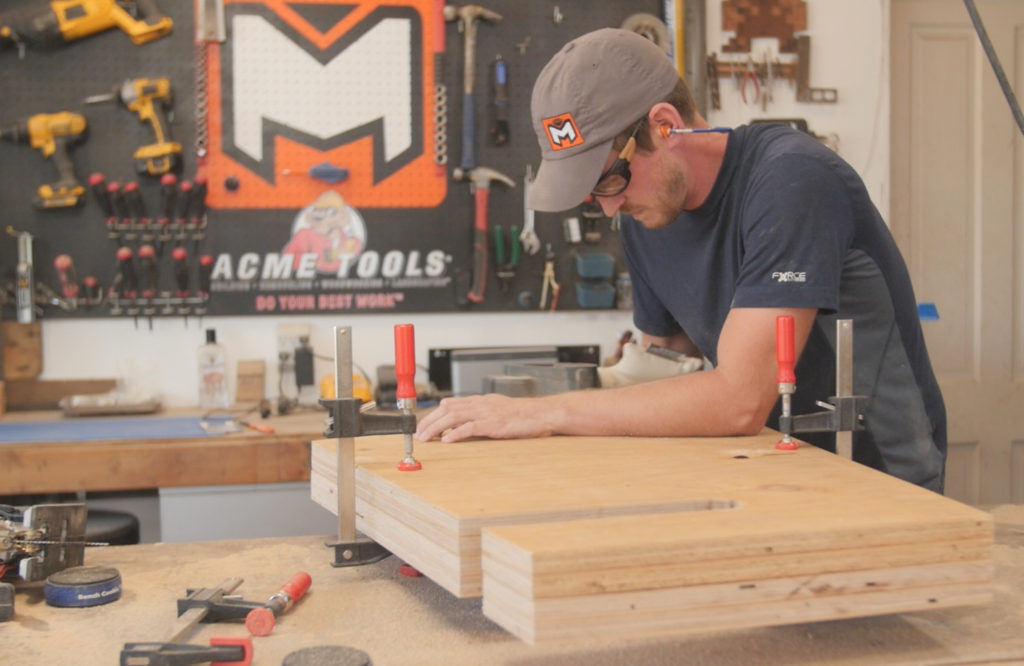
Once you have your two pieces, cross cut the larger of the 2 pieces in half creating 2 – 28” x 48” pieces. I recommend clamping the 2 pieces together from here so that you can cut through both pieces to create matching legs.
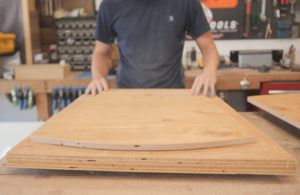
For the arched cut on the bottom of the legs I recommend using a piece of flexible material to mark your cut lines. The ends of the arc should be 2.5” from the edge of the plywood and the bottom should just touch the edge of the plywood to create the arc. Lay out and cut the legs out as shown using a circular saw and jigsaw and then sand them down using an orbital or belt sander. Once you have one set of legs cut, use a piece as a template to mark the next cuts.
Step #3: Prep And Glue Up
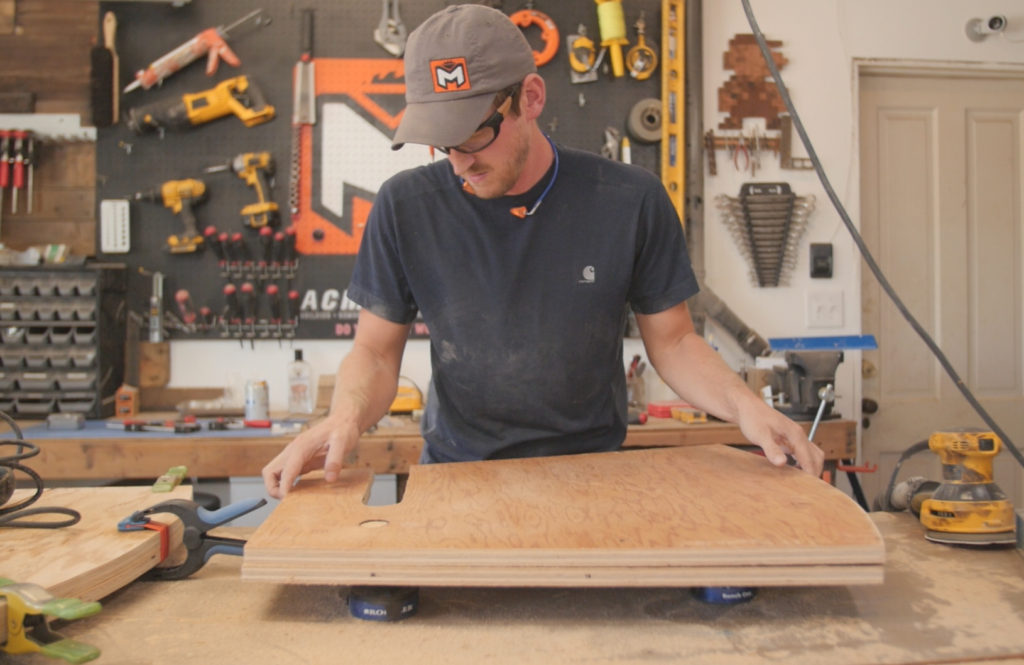
With the legs cut out, stack them all together and sand them to make sure they are all uniform. Use wood glue and clamps to glue the legs together. Each leg consists of 2 identical cuts. Apply plenty of clamps and extra weight to glue the legs together.
Step #4: Prepping The Seat And Back
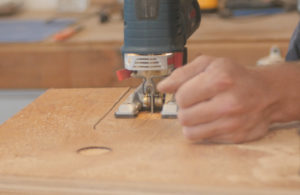
While the glue sets up on the legs, cross cut the remaining 20” x 96” piece of plywood into (4) pieces. (2) @ 30”x 20” for the seat back, and (2) @ 18” x 20” for the seat. Once you have those cuts made, glue and clamp them together into their components. Once the glue is dry on the seat back you can cut out the opening (optional) if you want to. The opening is a decorative feature so it’s up to you if you want to include it or not. The opening in the back is 12” long total and 2” wide in the center of the seat back. If you choose to include it, mark and cut it out with the jigsaw.
Step #5: Assembling The Legs And Seat
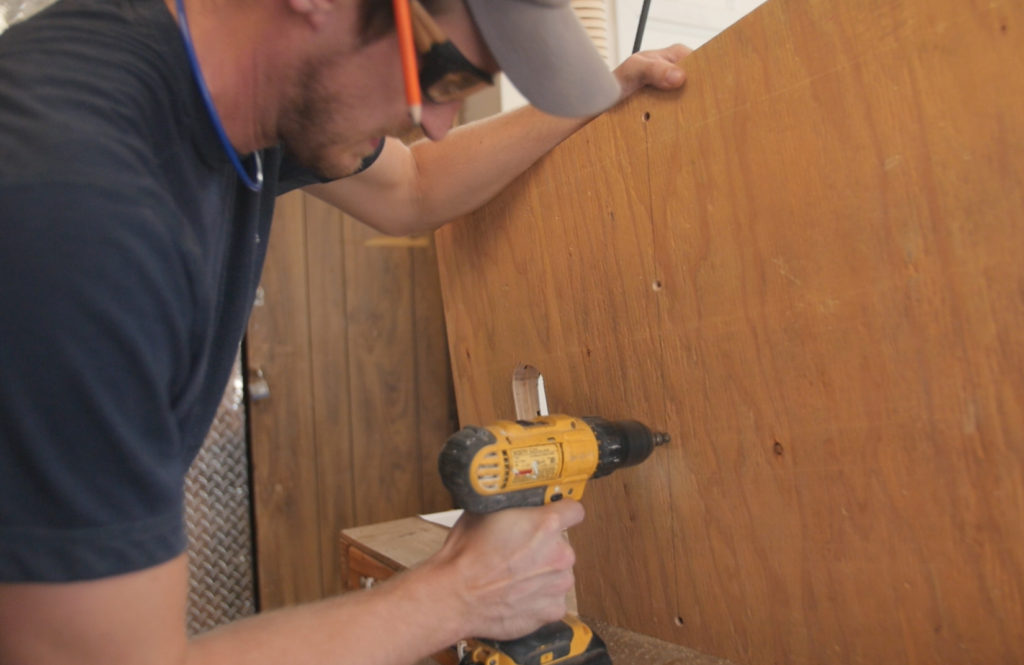
For assembling the chair, I recommend putting it on nice flat surface and attaching the seat bottom first. Turn the chair on it’s side and layout the seat. The seat pitches backward which you can lay out by measuring 18” at the seat top to the front of the seat, and 16” to the top of the seat in the back. Make sure your legs stay aligned when mocking up the seat so that it is even. Once you have the seat in position. Pre-drill some pilot holes and attach the seat with 2”-2.5” wood screws & wood glue.
Step #6: Adding The Seat Back
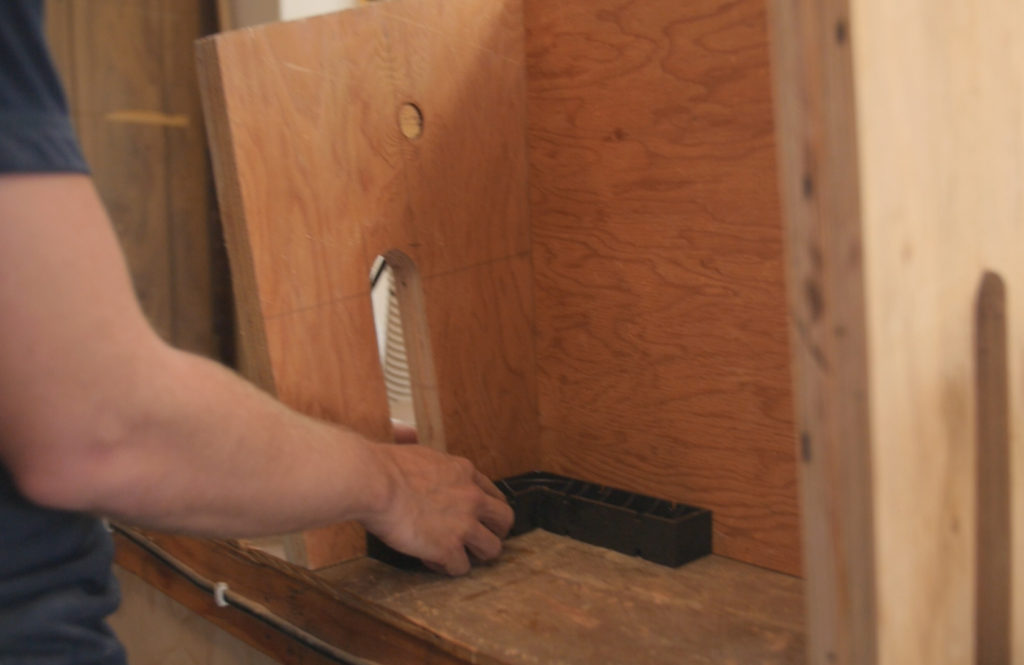
To add the seat back, slide it between the legs and tilt it back so that the backs of the arm rests intersect with the middle of the seat back. You should have somewhere in the realm of 105 degrees between seat back and tops of the rest. Once in position, drill pilot holes, glue, & screw the seat back in place.
Step #7: Finishing
Because I used relatively inexpensive plywood, I chose to paint the chair with some exterior grade paint after filling the screw holes and imperfections in the plywood with wood filler. It’s your choice to seal and finish the plywood, but I’d recommend several coats of whatever finish you choose to ensure you have ample protection from the elements!
And here’s the finished product!
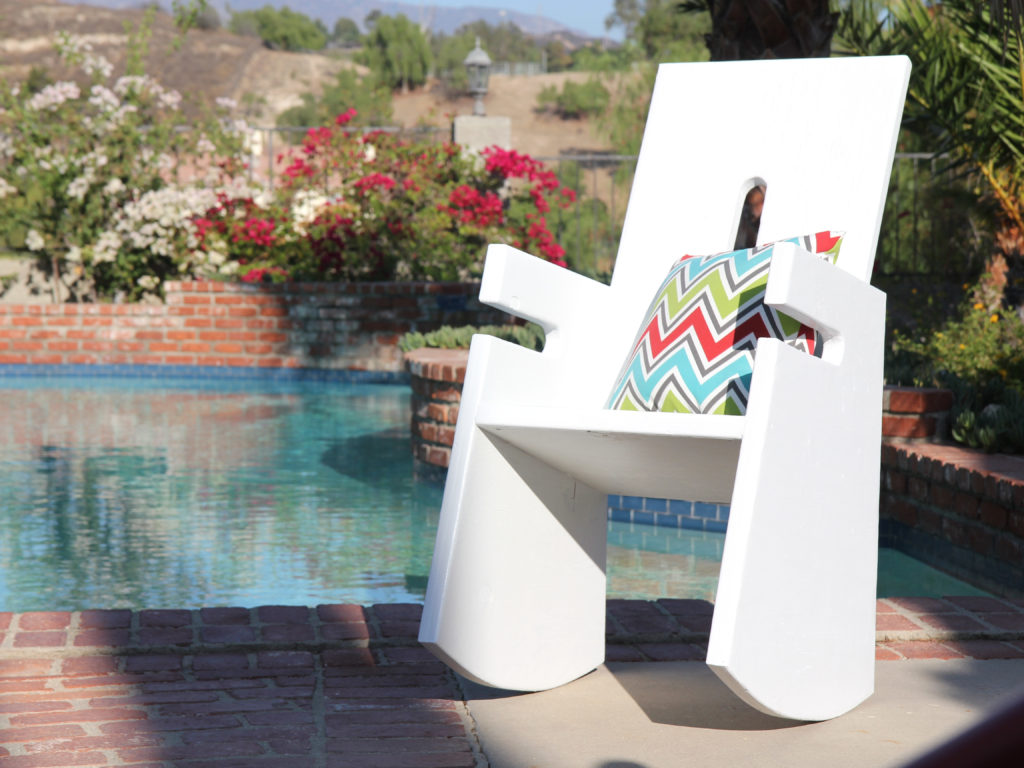
I’m pleased with how this chair came out, using a single sheet of plywood and minimal tools. It’s a fun project to tackle, and you can really toy with the design and finish to get the look you want!
I hope you enjoyed this project and see that you don’t have to have fancy materials or tools to knock out a unique project! If you decide to tackle this project on your own, share the results with us via Instagram by tagging #DoYourBestWork @AcmeTools and @MrFixItDIY.
Good luck, and get to work!


2 Comments
Nimmo Franel
August 26, 2017 at 4:59 amThis is awesome Single Sheet of Plywood Rocking Chair. I like your video so much. I think this is great.
Thank you very much for this.
Neda
February 28, 2018 at 7:34 amYou are my hero. I’ve wanted a rocking chair for a long time. Soon I will get tools so now I will be able to make one for myself. Thank you so much.