Finding activities to keep yourself and your family busy in the winter can be challenging. With temps dropping and snow blowing, sometimes being outside isn’t an option. Switch up your regular snow day routine with fun arts and crafts like the ones below. Bonus points – they’re holiday-themed!
Snow Globe
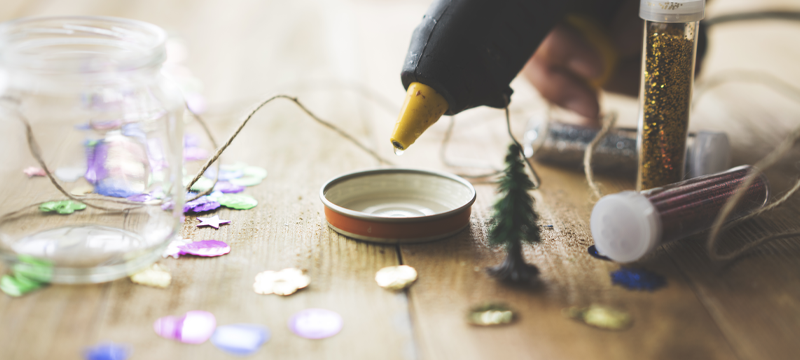
Create your own winter wonderland in no time. You only need a jar, glitter, glue, and water for the most basic snow globe. Add a plastic figurine or a small object that can withstand the water to customize your snow globe.

These snow globes are affordable and fun for the whole family and don’t take much time, making them great for smaller children. To get started, grab your supplies and get set up.
What you’ll need:
Clean jar with lid – recycle salsa or pickle jars, or grab a mason jar. You’ll want to ensure the jar has smooth sides to see inside.
Water – you can use distilled water to help prevent sediment build-up, but tap water works just fine!
Glue – You’ll need water-resistant epoxy like Gorilla Glue Clear Expoxy Adhesive.
Glitter – any glitter will work, but medium-sized particles work best.
Additional options:
- Figurines/Trees – Add plastic or ceramic figurines in the jar or use mini decorative trees.
- Glycerin
- Sandpaper
- Adhesive remover – If you’re using recycle jars, grab an adhesive remover like 3M Aerosol Adhesive Remover to remove the labels and residue.
How to:
- Thoroughly clean and dry your jars. If you’re using recycled jars, make sure all of the adhesives from the label are removed.
- If you choose to rough up the inside of the lid, you can do that now with the sandpaper. This step is optional but can help your figure stay attached better.
- Attach the figurine of your choice to the lid using your water-resistant glue. Allow the glue to dry according to the manufacturer’s packaging.
- Fill your jar almost full with water. Make sure to leave room for your figurine. If you add glycerin to the water, add a drop or two now. Adding glycerin creates thicker water and helps to suspend the glitter so it doesn’t sink to the bottom immediately. Glycerin can be found at most pharmacies.
- Add the glitter. Depending on how snowy you want your globe to appear, you can add as much or as little as you prefer.
- Screw the lid onto the jar, give it a good shake, and set it lid side down.
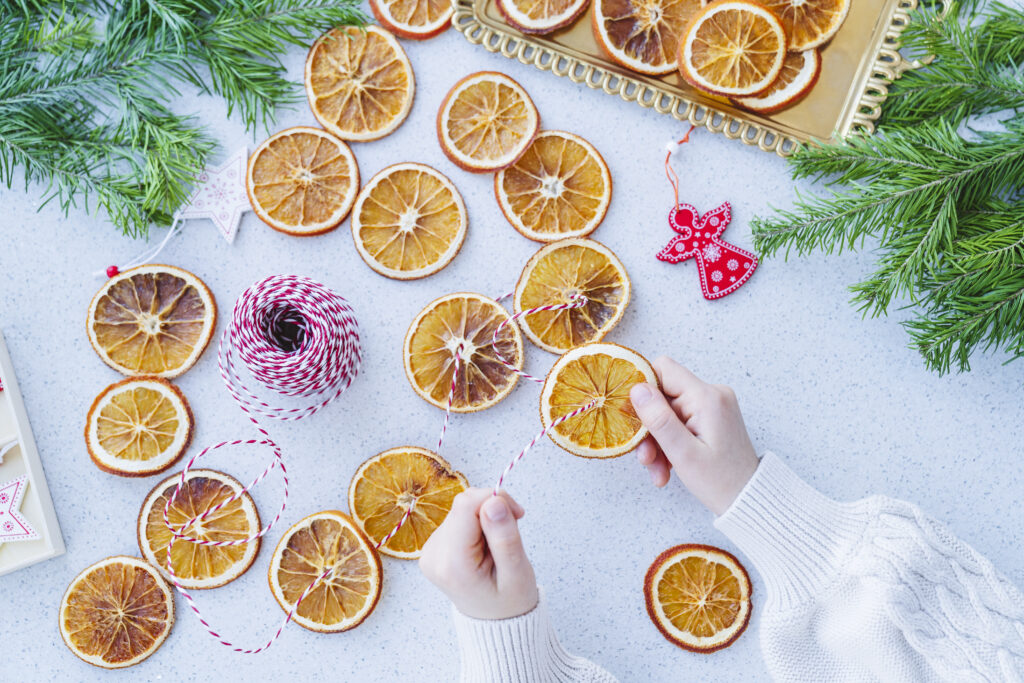
Dried Orange Garland
Adding natural elements to your holiday decor can give a pop of color and a more homey feeling. These fun, inexpensive garlands look great on trees and give your home a refreshing citrus smell.
What you’ll need:
4-5 large oranges – you can use less or more depending on how long you’d like your garland to be or how many garlands you’d like to make.
- Sharp knife
- Cutting board
- Baking sheets
- Parchment paper
- Paper towels
- Fishing wire or twine
How To:
- Get started by turning your oven on. You’ll want to set it to 225 degrees F.
- Prep your baking sheets by lining them with parchment paper. This will help prevent the oranges from sticking.
- Cut the orange slices 1/8 to 1/4 inch thick. Place them on the baking sheet in a single layer.
- Blot them with a paper towel. This will help speed up the drying process.
- Bake the orange slices in the oven at 225 degrees F for approximately 3 hours or until they turn slightly brown and are noticeably dry.
- Let the orange slices cool entirely before starting your garlands.
- Poke holes through the skin of the orange, not the rind, and begin to thread the fishing line or twine through. You can string them as close or far apart as you prefer.
If you have any leftover slices, you can use them as ornaments for your tree.
Pom Pom Wreath
Get a few friends, grab the hot chocolate, and let your creativity flow. Create a cozy, cute winter wreath with only a few simple supplies. The best part of this project is how customizable it is!
What you’ll need:
- Pom Poms – any size and color of your choosing.
- Pom Pom Maker – if you choose to make your own pom poms.
- Yarn – your choice of color if you make your own pom poms.
- Foam wreath – the size will depend on how big you want your pom pom wreath to be.
- 3-4 8×10 inch white felt sheets – If it’s not already white, you’ll need these to cover the foam wreath.
- Scissors
- Ribbon – if you’d like to add a bow to the wreath.
- Hot glue gun
- Hot glue sticks
How to:
- Cut the felt to fit around and cover the foam wreath. It can be imperfect, as the pom poms will cover the foam. It’s to create a base if any foam shows through.
- Hot glue the felt to the foam wreath.
- If you’re going to make your pom poms, it’s time to get started on that. It can be time-consuming as each one takes 2-3 minutes to complete. Follow the instructions on the manufacturer’s packaging for the pom pom maker.
- Attach your pom poms to the wreath with hot glue until you get your desired look.
- You can make your bow by cutting the ribbon, tying it, and attaching it to the pom poms.
- You can also decorate your wreath with bottlebrush trees, jingle bells, tree ornaments, or anything else you’d like to make it unique.
Rustic Twig Tree Ornaments
Add a touch of the outdoors to your tree this year. This low-cost DIY project is one that the whole family can get involved in.
What you’ll need:
- Twigs or small branches will depend on how large or small you want the ornament to be.
- Shears – like these FISKARS 9″ Multipurpose Garden Shears
- Twine or string
- Hot glue gun
- Hot glue sticks
- Scissors
- Accessories to decorate the ornaments
How to:
Snowflake:
- Use the shears to trim the twigs/branches so there is one long piece and six shorter, equal pieces.
- Glue the shorter twigs to the center of the long stick.
- Once the glue is dry, wrap the twine or string around it to decorate and reinforce the glue’s bond.
- You can cut another stick into smaller pieces and them to the end of each twig to give it a more defined snowflake look.
Star:
- Cut five equal-length twigs.
- Start with two sticks, creating a v-shape, and glue them together at the ends.
- From there, begin gluing each twig until you get the shape of a star.
- Reinforce each glued point by wrapping it in twine/string.
The final step for both ornament shapes is to create a loop with the string/twine and glue it to the back of the ornament, allowing it to be hung.

String Snowmen
What you’ll need:
- Balloons – the size will depend on how large you’d like your snowmen to be.
- White string/yarn – or whatever color you want the snowmen to be.
- Scissors
- Non-toxic glue
- Water
- Black and orange construction paper
- Tape
How to:
- Blow up the balloons to your desired size. You’ll want them tiered in size to create the snowman look.
- Cut the tails off the balloons without popping them, and tape them together, starting with the largest on the bottom.
- Begin cutting strips of the string.
- Next, grab a container and create a mixture of two parts, glue and one part water.
- Dip your string into the glue mixture and drape it across the balloons. You can put as much or as little yarn as you’d like over the balloons. The more you use, the fuller the snowman will appear.
- Once the strings dry, pop and remove the balloons.
- Using construction paper, create a nose, eyes, buttons, and a hat for your snowmen.
- You can use buttons or other items to decorate the snowman.
Decorating for the holidays can be simple and inexpensive. The best part of do-it-yourself decorations is that there’s no limit on what you can do to make them your own.
Check out the tools used for these projects and more at Acme Tools.