You’ve just upped your game! Having this tool often separates a woodworker from the casual DIYer. Now, you can put excellent edge profiles on all your work. And that’s just the start!
A router will also enable you to complete an array of woodworking feats, from joinery to duplicating parts. Read on to learn the popular uses and the basics to get you going.
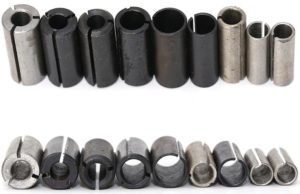
Know Your Router…Especially the Collet Size
The router is a well-designed, precise, high-speed rotary tool for cutting and shaping wood. A collet is on the end of the motor’s shaft for router bits. Take note of your router’s collet. Some routers will only accept bits with ¼” shanks, while others can also have bits with ½” shanks using a substitute collet or collet-adapting sleeve. Tip: Use bits with ½” shanks if possible, as there is less chance of deflection in the shank, yielding cleaner cuts.
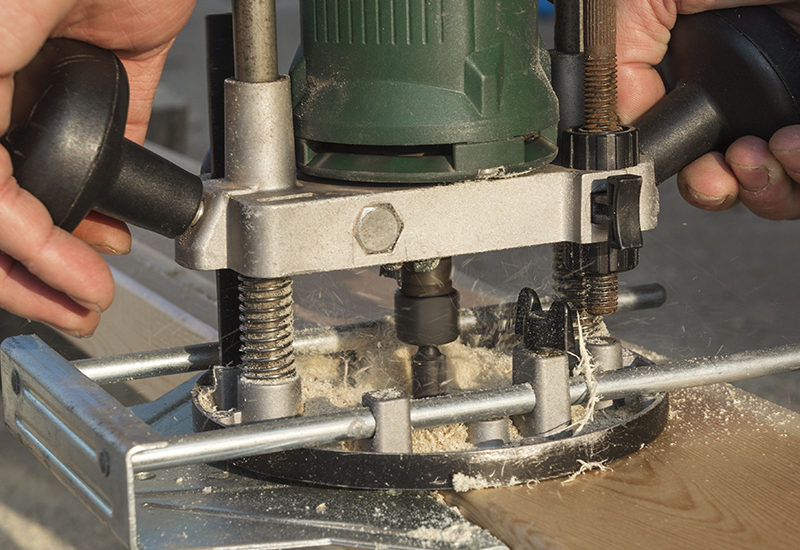
Routers fall into two categories: fixed-base and plunge. Fixed-base routers are basically motors mounted on a base with handles. Plunge routers are like fixed-base routers, except they have a pair of spring-loaded rods allowing the motor to slide up and down in the base. The movement of the motor lets you “plunge” in and out of the workpiece to start and stop a cut at will.
Common Types of Cutting and Shaping
Here’s a brief run-down on popular ways to use a router. You’ll want full instructions on using the router from your tool’s manual. Router bit sets often come with excellent detailed how-to.
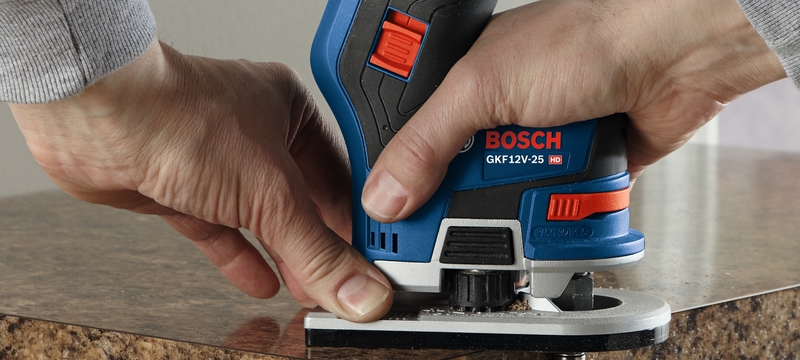
Edge-Routing
Your router can put a huge variety of profiles on the edge of the workpiece, including the popular round-over, bead, cove, ogee, and chamfer edges. Bits with ball-bearing pilots put you in complete control as you ride the router along the wood’s edge while making the cut. Otherwise, if using bits without ball-bearing pilots, you’ll need to attach an edge guide to the router or straightedge fence to the workpiece to keep your tool on track.
Making a Dado
A dado is a groove or slot into which another board can fit. (For example, the dado would be the groove on the inside surface of the bookcase sides that support the shelves.) Routers with a straight bit installed can easily and quickly cut a dado. The bit should match the finished width of the dado. Or, if you don’t have a bit wide enough, the needed width can be cut with several passes of a narrower bit. In either instance, a straightedge fence should be used to make a straight cut in the exact location.
Decorative Molding
Using various bit combinations, routers can cut creative and engaging profiles when shaping decorative molding for such things as doors, windows, baseboards, and chair rails. Mounting the tool in a router table makes this process much easier and faster. (Information on router tables is below.)
Making a Rabbet
A rabbet is an L-shaped notch cut along the wood’s edge. These are commonly used to attach a recessed back to a cabinet. This joint offers a better gluing surface than a simple butt joint.
Cutting Duplicate Parts
For making several curved pieces precisely the same, a router with a top-bearing straight bit is a miracle! This process is called flush-trimming. Start by cutting a template from ¼” hardboard stock to the size of your finished piece. Then, bandsaw the curved workpieces to a rough shape, leaving 1/16” to 1/8” waste along the edge. Attach the workpiece to the template. The waste can be expertly removed with your router by running the top bearing of the straight bit along the template.
Let’s Get to Routing!
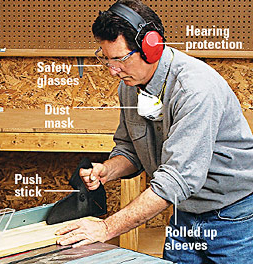
There are a few safety precautions you should take when using a router. First, always wear safety glasses to protect against flying chips and sawdust. Ear protection is also a must, and loose clothing should not be worn.
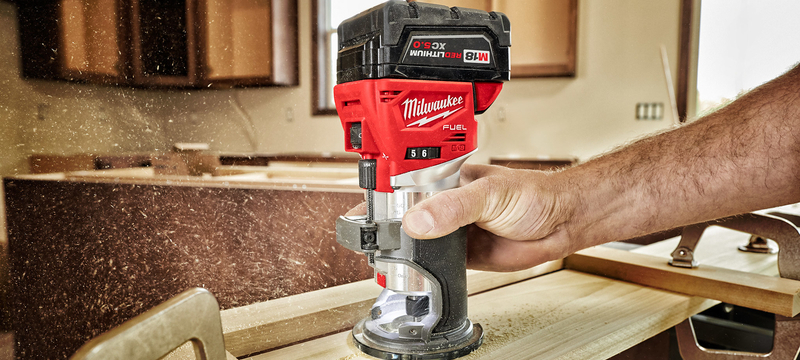
Ensure that the bit is secured firmly in the collet and that the router’s speed is set appropriately for the bit being used. Refer to the router’s manual or the bit’s instruction sheet for the correct bit speed.
When routing, move the tool in the proper direction; in the opposite direction, the bit is rotating. (The bit spins clockwise when looking at a hand-held router from above.) So, you should move the router counter-clockwise, or left to right, around the outside edge of the workpiece.
It’s a good practice to make test cuts on a similar scrap of wood to confirm proper cutting depth and to give you a feel for a reasonable feed rate. Also, if the wood burns during your test cut, you’ll know that the cut should be made with consecutively deeper passes to reach the final depth.
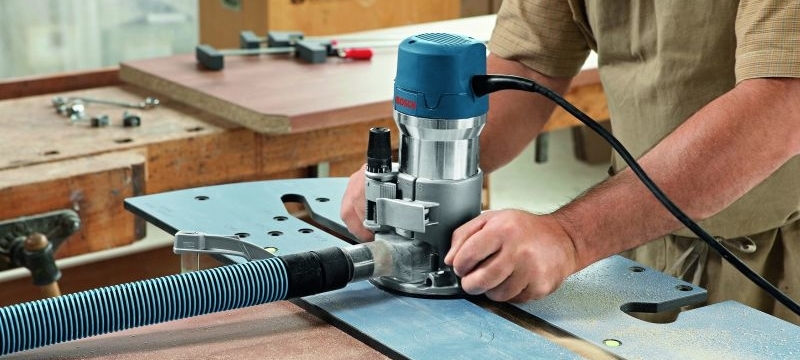
Accessories + More
Router accessories…where do we start? The router seems to have more accessories than just about any other tool. This is further proof of the tool’s versatility.
The main (and obviously required) accessory is the router bit. Bits are available in many profiles and come in either high-speed steel or carbide tipped. Quality varies greatly, so stick to a name you trust.
Jigs range from simple edge guides to add-ons allowing you to route perfect circles, cut complex dovetails, carve letters in signs, create box joints, make hinge mortises, etc.
Mounting your router upside down in a table greatly expands the tool’s capabilities, such as making mortise-and-tenons, raised panels, and cope-and-stick joints. Router tables are handy when shaping smaller parts, cutting stopped grooves, or using large-diameter bits.
Get Your Groove On!
Good luck with your new tool. You are on the right “route” for better woodworking results and enjoyment.
Learn More About Routers
- How to Choose a Router
- The Best Route to Beautiful Edges
- Surefire Tips for Trimming a Laminate Countertop